UNTAME

You will assemble your very own WebVR application (copy pasting each element in), get an insight into how the work "Data Mining Jurong" was constructed, and gain an understanding of how a basic webVR application is designed!
A-FRAME

We will use A-Frame, a user friendly library for making webvr experiences that can be viewed on desktop, mobile, or a VR headset
glitch.me

We will create it on Glitch, a free platform for collaborating and making FREE web applications that are instantly online
1. Create a new scene
This code embeds the A-frame library which will help us make a WebVR experience quickly!All our code will need to go inbetween the a-scene tags
2. Add in the camera inside the scene
This code adds in the camera into the scene.The only modification we made here is to add keyboard controls (WASD keys) and set the speed of movement.
3. Add in the sky below the camera
You will see the page turn "black" when we add a black sky.You can also change "black" to another colour, such as red, yellow, green, blue, pink, etc.
4. Add in 1 donut directly below the camera
You will not be able to see the donut, until you have added the lighting in the next step.You will notice that this donut has an source URL in it.
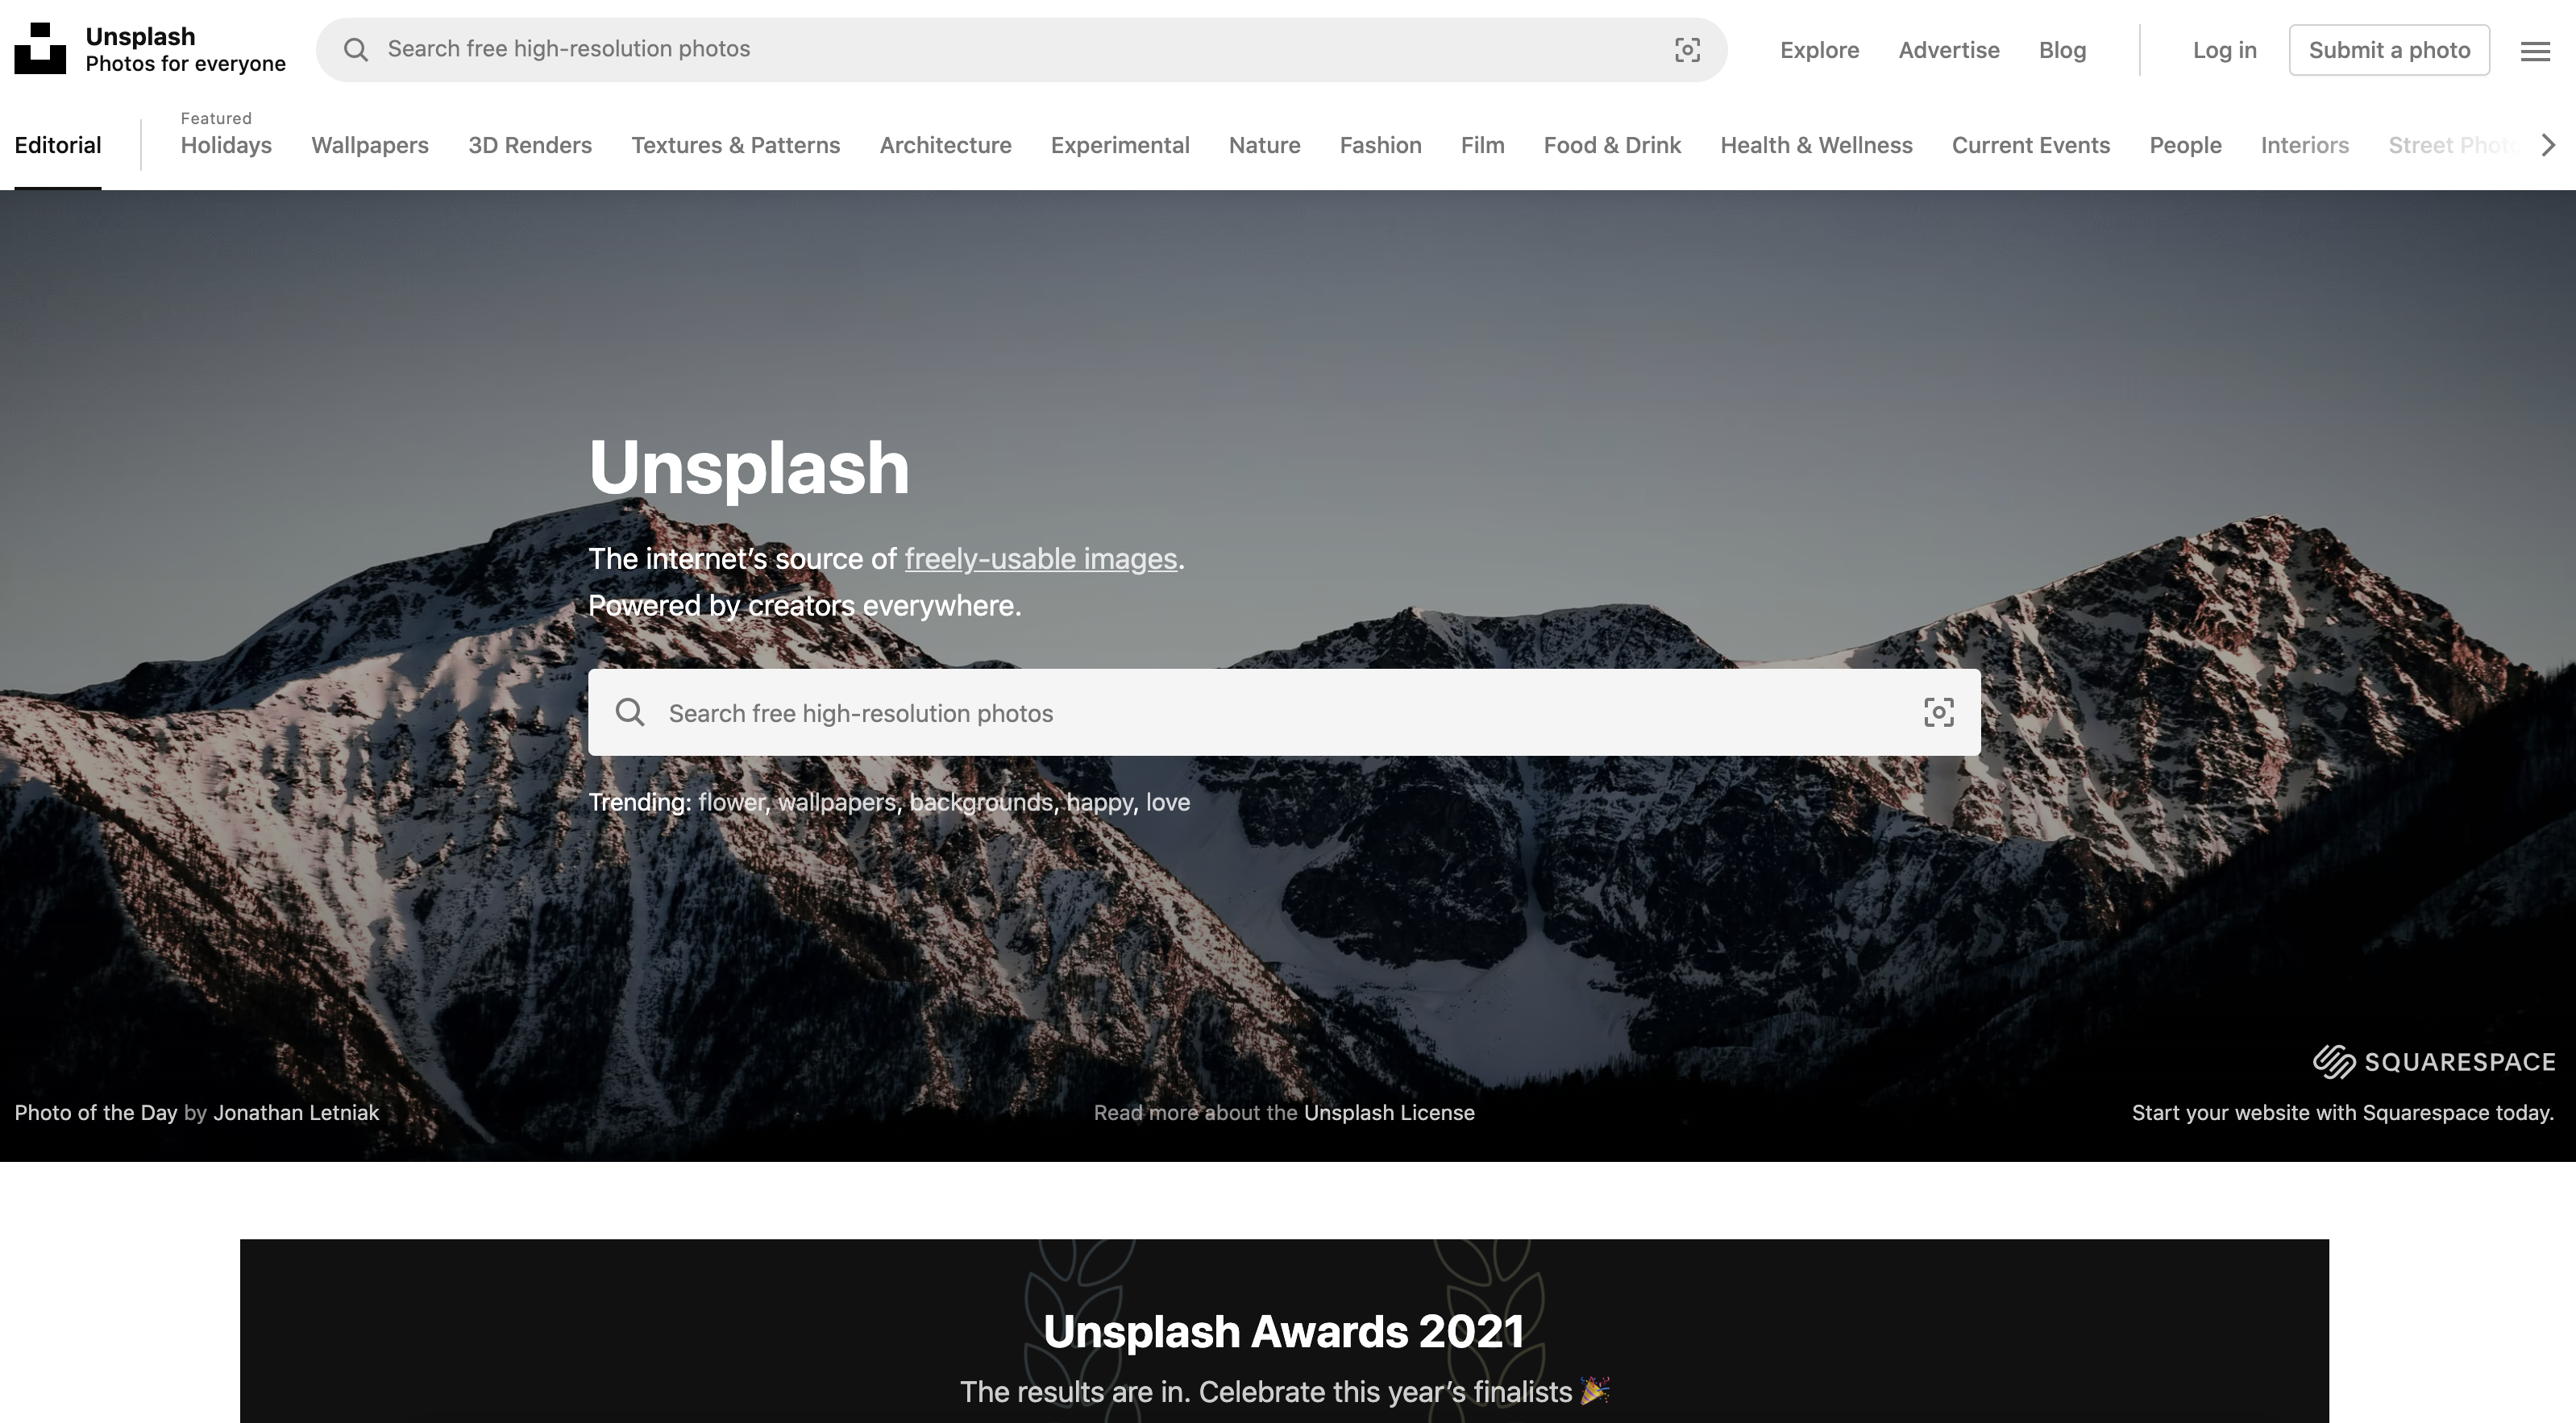
The texture is free image from Unsplash.com which we can easily replace.
5. Add some lighting.
Once you add the lighting, you will be able to see the 1 donut (torus) you added in Step 4.6. Replace that 1 donut with 24 donuts
The 24 donuts (Torus) give the illusion of the tunnel.7. Add a Book
CUSTOMISE the book title by typing something else in value. Currently it says "A Tunnel... Your Name Here"But be careful with quotation marks here.
Make sure the end still has 1 double quotation mark, just as how this page was when it was first loaded.
Do not add any additional quote marks.
8. Add some primitive shapes like a box, sphere, and cylinder
Its very simple to add primitive 3D shapes - as simple as typing a-box, a-sphere, a-cylinder...9. Add some photos
We are going to add in 3 photographs that you can customise in the next step.10. Customise the photograph!
Go to Unsplash.com to find an image to paste into the photos in Step 9.Paste the unique identifier into the URL of the plane's images.

11. Generate the qrcode
Press the share button on the top left hand corner.Copy the URL for the "Live Site".
Paste the URL into this qrcode generator
Scan the qrcode with your phone to view it.

Tap on the VR button to view it in VR mode. Put your phone into the Cardboard to view!
 Additional links for student helpers:
• Set up sequence - guide
• Glitch.com - create a new page
• End of night - enter the number of pages generated
