Blender
This page contains Debbie's notes on the basics of Blender: the Interface, Shortcuts, Selecting Objects, Transforming Objects, Moving Objects, Adding and Removing Objects, Adding Modifiers, Creating Diffuse/Specular materials, UV Unwrapping, Lighting, Camera Positioning, and how to render with Cycles (Blender's ray-trace based production render engine).
More elaboration on specific things:
Contents
Interface
It is best to use Blender on a computer with a numpad and a three-button mouse, as many functions are best accessed using Shortcuts, and all 3 buttons of your mouse will be used.
Keyboard
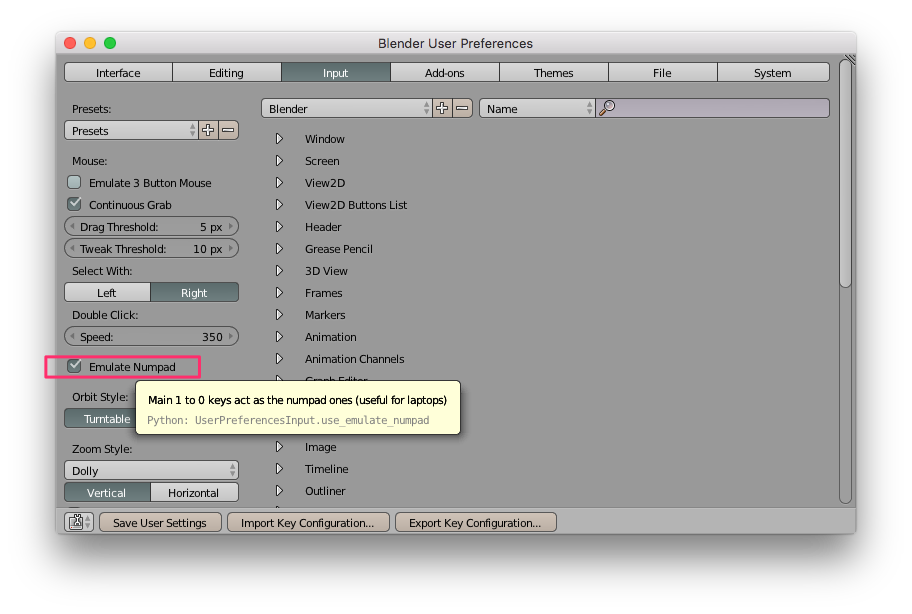
- If you have a laptop without dedicated numpad go to Blender User Preferences > Input.
- Blender User Preferences SHORTCUT is
Cmd ,
- Alternatives: If you don't like emulating the numpad in this way, there are also alternative methods of accessing those shortcuts, such as by installing scripts such as this 3D_Navigation virtual numpad emulator which will show additional button options in the Tools section.
Mouse
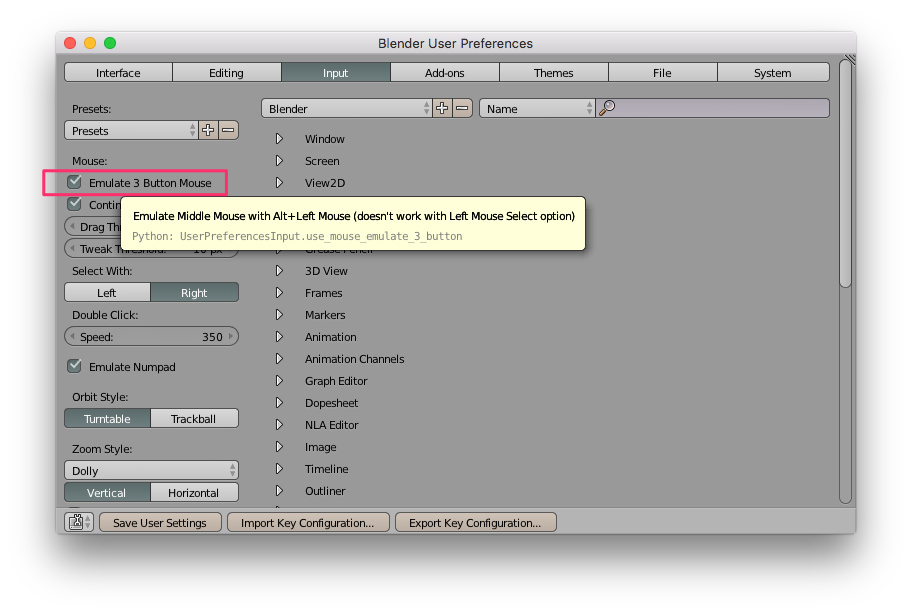
- If you don't have a 3 button mouse, go to Blender User Preferences > Input.
- Blender User Preferences SHORTCUT is
Cmd ,
- Selecting 'emulate mouse' will mean that you can simulate the middle mouse button if you press the
Altkey while using the left mouse button. - But please get a three-button mouse.
Cursor
Editor Types, Views, and Modes
Blender has a context-dependent interface - the Editor Type and Mode that you are in (and where exactly your mouse is hovering) will affect what the shortcuts will do!
Customising your Editor Type
Using the Mouse in Different Modes
Using Shortcut Menus in Different Modes
List of Shortcuts
| head1 | head2 | head3 |
|---|---|---|
| A | accesskey-ep-form-save | s |
| B | accesskey-ep-edit-institution | e |
Editing Objects
Selecting Objects
Transforming Objects
Moving Objects
Adding and Removing Objects
Modifiers
Materials
UV Unwrapping
Lighting
Camera
Render
Transparent png
alpha channel
Cycles
Properties Editor > Render Context > Output Panel
Choose RGBA so that the alpha from the renderer is saved in the png
Properties Editor > Render Context > Film Panel
Check Transparent so that the World background is transparent.
