Microbit Trainer Training
From Wikicliki
Contents
Visual Programming with Micro:bit, Tinkercademy, 7 Sept 2018
- Slides: http://tinyurl.com/ntuc2018
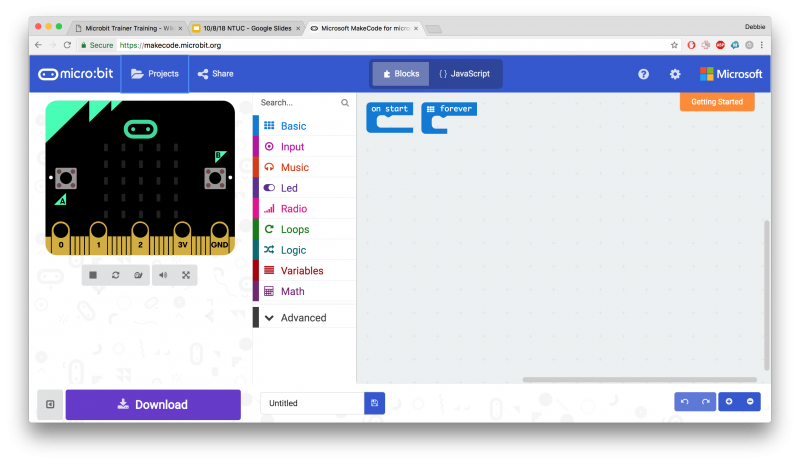
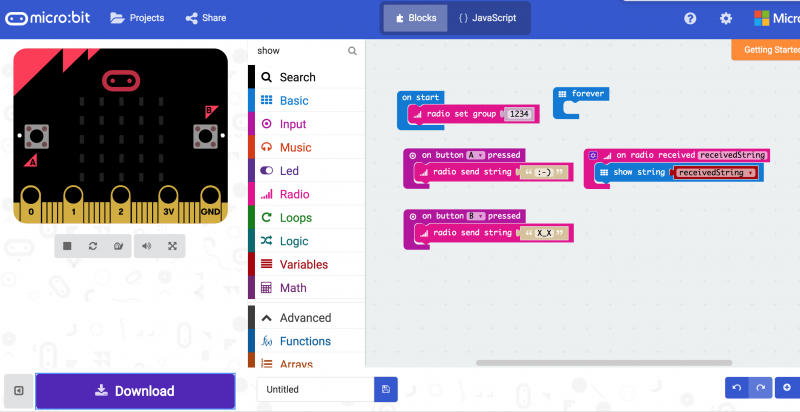
- Use Google Chrome for this: https://makecode.microbit.org/
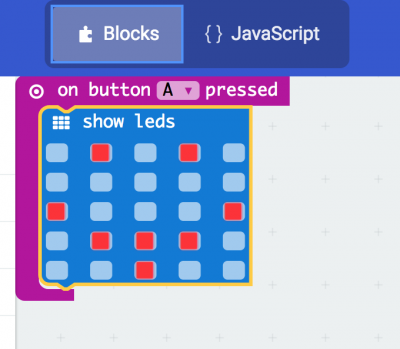
- This is called Block programming. You need to "snap" the part in (if audio is on, it will make a snap sound).
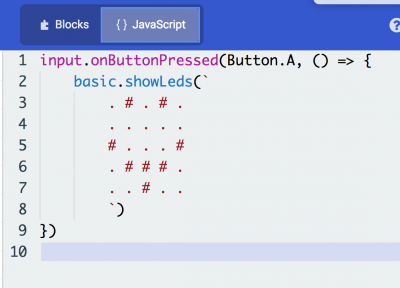
- You can also use the javascript if you want to code directly.
- Start with Forever block and plug in different blocks, such as Show Number, Show LED.
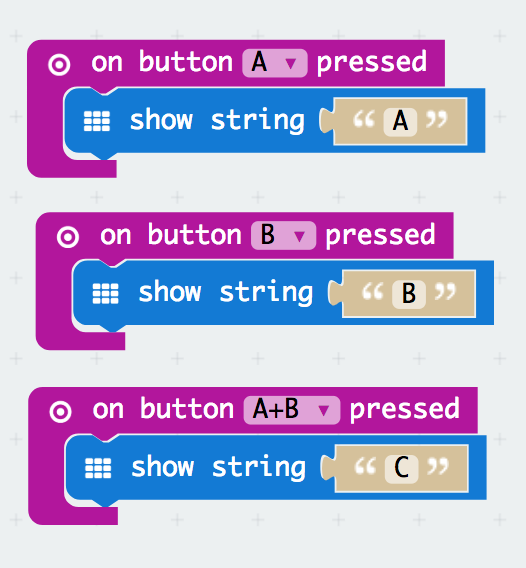
- Then try using the buttons..
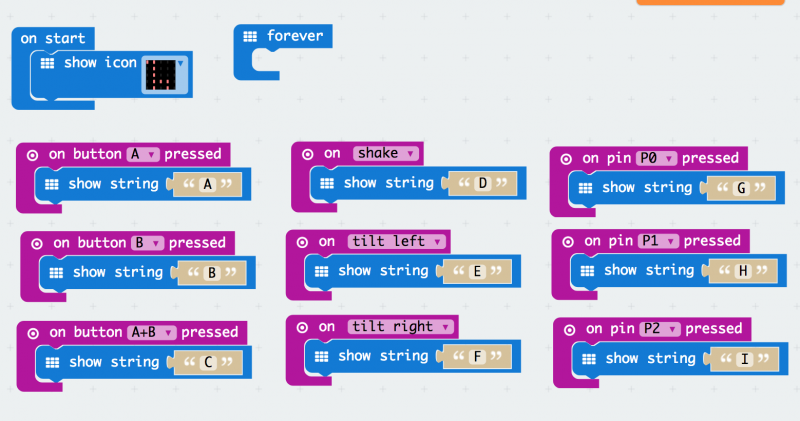
- Keep the forever block
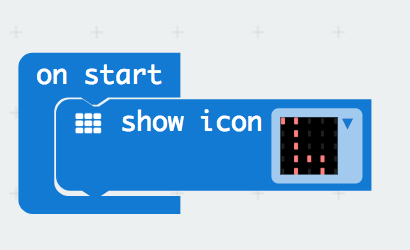
- Good practice is to load something into on start so that you know if it is working and not a hardware issue.
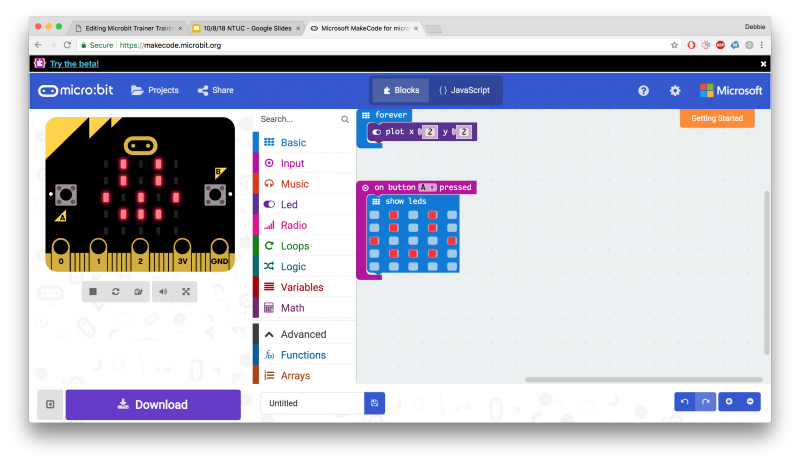
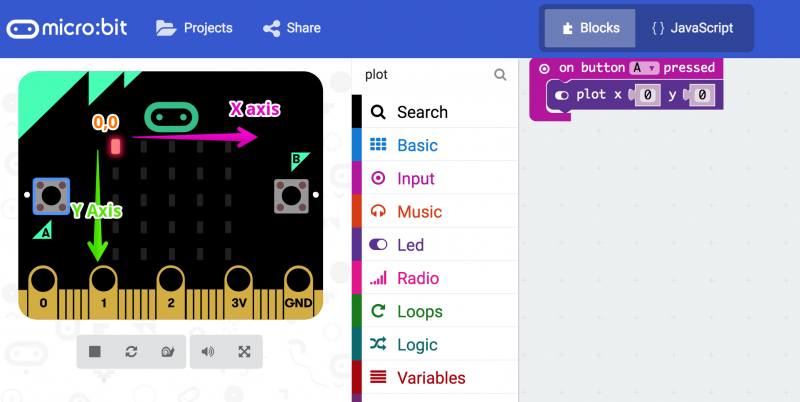
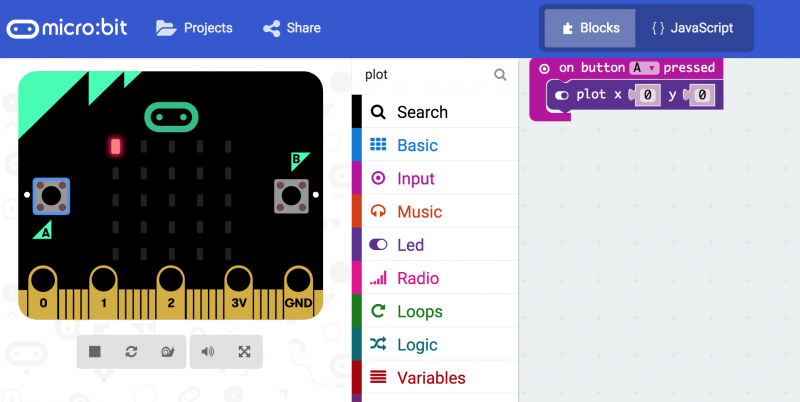
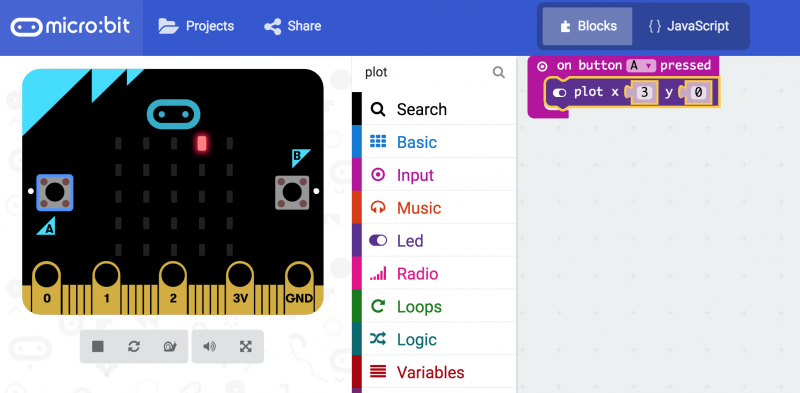
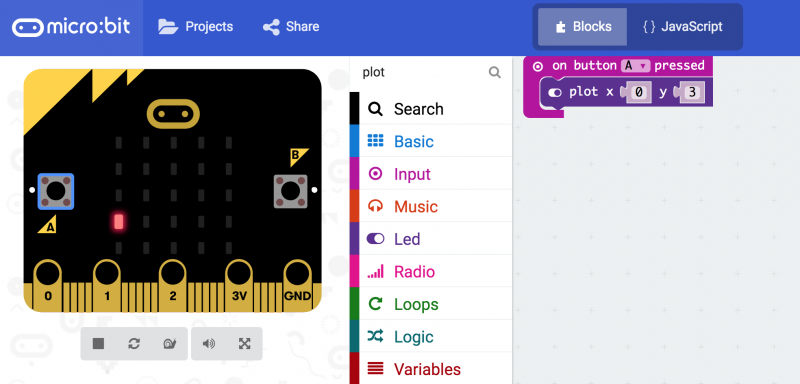
Let's use the LEDs! Default values, or manually plotting X & Y Axis
X Axis
Y Axis
Inputs
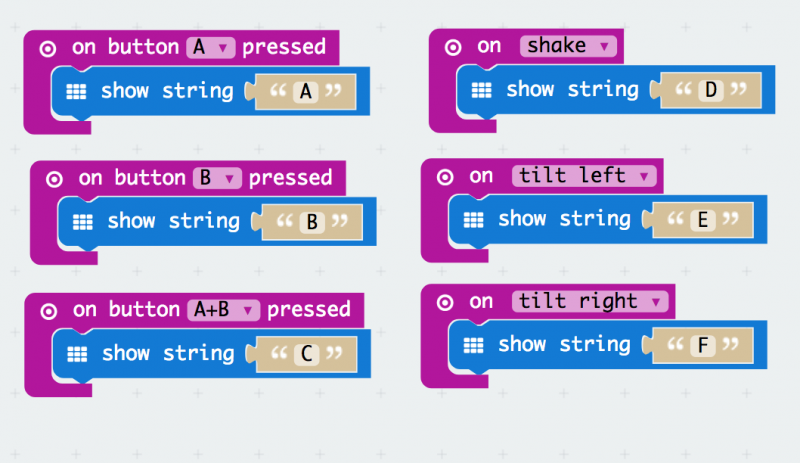
Buttons
Step 1
Step 2
Shaking and Tilting
Step 3
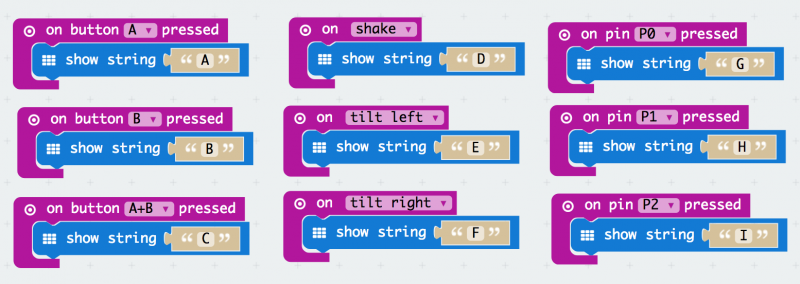
Touching the pins
Step 4
Step 5
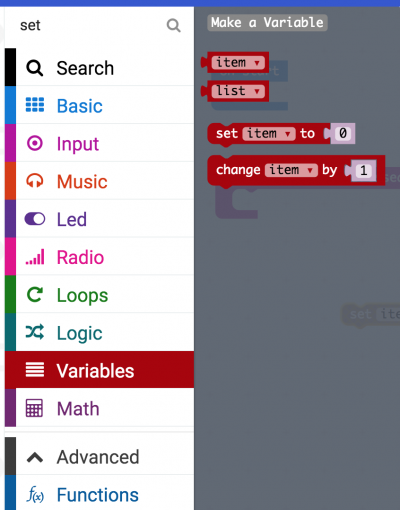
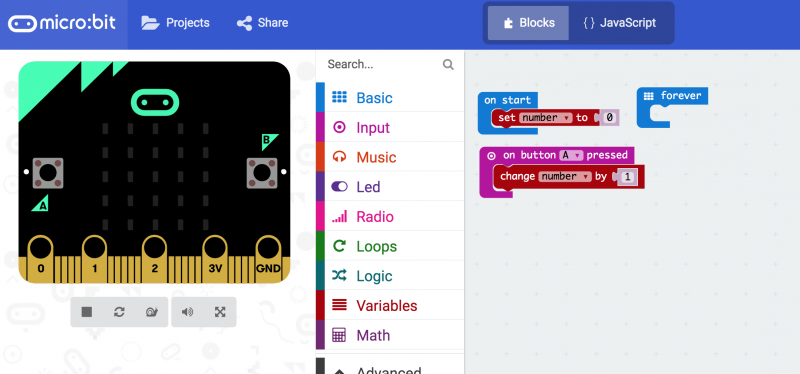
Create variables
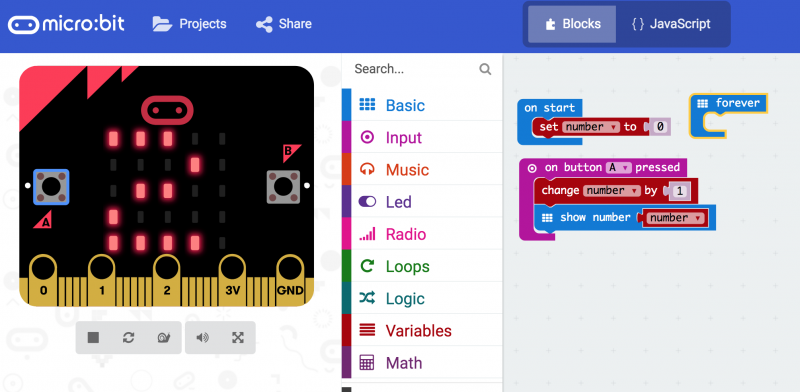
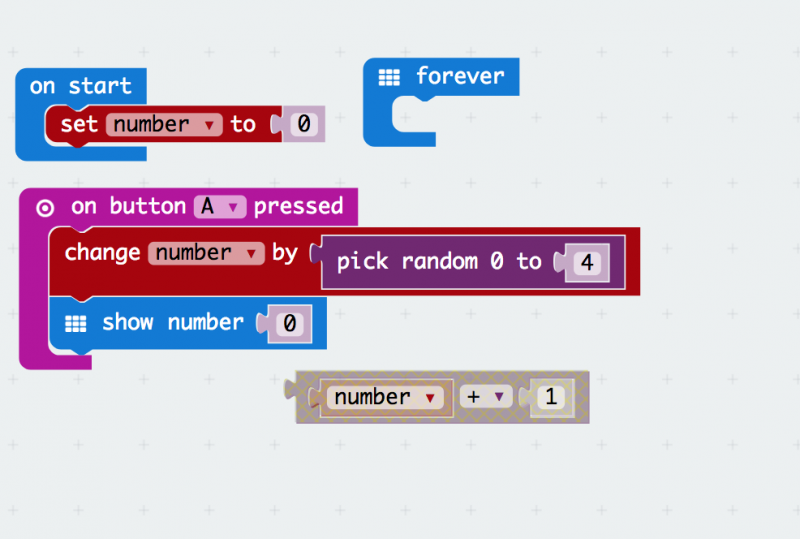
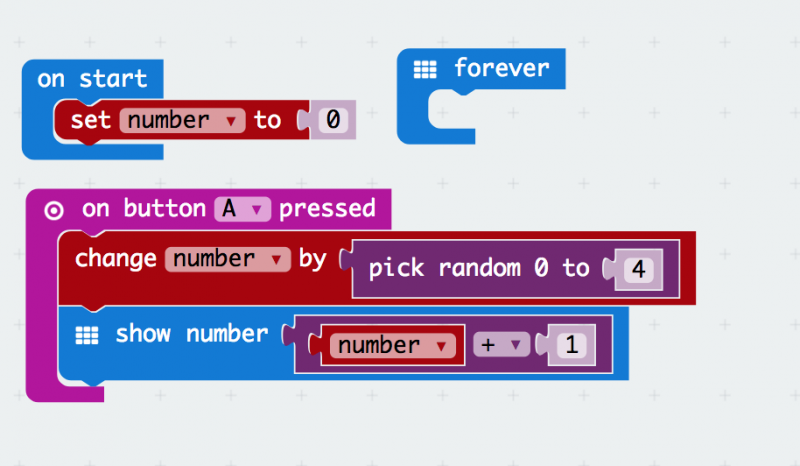
Simple Counter
This only changes the variable, but doesn't show it. Something is missing here. ask the class to figure out how to "show" the number.
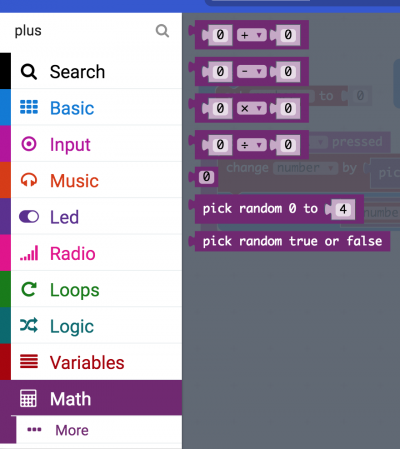
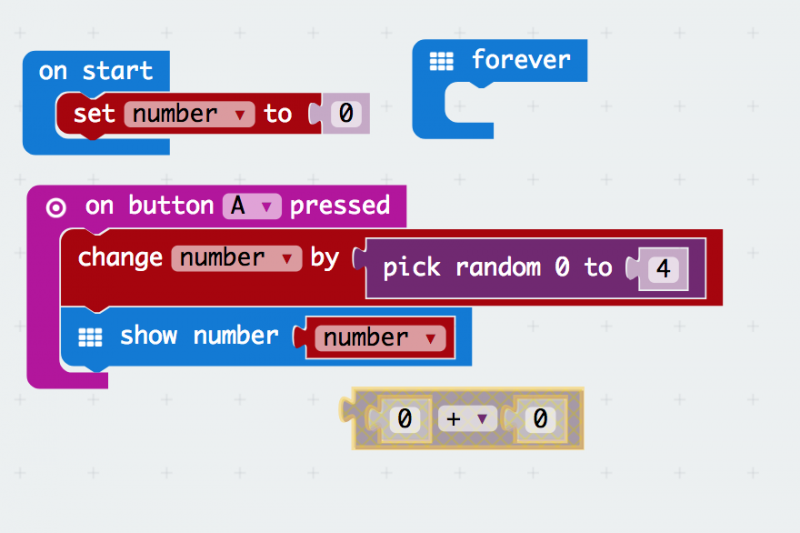
Randomiser
Conditionals
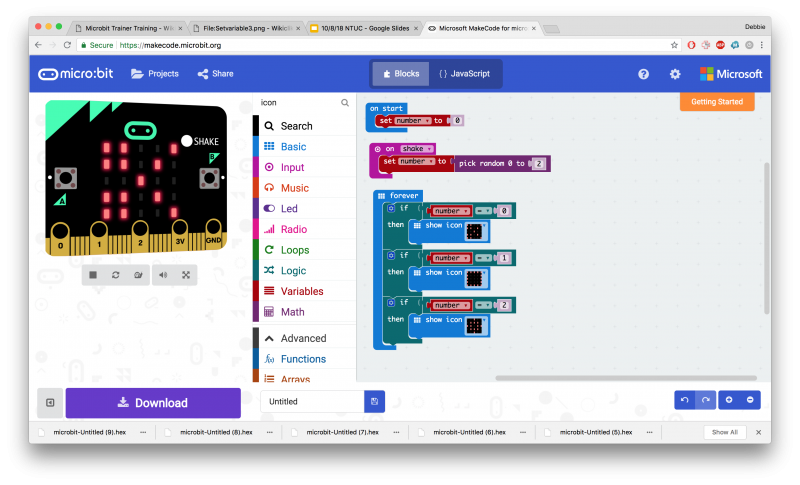
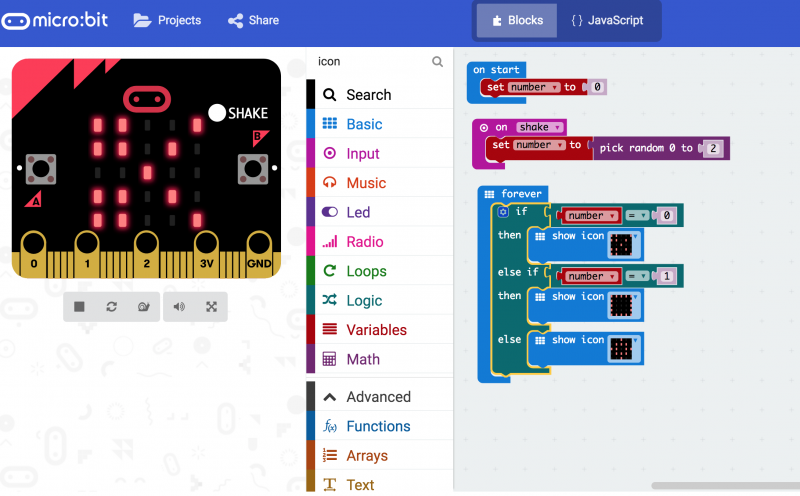
Make a scissors paper stone. Make micro:bit choose scissors, paper, or stone when shaken.
- Hints: create one variable called "number"
- Pick a random number from 0-2 so we have 3 numbers (0, 1, 2)
- And use the If else statements
This works
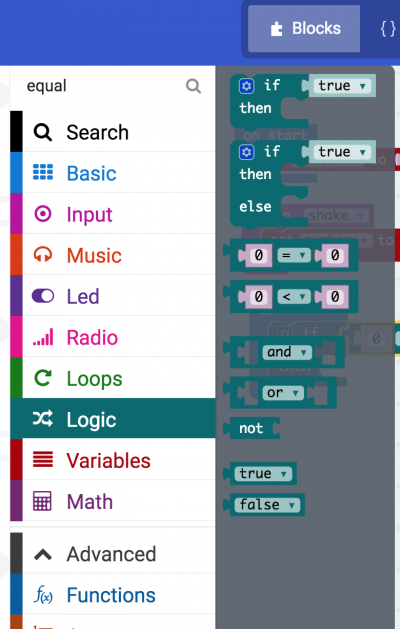
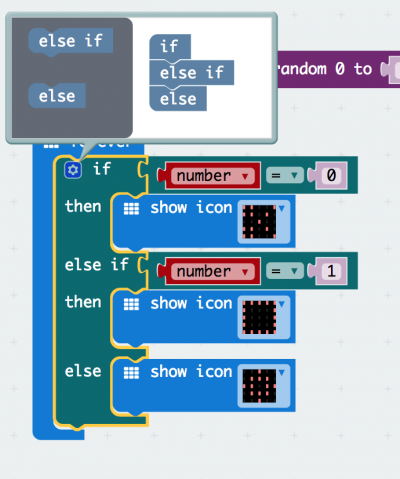
Improving the logic statement
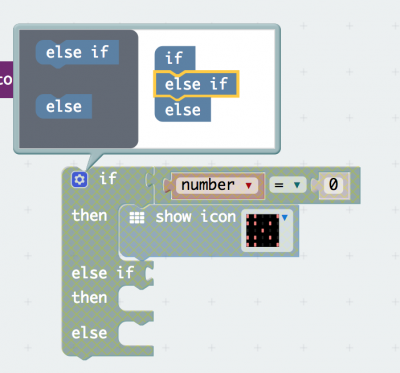
Click on the Gear icon to edit the conditional statement
Scoreboard
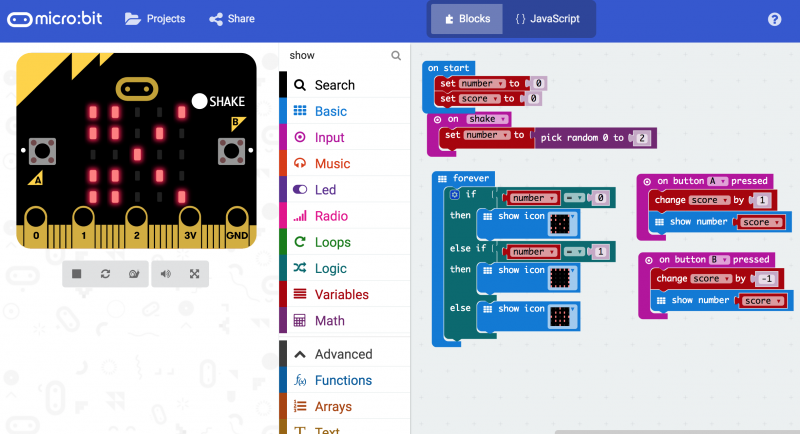
- Next, let's record the scores.
- When you press A, it should add 1 to the score.
- When you press B, it should minus 1 to the score.
- You must have a variable called "score"
External Sensors
- You can connect it to P0, P1, P2 with crocodile clips
- When we read sensor info, we tend to want to do it forever
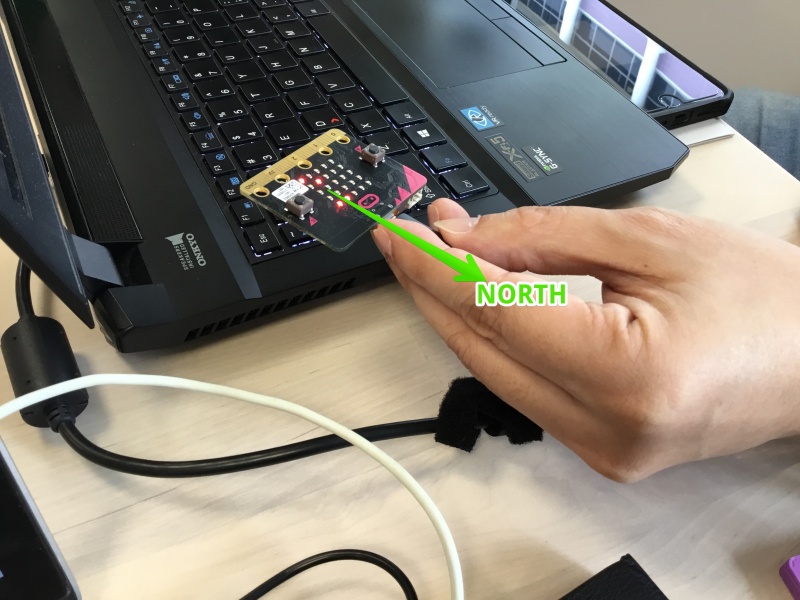
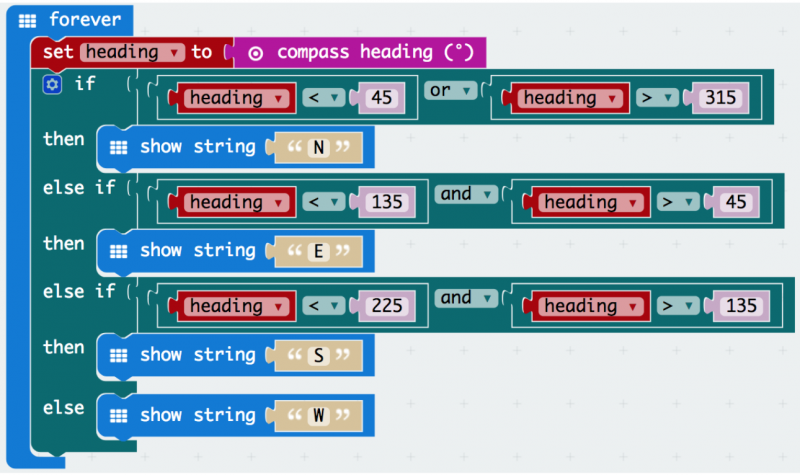
Compass
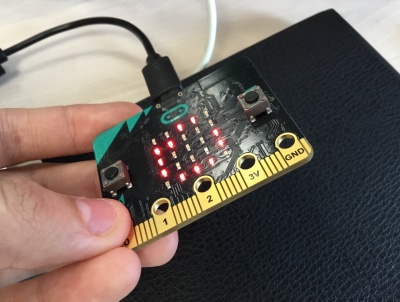
- Must be calibrated
Bluetooth
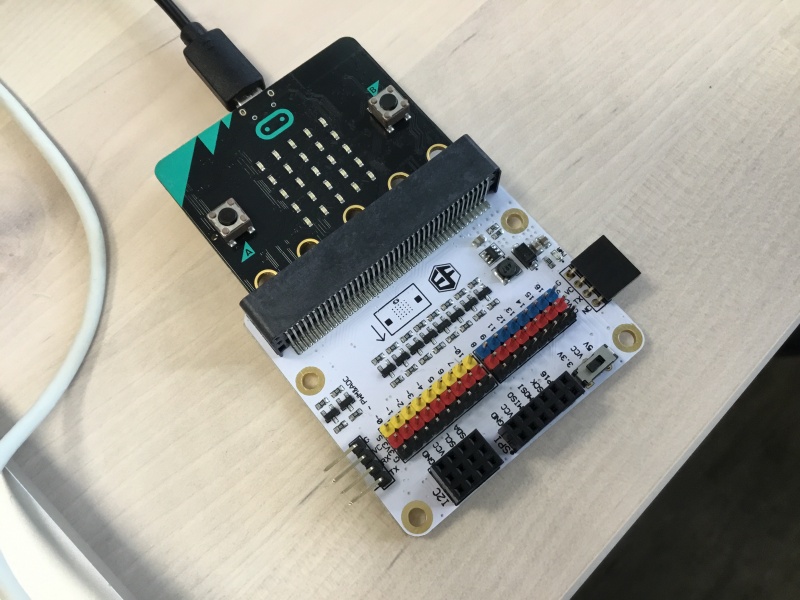
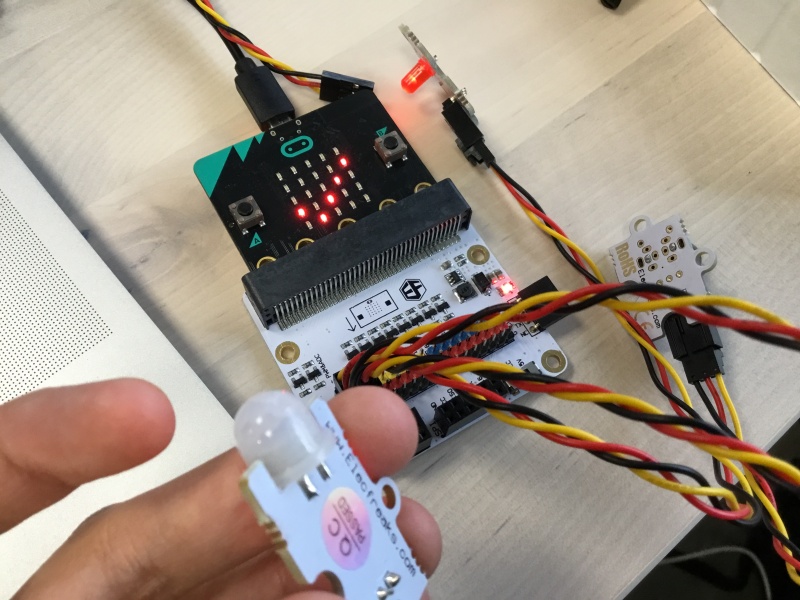
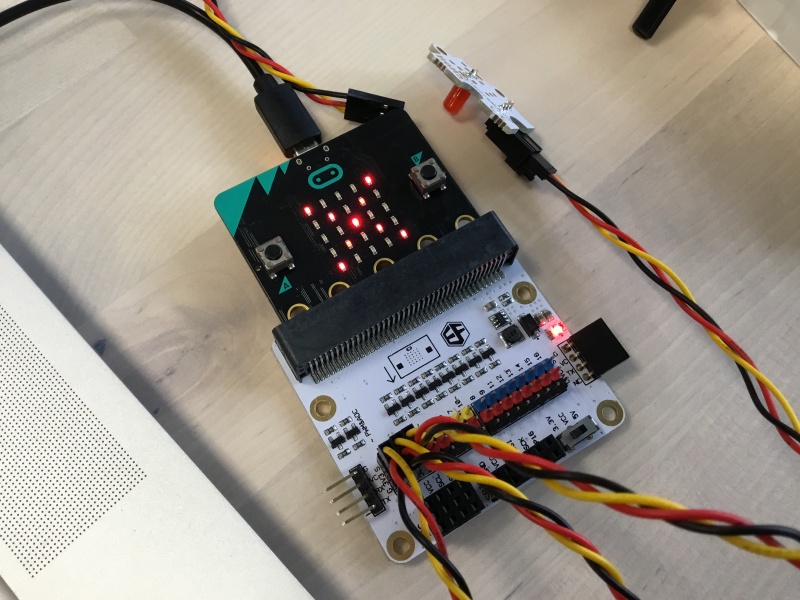
BoB Breakout Board
- LEDs on the Microbit should be facing you/up when you insert it in.
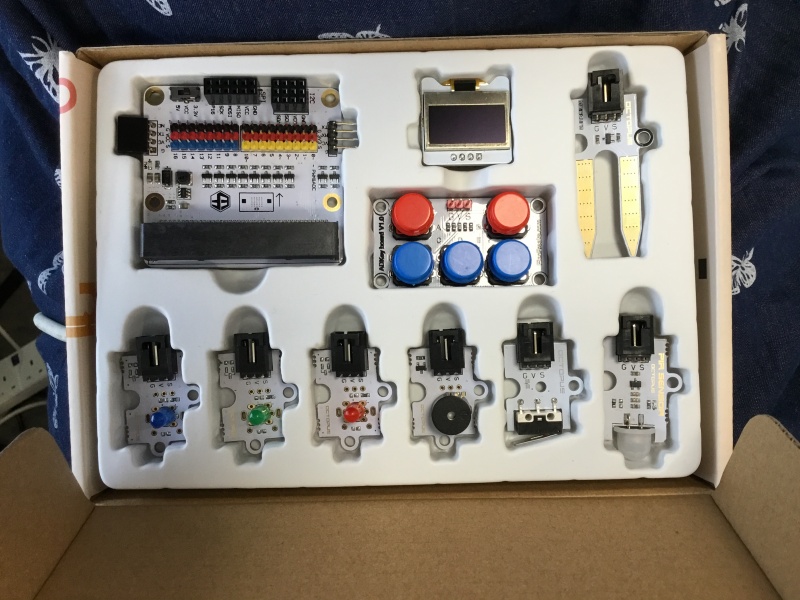
- You can connect up to 16 components.
- You can connect more power and toggle the 3.3V and 5V switch
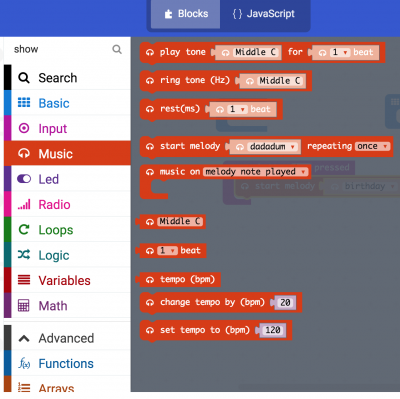
Speaker
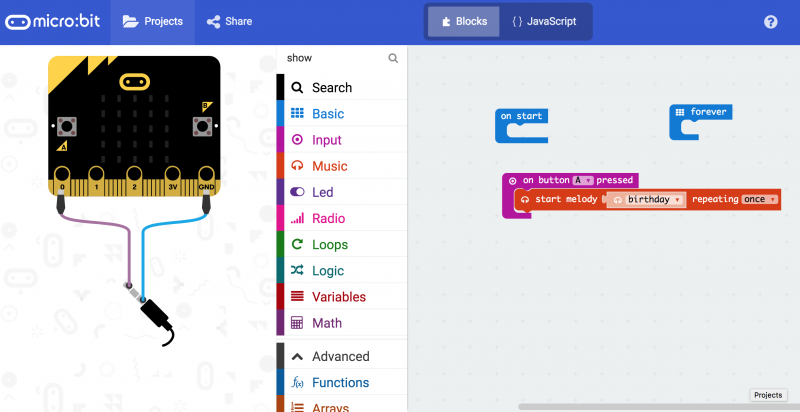
- Connect the piezo buzzer to P0
Types of I/O
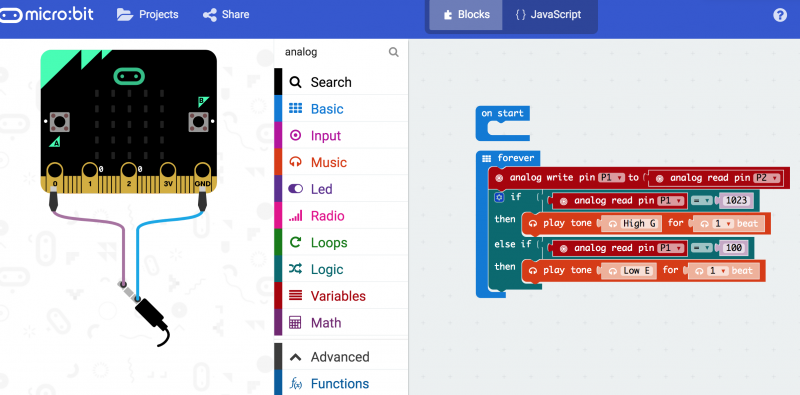
- Add Potentiometer
- Add LED
- For this exercise, use pins 0, 1, 2. Note that for pins 4-10 the power is shared with the led and the LED on the board may show some effects.
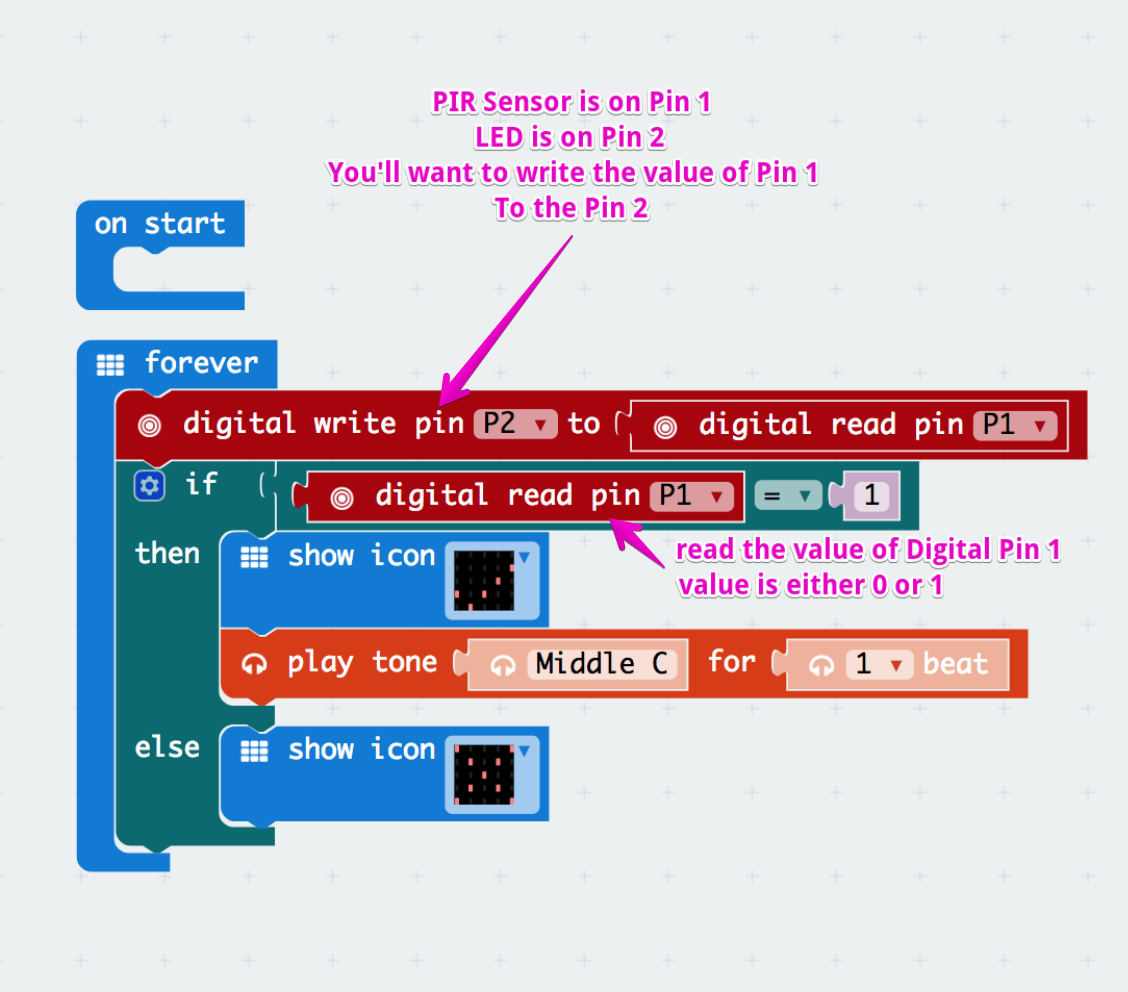
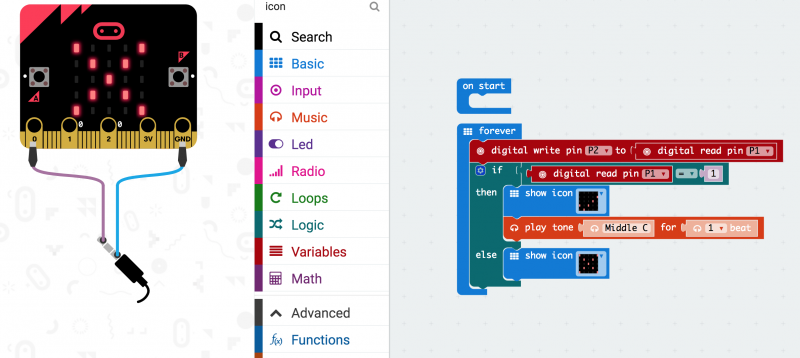
Burglar Alarm
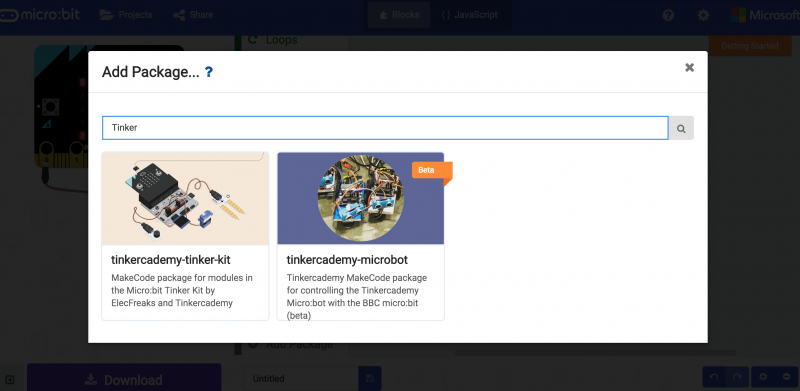
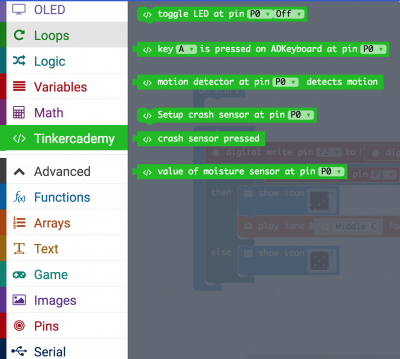
Add Packages
- Everytime you make a new project you'll need to re-add in the packages. You are only adding to that specific project each time.
- Use this version to generate items with the packages already loaded: http://tk.sg/pxt
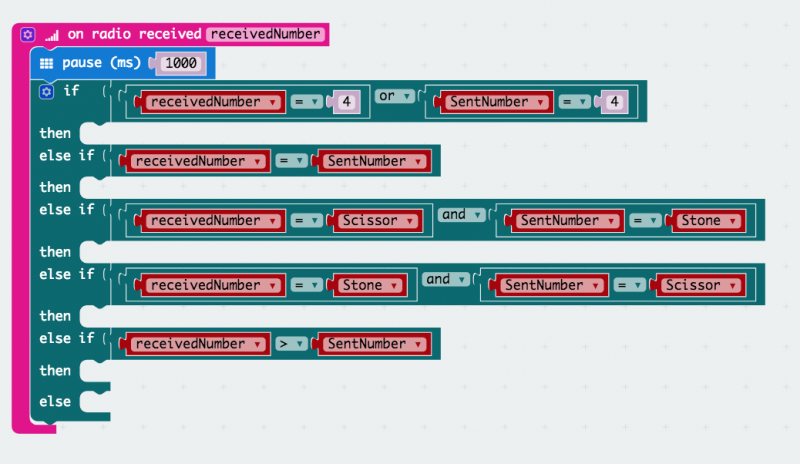
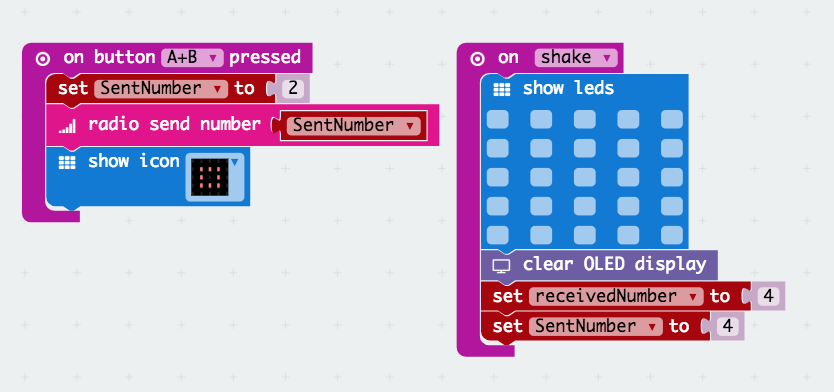
Scissors Paper Stone
More resources for Microbits
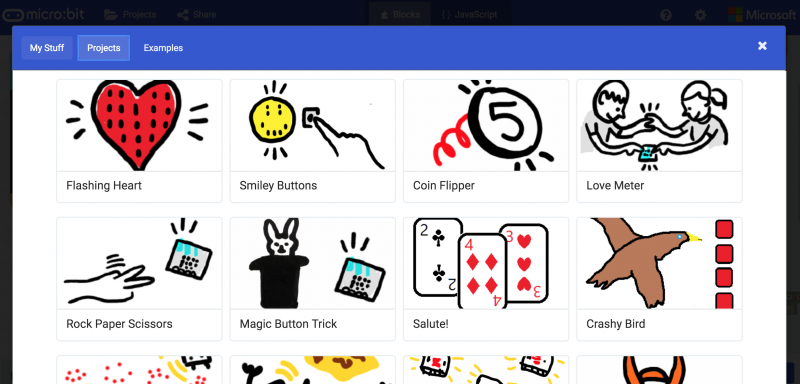
- Click on PROJECTS to see more guided tutorials: https://makecode.microbit.org/
- Tinkercademy's curated store: https://gethacking.com/ / https://gethacking.com/collections/microbit
- IMDA's Microbit website with projects: https://www.imda.gov.sg/digitalmaker / https://www.imda.gov.sg/digitalmaker/make
- BBC's Microbit Project page: https://microbit.org/ideas/
- Store with more sensors you can buy: https://www.elecfreaks.com/estore/
