Teaching Arduino Remotely
From Wikicliki
Essential Links
- Arduino IDE Software: https://www.arduino.cc/en/Main/Software
Circuit Creation:
Where to get arduino kits: https://www.electronicshub.org/arduino-starter-kit/
How to teach Arduino remotely...
Notes from watching how Adrian teaches:
- Table setup (second camera) - https://sidmlearningfutures.wixsite.com/blog/post/converting-your-living-room-into-a-working-electronics-lab
- Dropbox > shows text files! [probably can also use pastebin]
- explaining input > process > output
- example projects (inspiration!) / portables / wearables / lilypad
- Input (the electrical signal to do something), Connection (wires), Logic (how things should happen), Output (what happens / actuators)
- washi tape over led if it is very bright
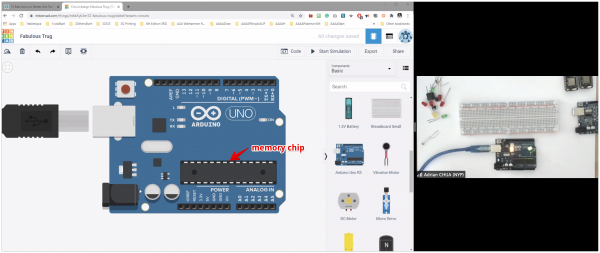
- run through on the parts and pins on the Arduino
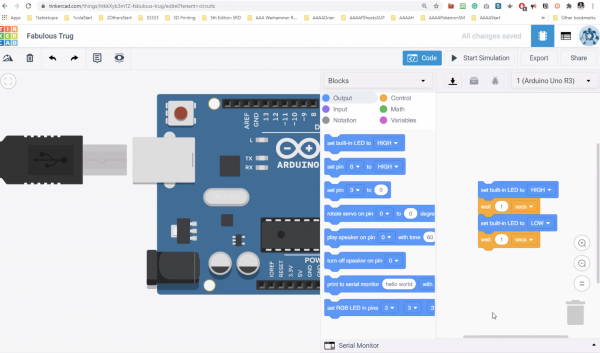
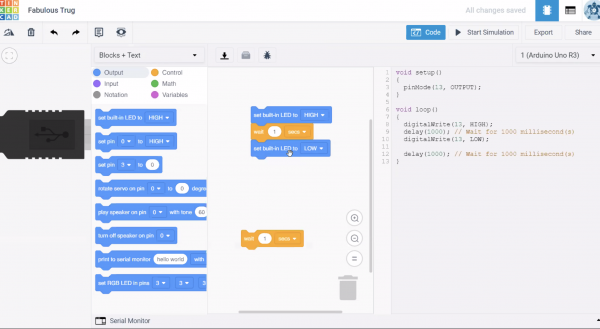
- but before we go further, go to code view and make something happen
More Online resources:
- remote teaching/learning arduino (more video examples): https://www.arduino.cc/remotelearning
Sample Arduino code
// Section one Variables and constants ( Run once )
//-----------------------


//-----------------------

// Section two the setup function runs once when you press reset or power the board
void setup() {
  // initialize digital pin LED_BUILTIN as an output.
  pinMode(LED_BUILTIN, OUTPUT); //also known as 13

  // Start Serial
  Serial.begin(9600);
}


// Section three the loop function runs over and over again forever
void loop() {
  digitalWrite(LED_BUILTIN, HIGH);   // turn the LED on (HIGH is the voltage level)
  delay(2000);                       // wait for a second
  digitalWrite(LED_BUILTIN, LOW);    // turn the LED off by making the voltage LOW
  delay(500);                       // wait for a second
}


// Section four for Any Other Business aka Functions
//-----------------------


//---
/* Blink */

void setup() {
   pinMode(LED_BUILTIN, OUTPUT);
}

void loop() {
  digitalWrite(LED_BUILTIN, HIGH);
  delay(1000);
  digitalWrite(LED_BUILTIN, LOW);
  delay(1000);
}
/* Button and LED */

const int buttonPin = 2;
const int ledPin =  13;

int buttonState = 0;

void setup() {

  pinMode(ledPin, OUTPUT);
  pinMode(buttonPin, INPUT);

  Serial.begin(9600);

}

void loop() {

  buttonState = digitalRead(buttonPin);

  Serial.println(buttonState);

  if (buttonState == HIGH) {

 	Serial.println("LED ON");

        digitalWrite(ledPin, HIGH);
  	delay(100);

  	digitalWrite(ledPin, LOW);
  	delay(100);


  } else {

    digitalWrite(ledPin, LOW);

  }

 delay(100);

}
/* LDR and LED */


const int ledPin = 13;

const int ldrPin = A0;

void setup() {

Serial.begin(9600);

pinMode(ledPin, OUTPUT);
pinMode(ldrPin, INPUT);

}

void loop() {

int ldrStatus = analogRead(ldrPin);

if (ldrStatus <= 200) {

digitalWrite(ledPin, HIGH);

Serial.print("Its DARK, Turn on the LED : ");
Serial.println(ldrStatus);

} else {

digitalWrite(ledPin, LOW);

Serial.print("Its BRIGHT, Turn off the LED : ");
Serial.println(ldrStatus);

}

}


