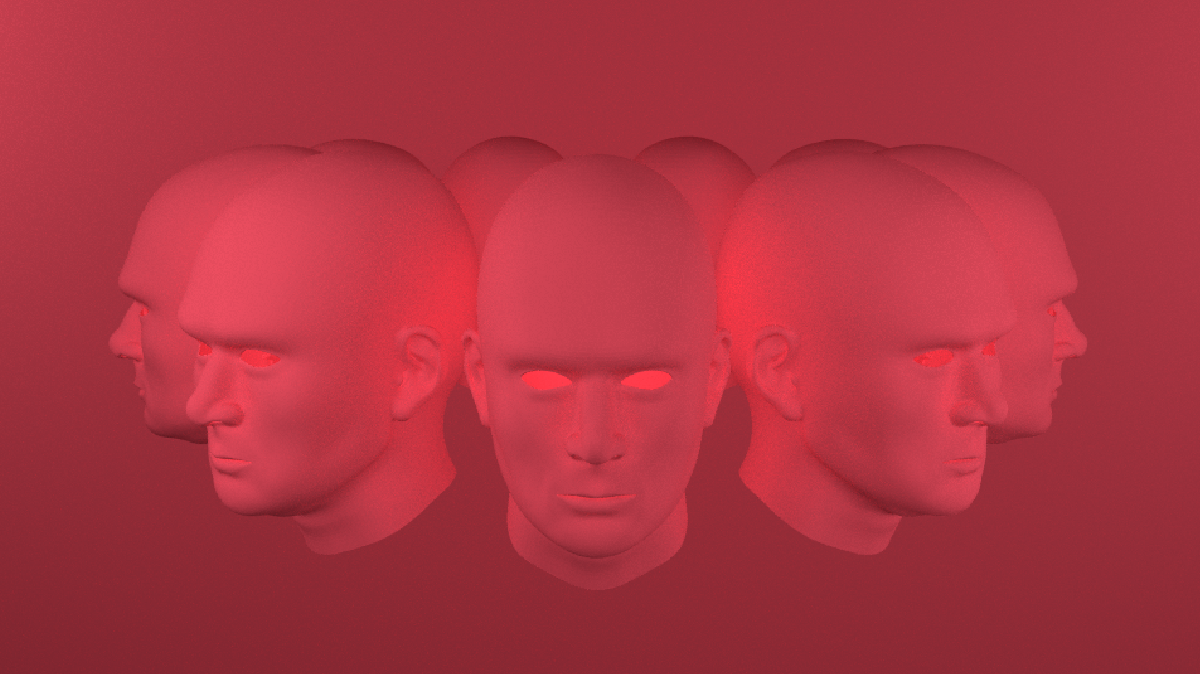
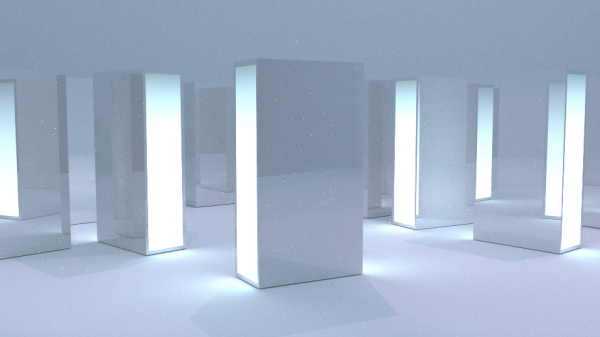
The 2016 Edition of 3653D
- https://wiki.blender.org/index.php/Extensions:Py/Scripts
- https://en.wikibooks.org/wiki/Blender_3D:_Noob_to_Pro/Advanced_Tutorials/Python_Scripting/Introduction
Contents
- 1 Simple Heart Model
- 2 Simple Low Poly Blender Land
- 3 Water Bottle
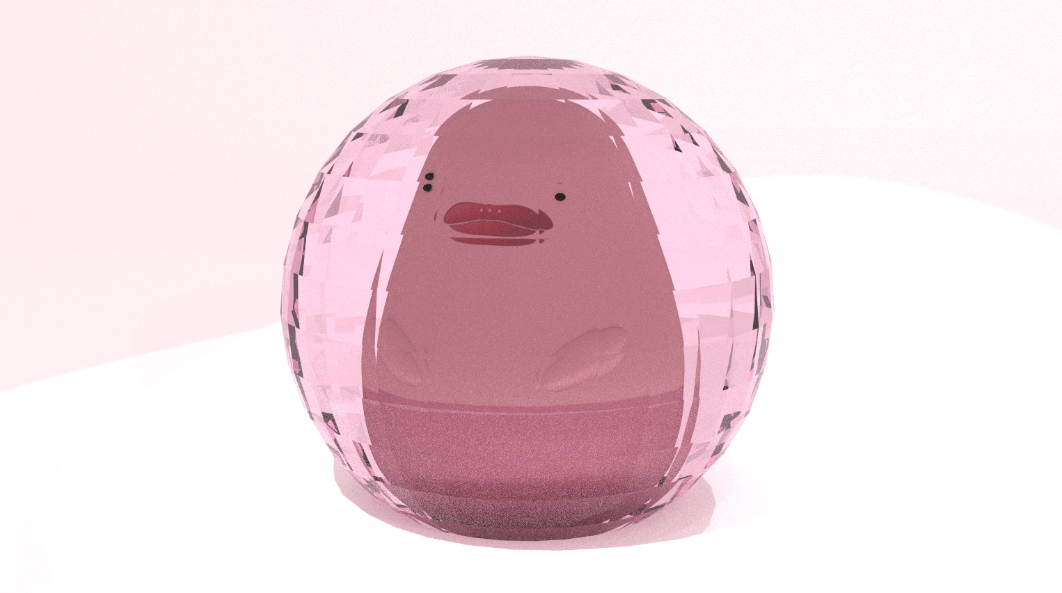
- 4 Pink Hand Cream
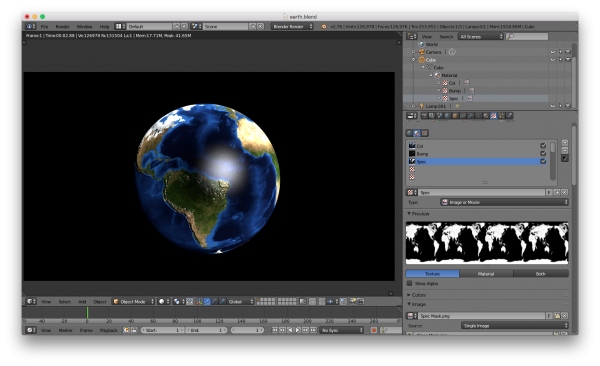
- 5 Earth UV
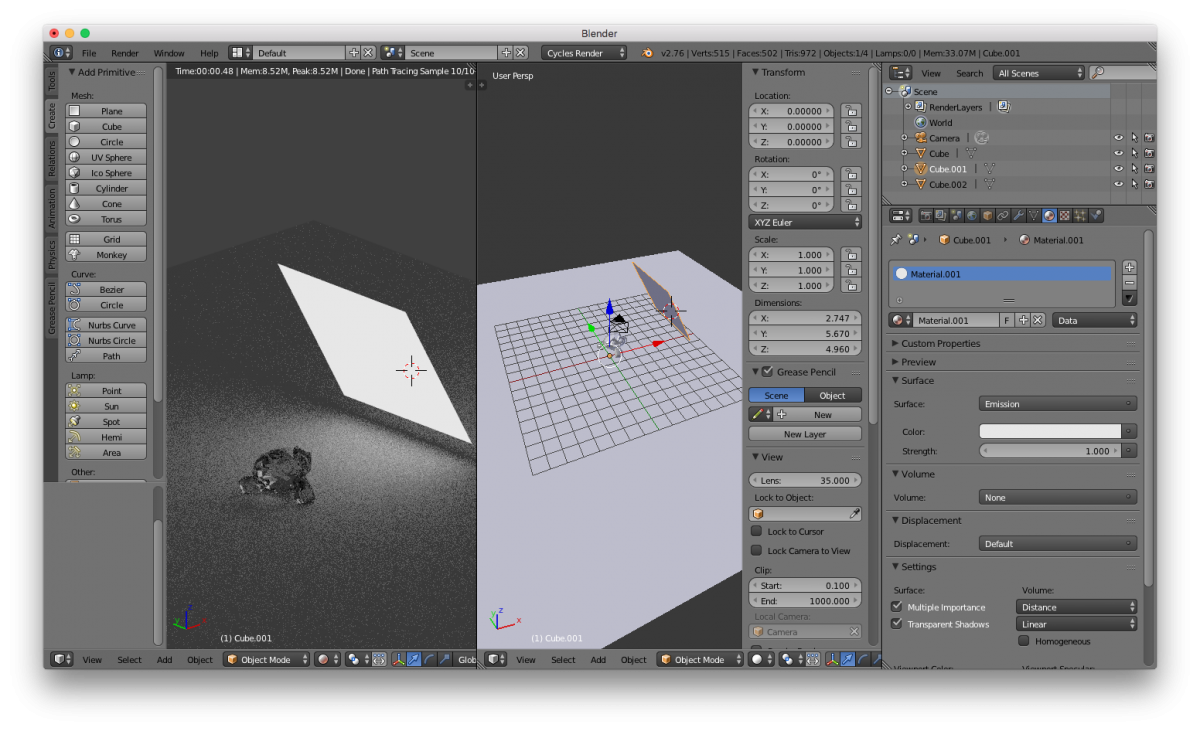
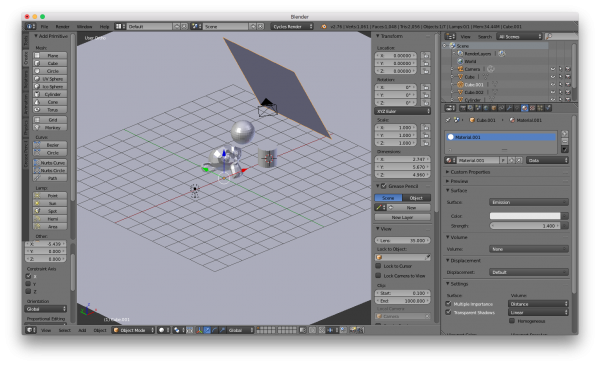
- 6 Emission Plane as Light
- 7 Typography Exercise
- 8 Armature Exercise
- 9 Hair
- 10 Array Exercise
- 11 HDRI Map to light scene
- 12 Lighting Exercise - Reduce Fireflies in Render
- 13 Smoke Stacks
- 14 Volumetric Light Exercise
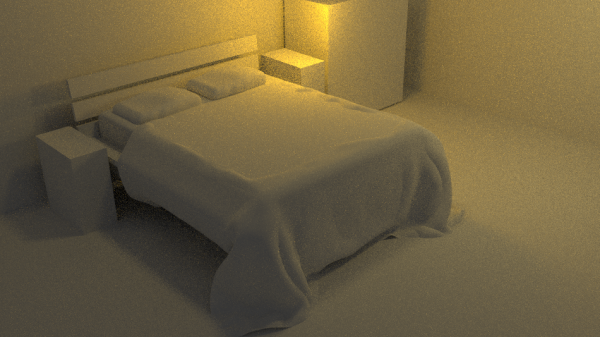
- 15 Cloth
- 16 Blender Cycles Nodes Exercise
- 17 Screencast Keys and Bear Screencast
- 18 blender building simple uv
- 19 "realLove" glossy nodes black fix
- 20 "otherGirl" cycles lighting exercise
- 21 simple geode #1
- 22 rubber band
- 23 lake and tire
- 24 black room
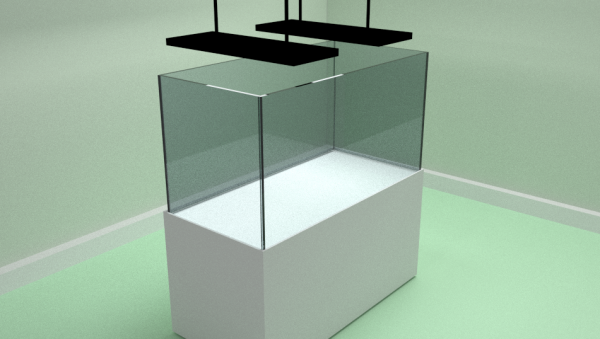
- 25 fishtank
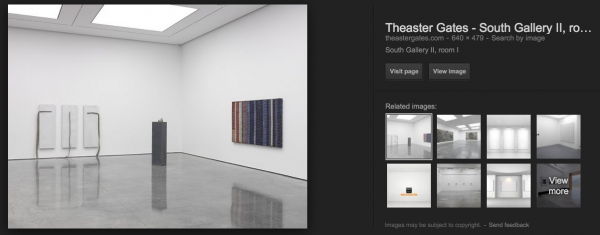
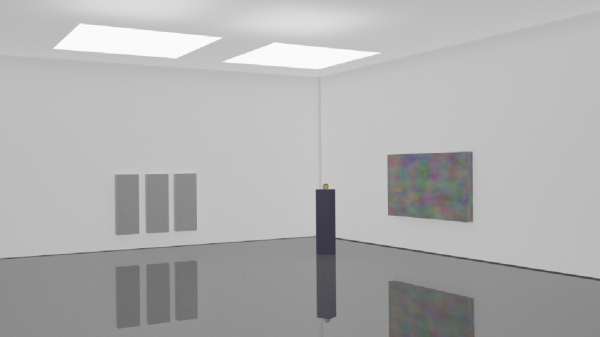
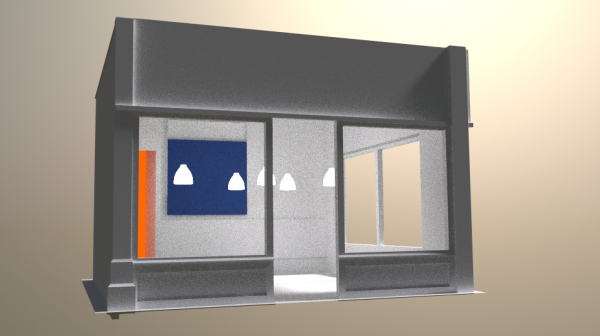
- 26 south gallery
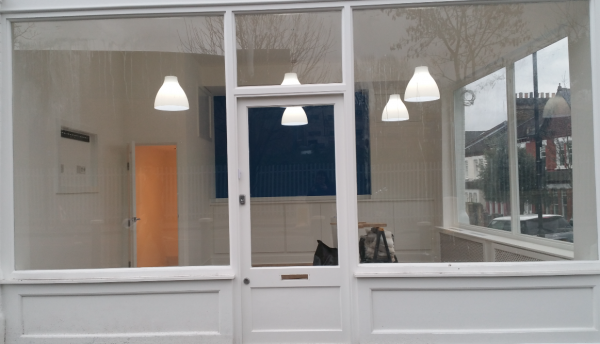
- 27 wightman road gallery
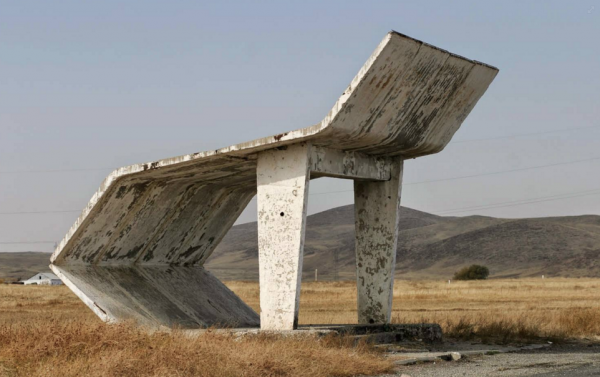
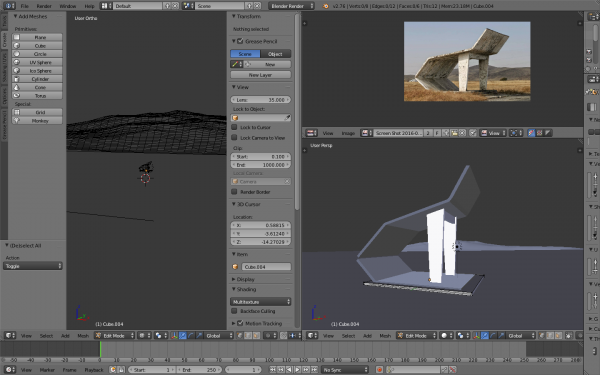
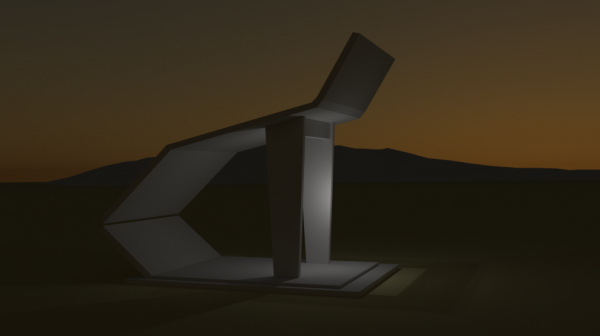
- 28 soviet bus stop
- 29 driven to abstraction
- 30 TO BE DONE: broken calorie
- 31 TO BE DONE: brutalism bridge
- 32 TO BE DONE: vilinius geometry
- 33 purple room
- 34 MSCP Dustbin
- 35 George Object 1
- 36 George Object 2
- 37 MSCP sign
- 38 Building at night
- 39 Concrete Gallery
- 40 FACTORY
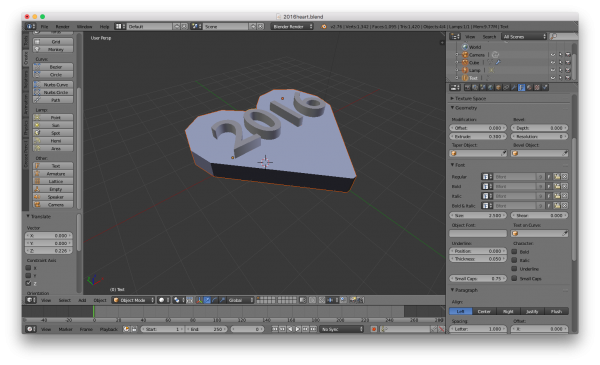
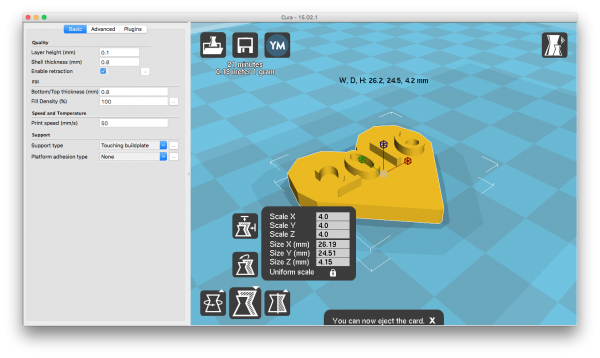
Simple Heart Model
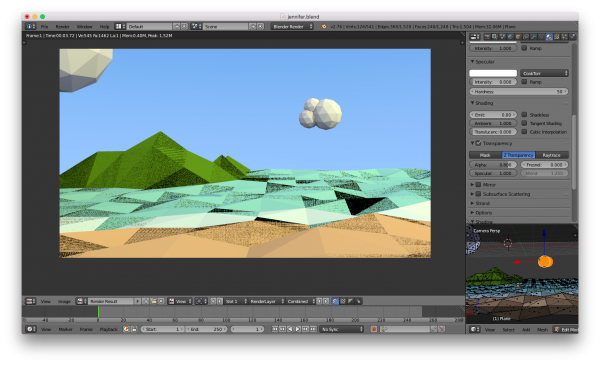
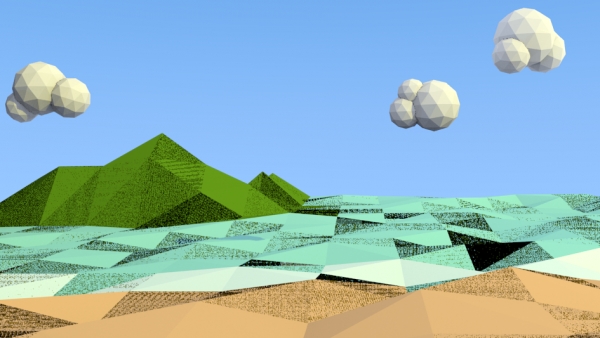
Simple Low Poly Blender Land
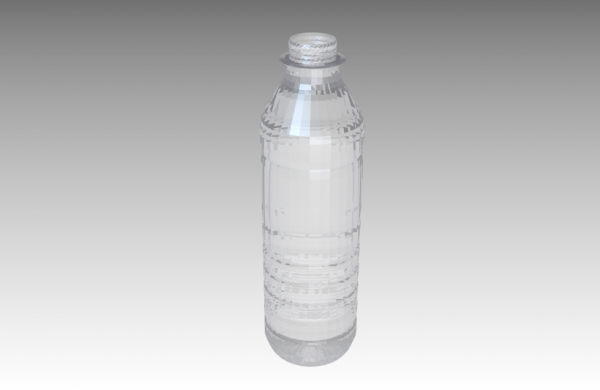
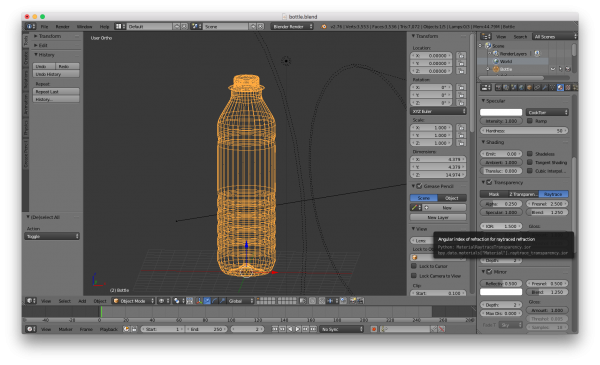
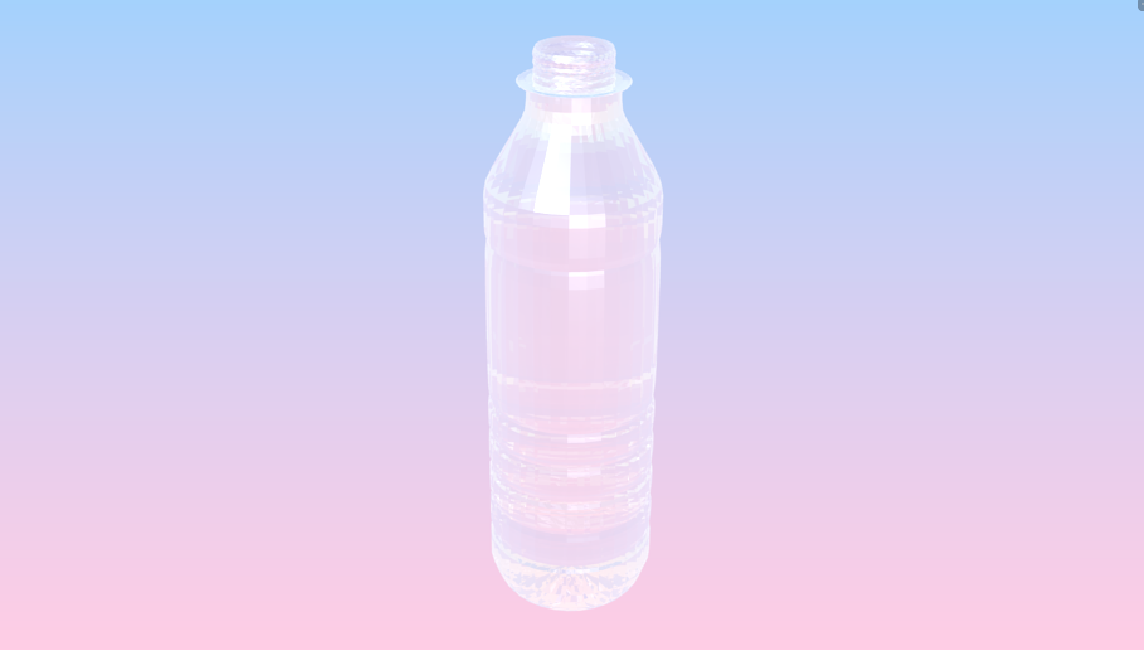
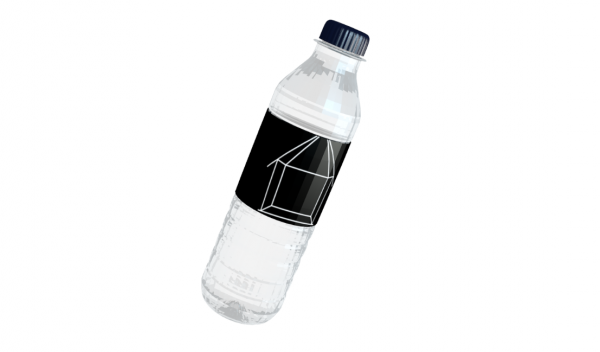
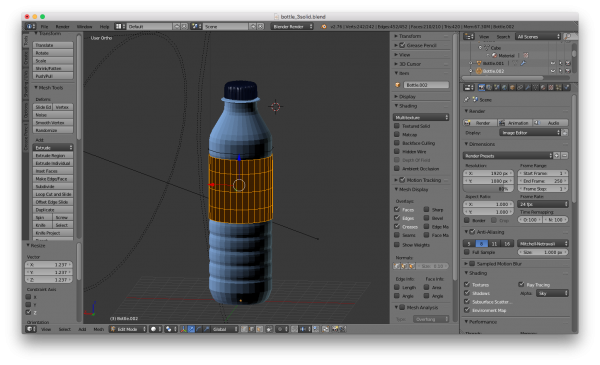
Water Bottle
Quick Navigation
- Shift-Mousescroll to go up and down
- Ctrl-Mousescroll to left and right
- Mousescroll to zoom in and out
- E - Extrude
- S - Scale
- P - Separate into another object (Options)
- X - Delete (Options)
- If you can't find your background image, check that you're in ortho view. It does not appear in perspective.
- Select at least two vertices for Edge Loop
- B + left click drag to quickly select multiple vertices whilst in edit / wireframe mode. Remember to press A to deselect first.
- Ctrl+R to make edge loop. Middle-mouse scroll to increase divisions.
- Select > Checker Deselect > Deselect every n-th vertice.
- IOR Values: http://vray.info/topics/t0077.asp (this one was plastic of about 1.46 to 1.5)
Ctrl-J to Join objects. But this may not produce manifold objects. To check your model, in Edit mode > Ctrl+alt+shift+m tries to select non-manifold parts of your mesh. Those parts could be: loose vertices, double geometry, inside faces/edges, holes
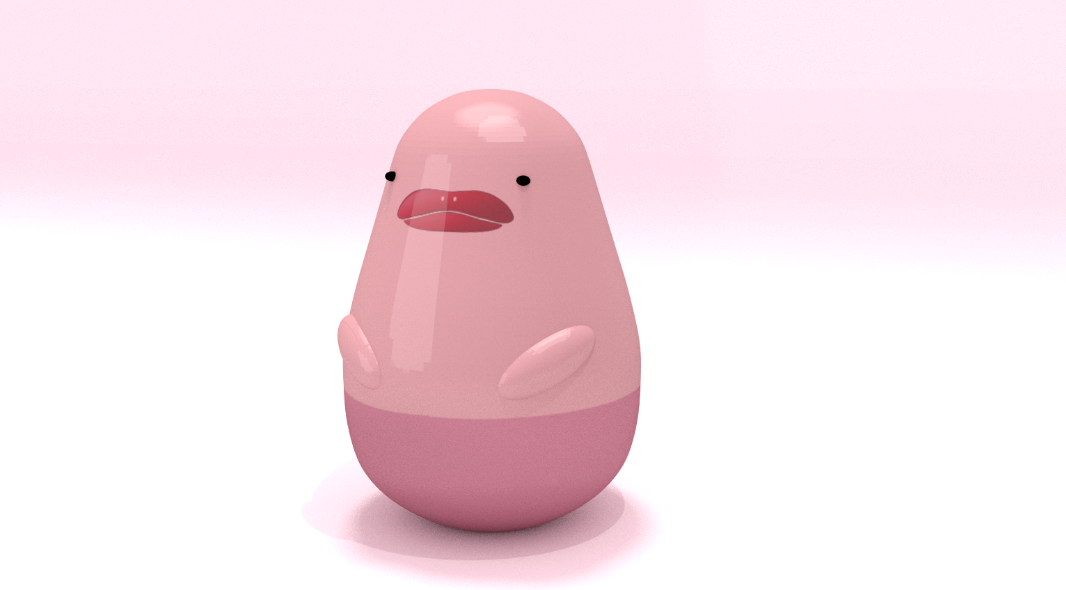
Pink Hand Cream
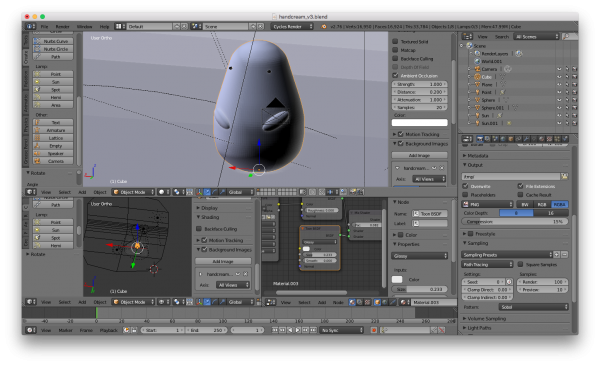
- If scene is too noisy, under Render (camera icon in properties) > Sampling > Samples to 100+
Earth UV
- Alt-rightclick to select edge loop <-- THIS IS SUPER ESSENTIAL!!!
- Ctrl-E to get Edge menu
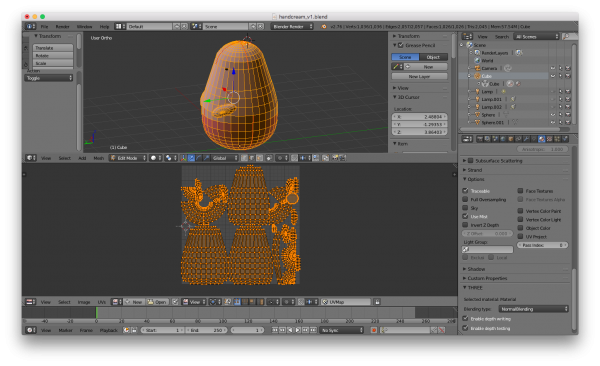
- UV must be set to Generated > Sphere
Emission Plane as Light
- Note that sometimes if your material doesn't show up as expected, it might be stacked up with more materials than you expected. Check Materials to make sure you haven't got extra material settings.
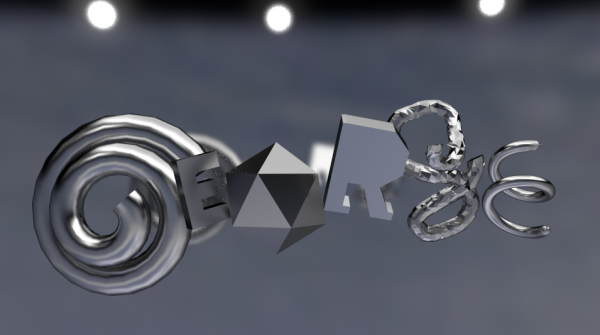
Typography Exercise
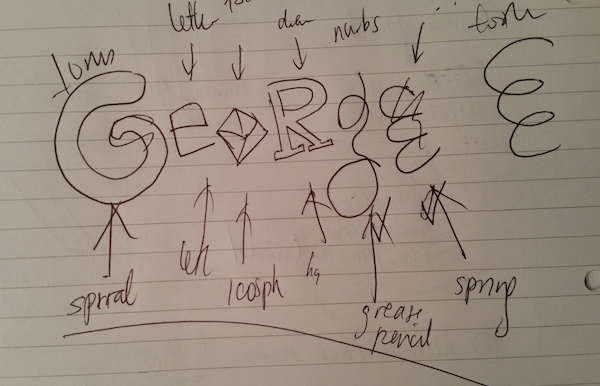
Mockup on paper:
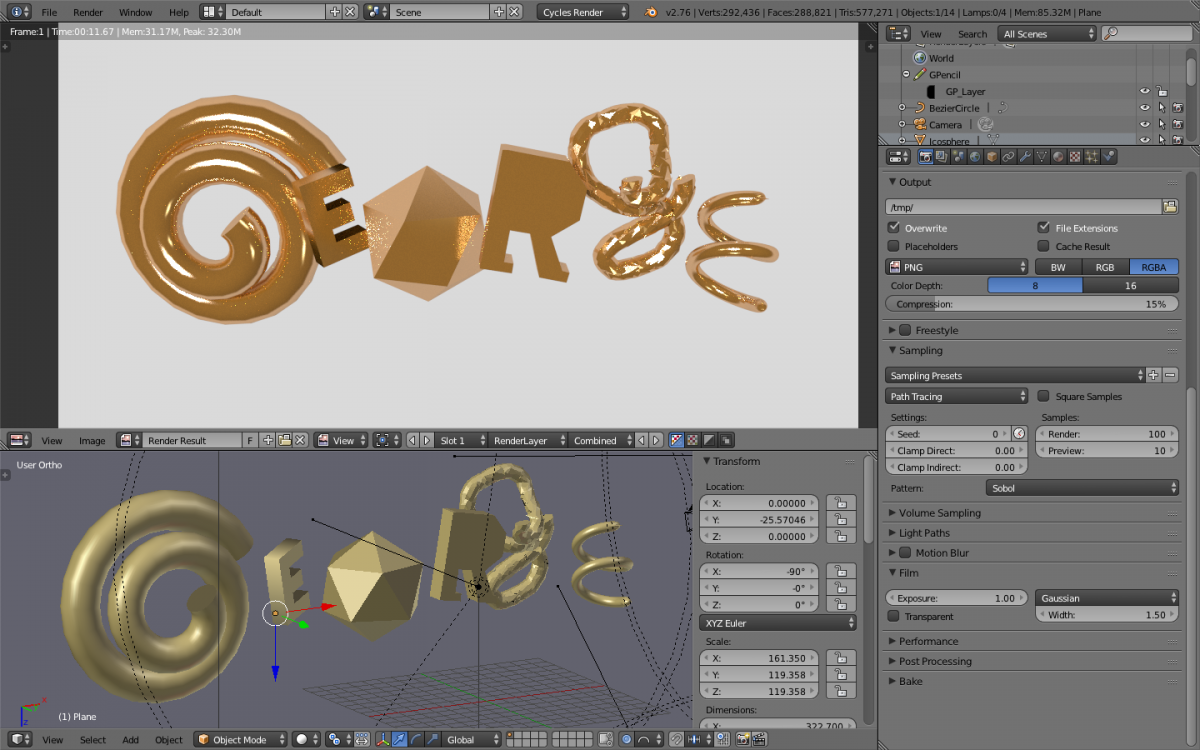
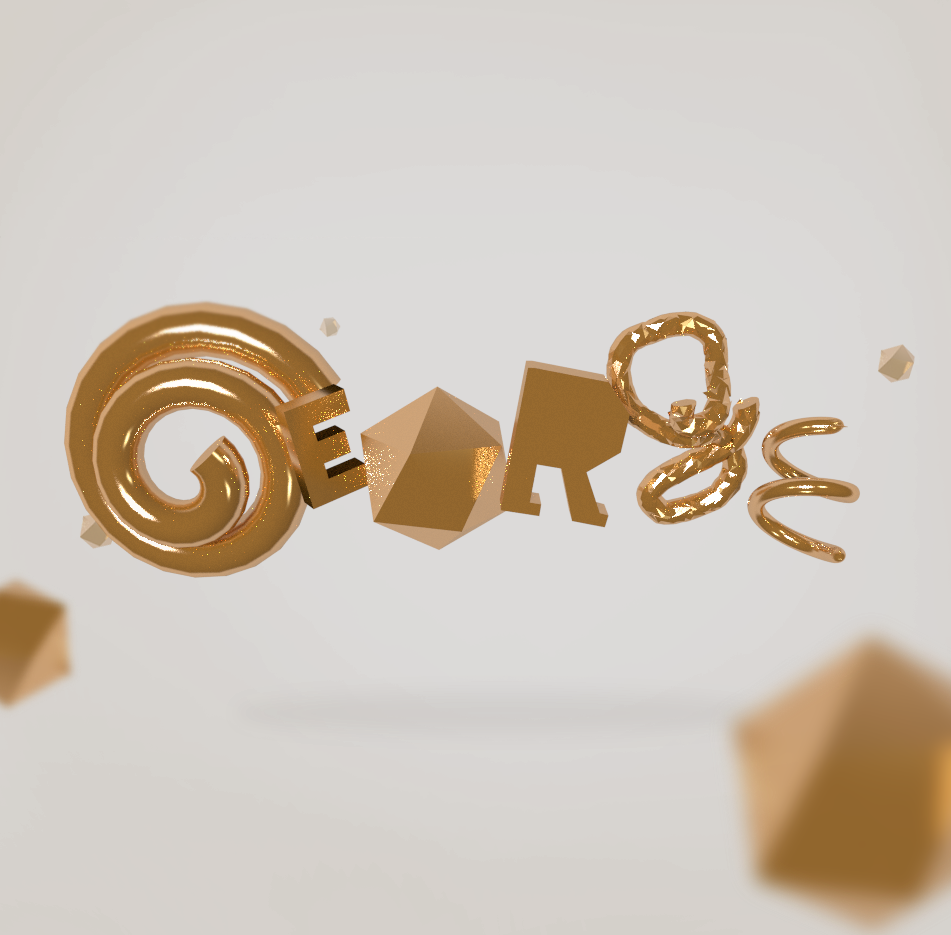
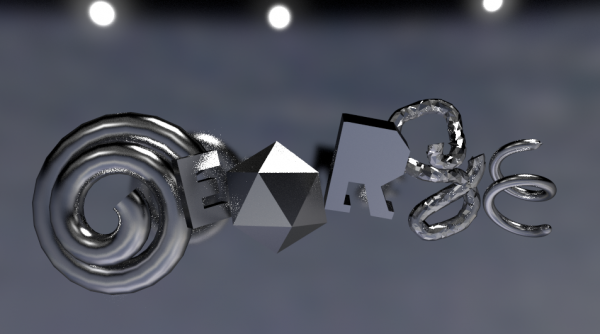
- G - Spiral
- E - Text Letter
- O - Icosphere
- R - Simple handdrawn/extruded vertices
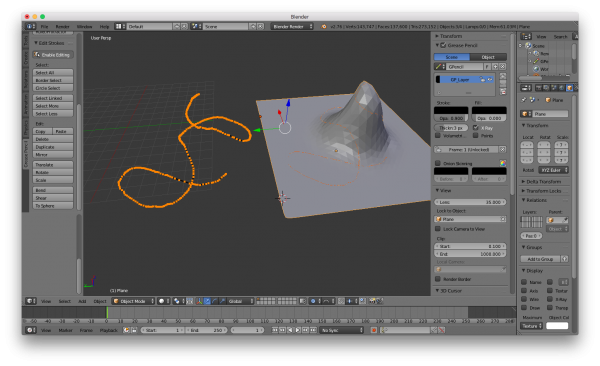
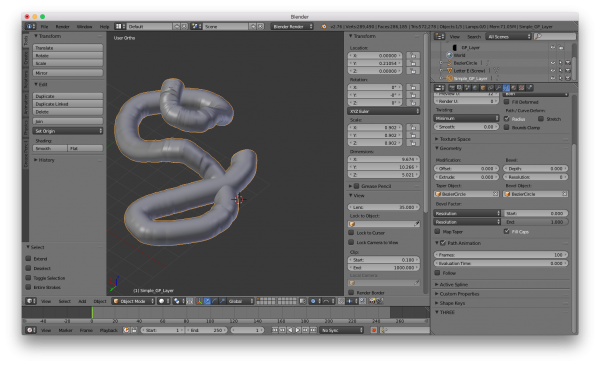
- G - Grease Pencil drawn on surface of a curved plane, converted into path, simplified (Addon>Simplify Curve), then bevel with Bezier Circle
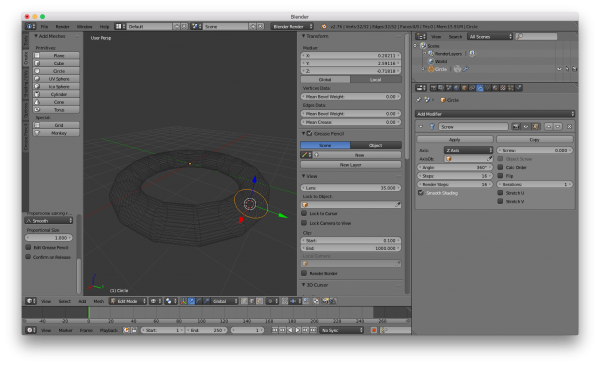
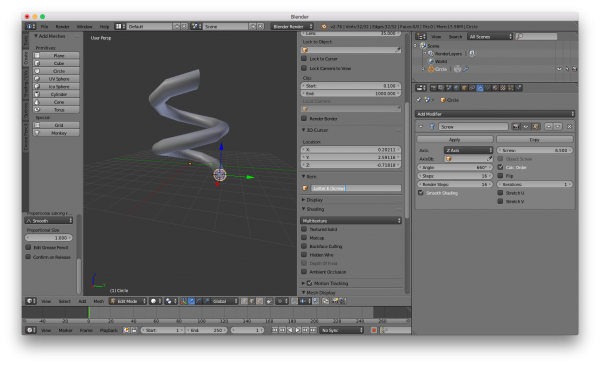
- E - Circle turned into Spring (Add Modifier > Spring)
- Pressing spacebar allows you to search for any function. in this case, Simplify Curve cannot be found in the menu but can be found via Search (spacebar) then typing the first few letters.
- After using grease pencil - If nothing can be scaled or things stop working properly, remember to disable "enable editing" of the Grease Pencil!!!
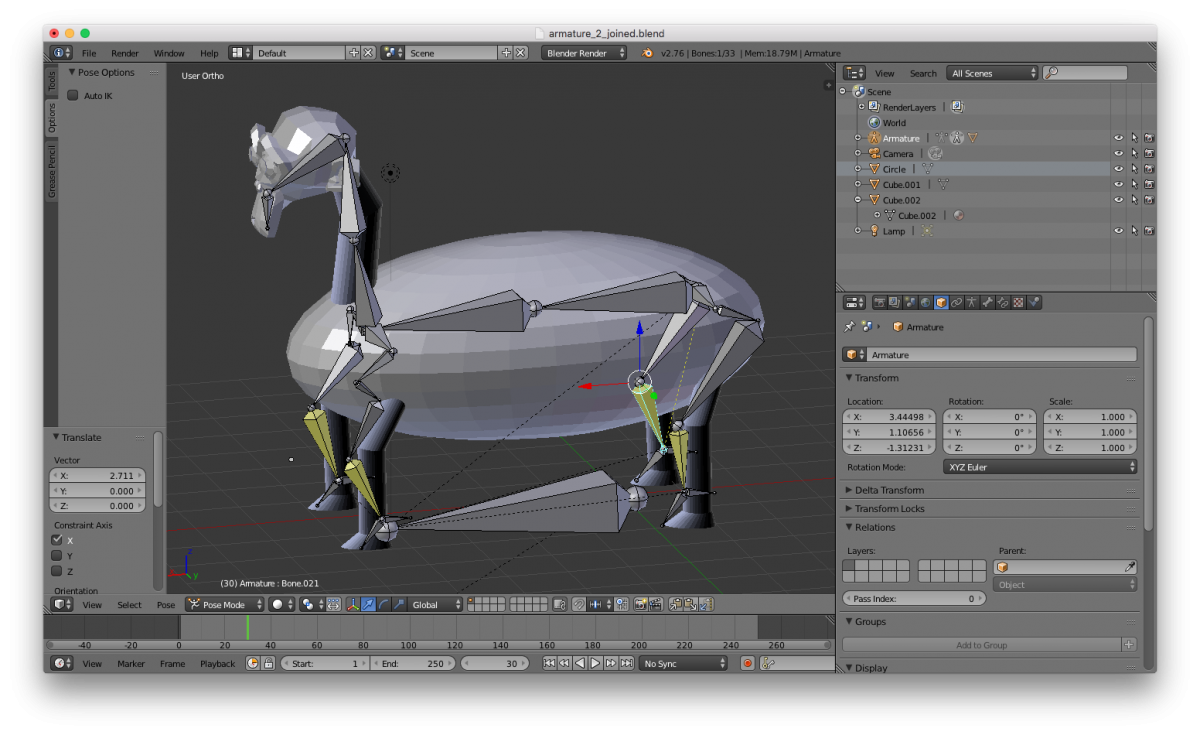
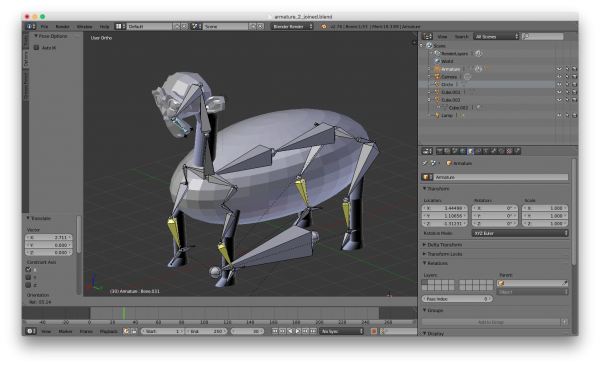
Armature Exercise
Following this: https://www.youtube.com/watch?v=gR2OV9r76_w
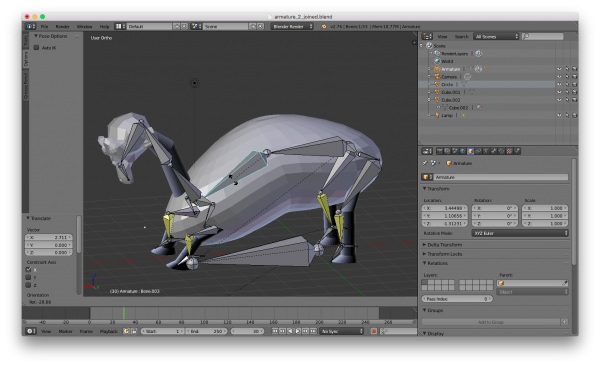
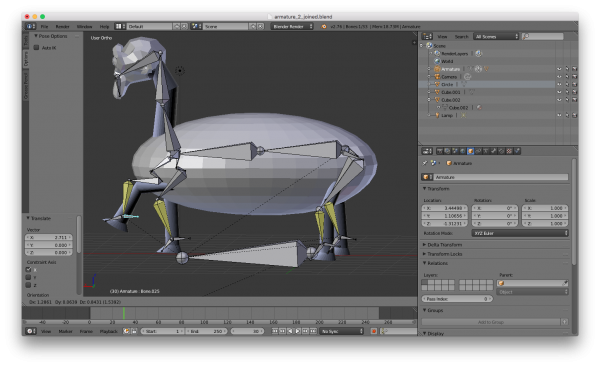
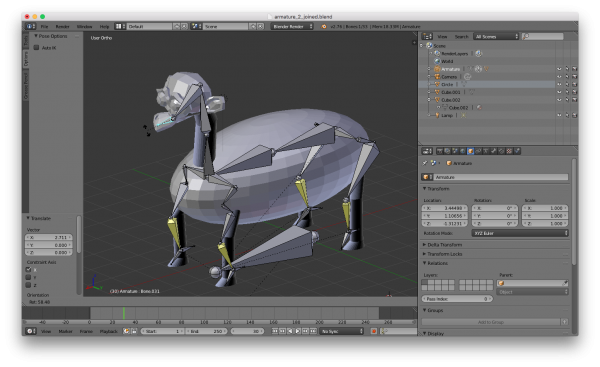
I quickly made a simple creature with 4 legs...
- In edit mode, Shift A > Add Armature
- Click on the ball and press E to extrude a new bone out of the ball
- W to see specials menu to subdivide a bone
- You can delete bones but keep their parent
- for inverse kinematics you should click on those bones Alt-P Clear parent
- go to pose mode, select the handle bone and the bone to be inverse and Shift I to add active Inverse kinematics bone
- go to bone constraint (bone + chain link in properties) and increase chain link to something like 2 (two bones above it)
- if bone not connected, shift click on all children first then parent and Ctrl-P to parent > keep offset
- When in Pose mode, alt-g to reset and snap back into positon after you mess it up
- Ctrl-J to join all the parts of your model into one mesh
- Finally, Shift Click your animal mesh, then Shift Click your armature, Ctrl P to Set parent automatic weights
- MAGIC!!!
- Shift - S - snap to menu
- Draw Circle below to make a custom shape root
- go to animation view
- make a pose
- select A to select all the bones
- I > insert keyframe > LocRot (location rotation)
- mouse over the dope sheet - Shift Up to go 10 frames forward you see it go to 10
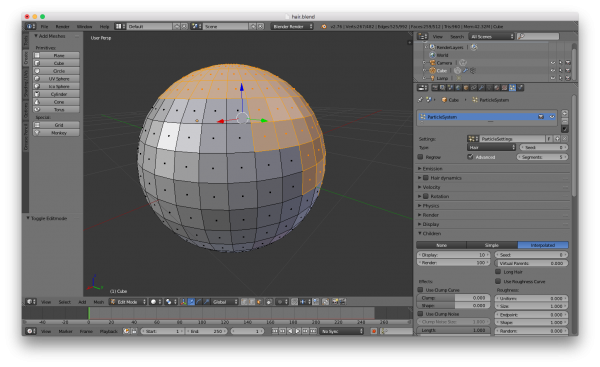
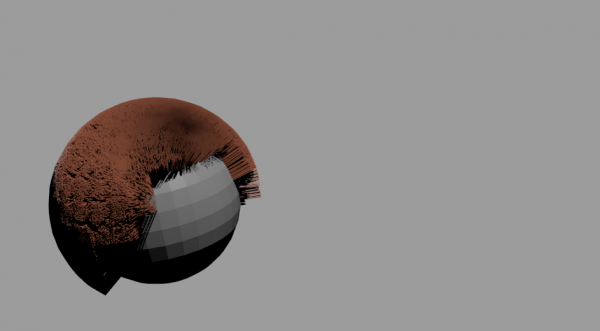
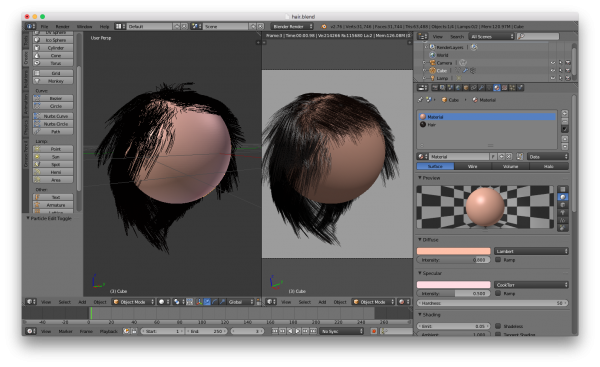
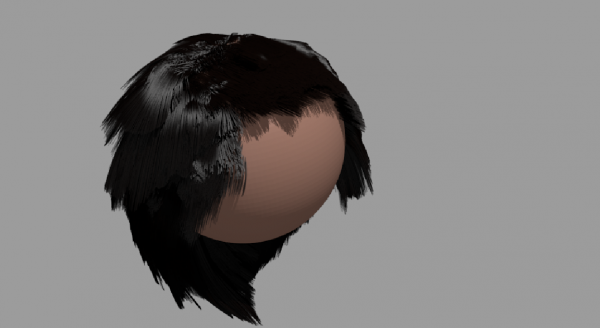
Hair
- Select faces > Ctrl G to set vertex group
- Add Particle > Density Group to be set to your saved vertex group
- Particle Edit > Comb
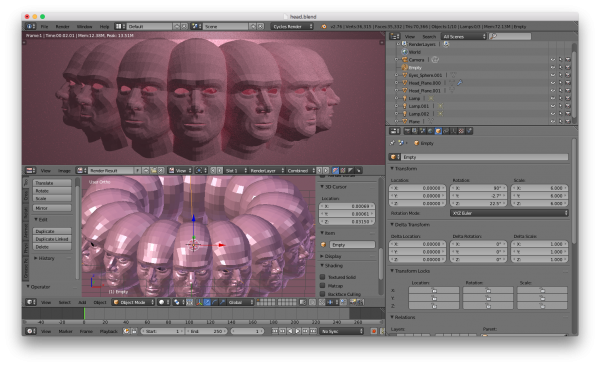
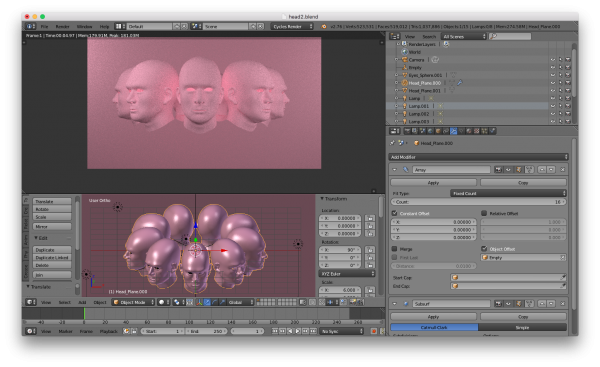
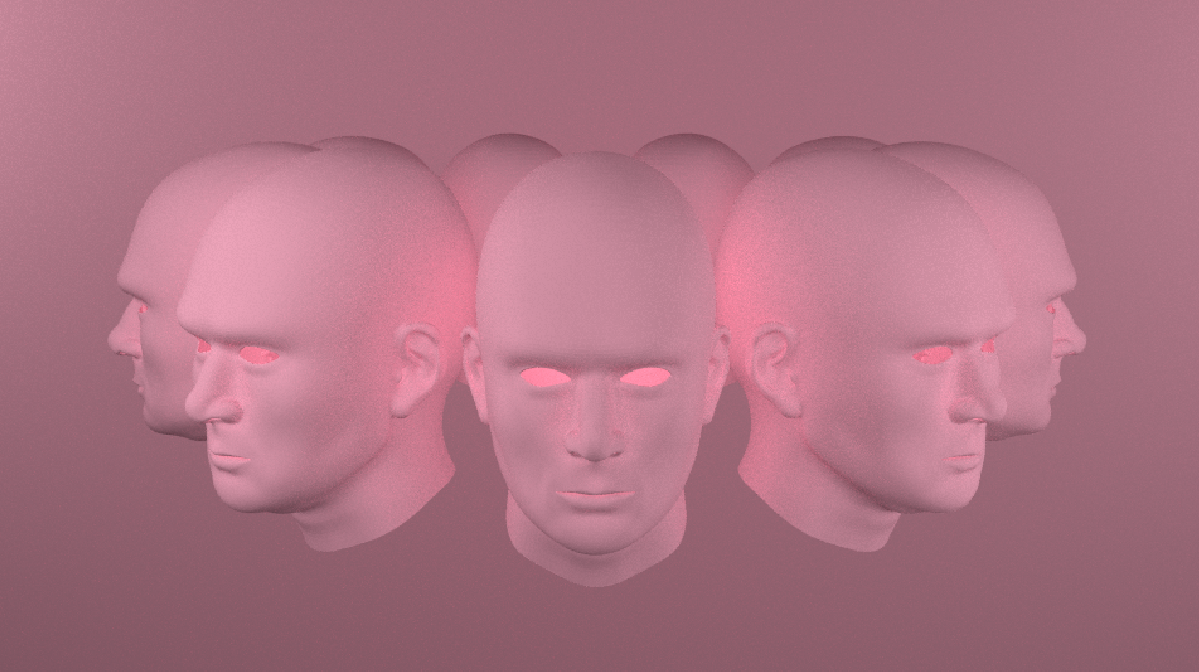
Array Exercise
- Alt , to manipulate origin point separate from the object itself (or click on the small button below)
- Shift A to add Empty > Plain Axes
- Offset the object, make sure you are in Edit Mode, then add Array, Constant Offset, Object Offset with Empty (the empty axes that was made at origin)
- Increase the Count, and also make sure that if your original model was rotated/scaled/transformed in any way, that it must reflect the same numbers on this empty so your model will not go into an ever decreasing spiral of nothingness
HDRI Map to light scene
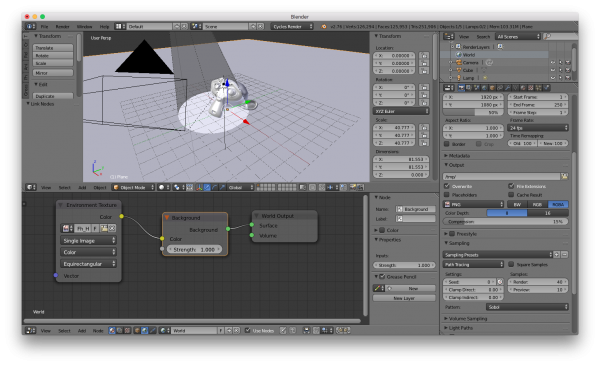
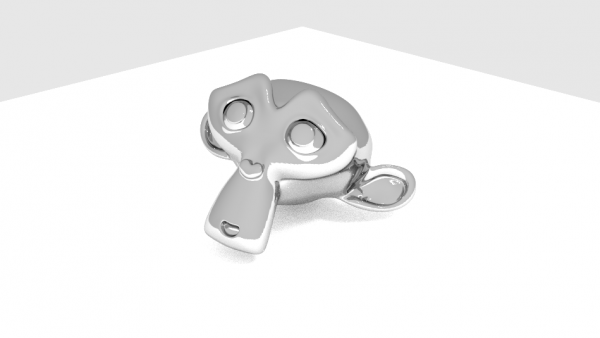
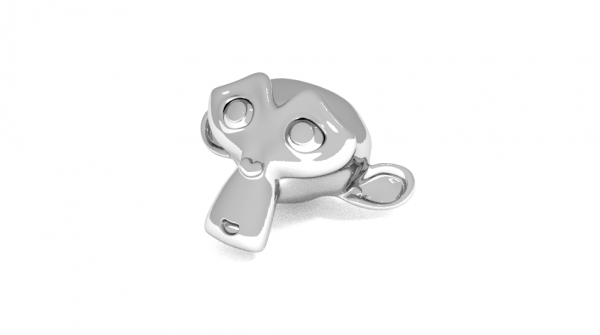
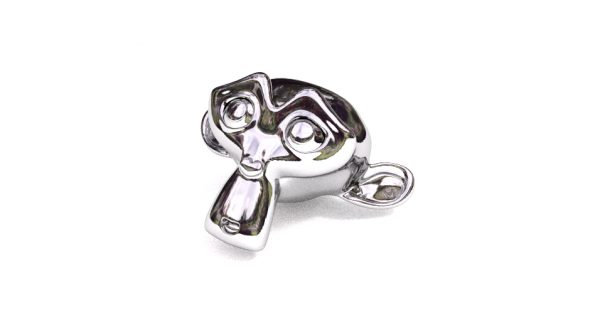
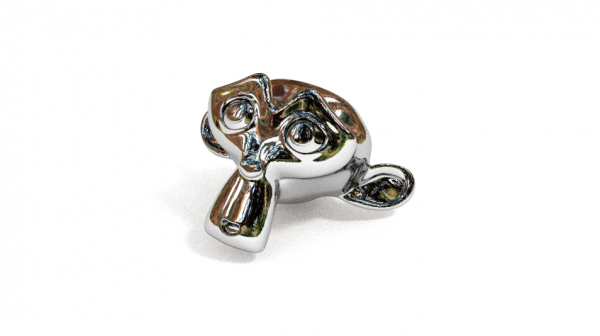
High Dynamic Range Images (HDRI) is used to visualise reflecting materials and for lighting scenes. Metallic objects don't look real unless they are reflecting other materials such as the room around them. An environmental texture can be used as a light within the scene. This is also known as “Image Based Lighting”, or IBL.
- This explains HDRI: http://www.pauldebevec.com/Probes/
- Tutorial on how to use: http://www.chocofur.com/hdri-maps-in-blender.html
- Cycles Node > Environmental Texture
- in World, Turn on multiple importance
Lighting Exercise - Reduce Fireflies in Render
Fireflies are the burnt out white pixels.
Solutions for reducing fireflies
- Increase lamp size (Improves most scenes a lot) - 0.5 or more...
- Render (Camera in Properties) > Light Paths > Increase Filter Glossy to 0.5 (Puts glossy filter on caustics)
- Render > Sampling > Increase Render to 1000
- Lights - test out using and not using Multiple Importance Sampling. Usually you should have it.
- (Bad practice but may work) Setting clamping - the threshold for how high the maximum brightness in the scene can be then removing all the rest
- (Bad practice but may work) No Caustics (next to Filter Glossy option in Render) - "A caustic effect may be seen when light refracts or reflects through some refractive or reflective material, to create a more focused, stronger light on the final location. Such amplification, especially of sunlight, can burn -- hence the name."
- Still has room for improvement...
- More on noise reduction: https://www.blender.org/manual/render/cycles/reducing_noise.html
There is no real difference between using area lamp or emissive polygon in Cycles, as Cycles just determines the softness of a shadow by shooting a ray in a random direction and seeing if it hits a light source, and which part.
- For an emissive polygon (mesh light), a hit "counts" if it intersects the mesh.
- For an area lamp, a hit "counts" if it passes through the rectangular area around the lamp's center. This area is configurable, in Blender.
- Point lamps work the same way except that the area around the lamp's center is spherical (which is controllable by its size)
What is Multiple Importance?
- Multiple importance sample (MIS) basically helps guide rays towards light sources, reducing noise
- Without MIS only rays that bounce directly to the lamp are sampled (camera > surface > lamp). With it, all sorts of bounces are sampled.
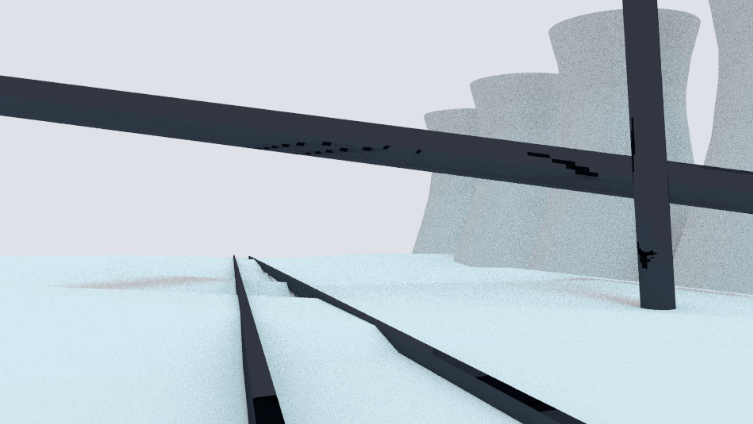
Smoke Stacks
Was busy with other work. This was an experiment to make something more architectural.
Volumetric Light Exercise
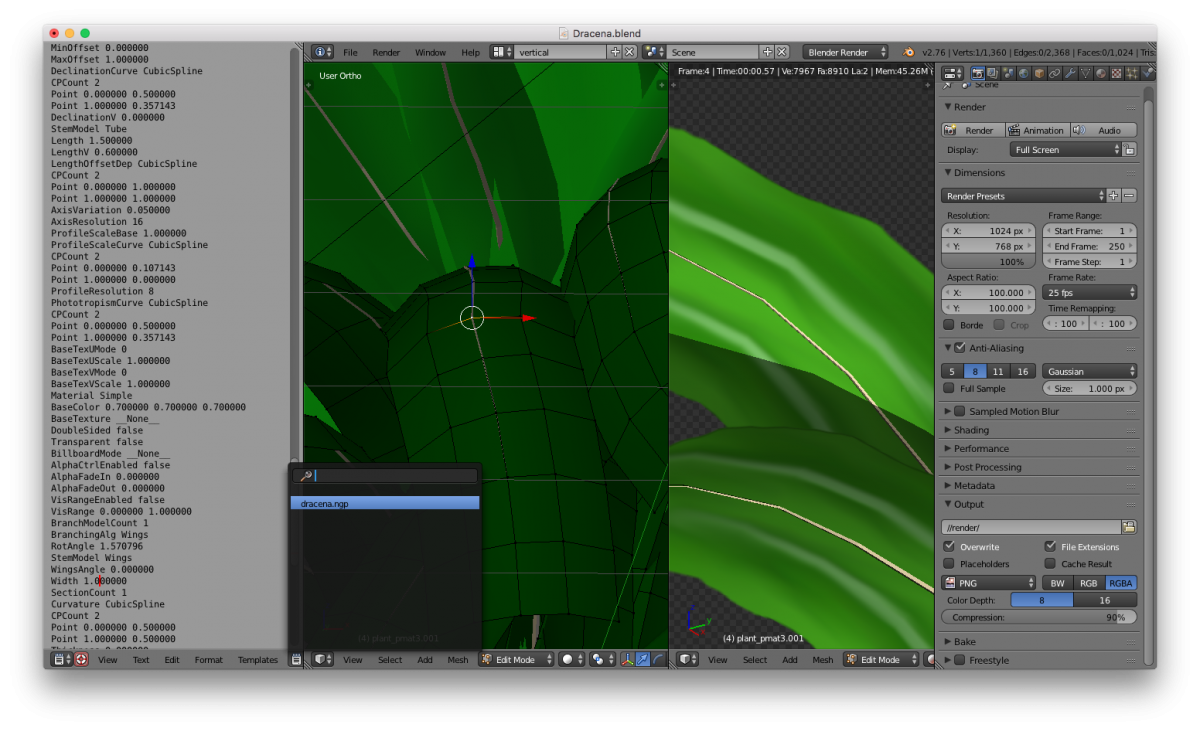
Downloaded a plant to use in this exercise: http://blender-archi.tuxfamily.org/Models#Indoor
Just realised it is really interesting to look at how other people build up their files. Noticed an ngp file inside.
- http://blender-archi.tuxfamily.org/Greenhouse
- http://yorik.uncreated.net/greenhouse.html
- http://blender-archi.tuxfamily.org/Greenhouse#How_were_those_plants_created.3F
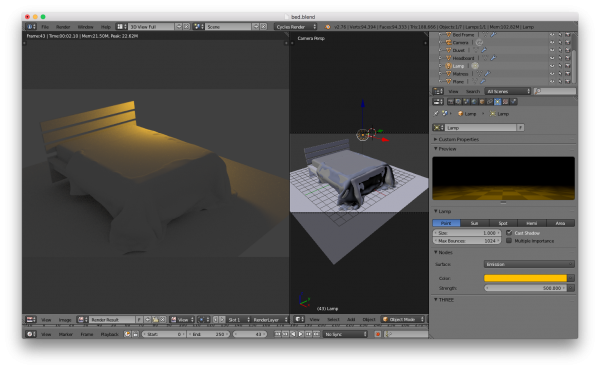
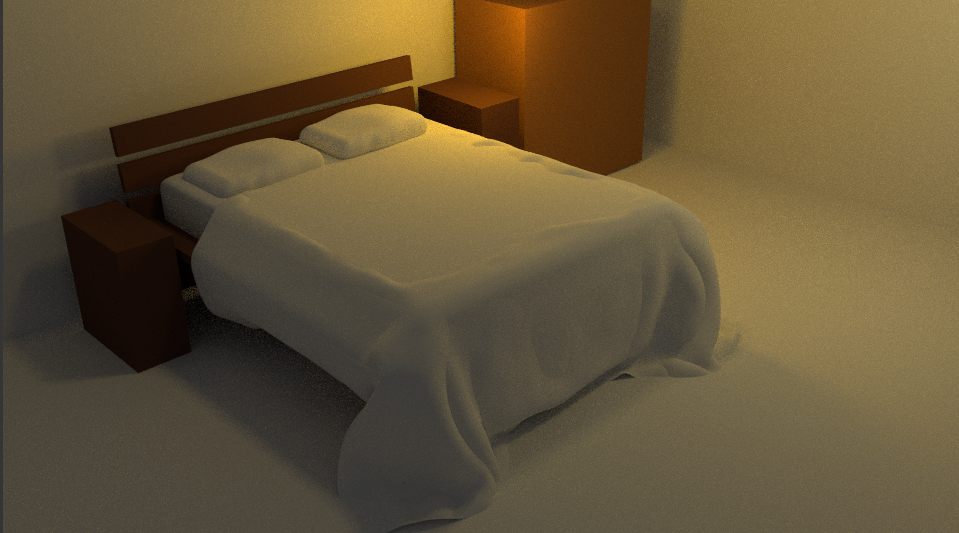
Cloth
- Shift A to add
- Mesh Cube
- Ctrl R to make edge loop drag to corner to make mattress
- Ctrl-Tab to select between Mesh vertices face etc selector
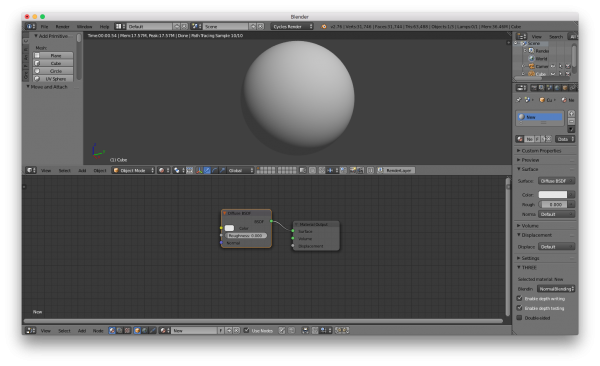
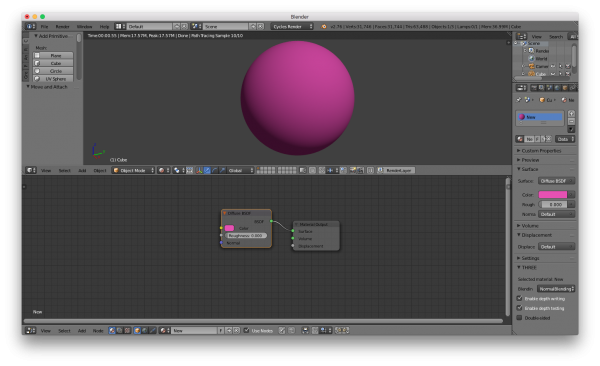
Blender Cycles Nodes Exercise
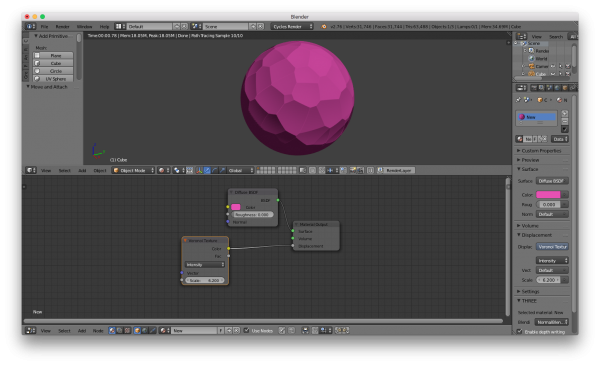
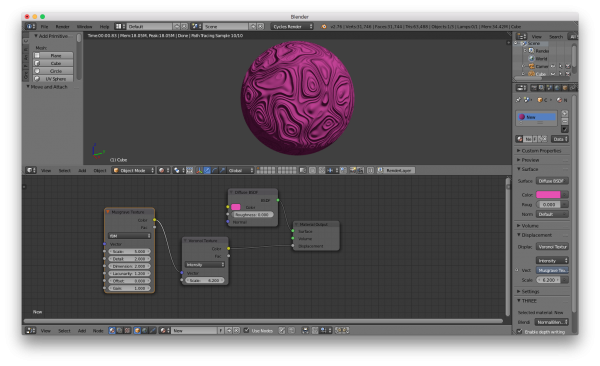
Types of data must be piped in the right place but just think of it like colour multiplication but in 3 dimensions!!
Material Output: Now we know how to use surface and displacement.
So what is volume then? According to Blender Reference:
Okaaaayyy....
Screencast Keys and Bear Screencast
Decided to try to find the screencast keys plugin which seems very handy but disappointed to find it removed for 2.7 according to blendernation article (Source: http://www.blendernation.com/2014/07/02/screencast-keys-addon-is-removed-b3d/). But found two ways of getting simple keys showing again.
method 1 Fortunately some other brave soul has rebuilt a version
- https://github.com/jedihe/b3d_screencast_keys
- Load the script in the text editor and run it (Alt+P).
- Hit Alt+Shift+C in the 3D View to start using it.
- To enable the keyboard display, look for a new panel in the right sidebar of the 3D View (N key).
method 2 (easier)
- download https://svn.blender.org/svnroot/bf-extensions/trunk/py/scripts/addons/space_view3d_screencast_keys.py
- user prefs > install from file
- select this add-on and activate it
- press N to see properties when in 3d view
- select screencast options
Next: half an hour to build a misobatakon which is then to be uploaded.
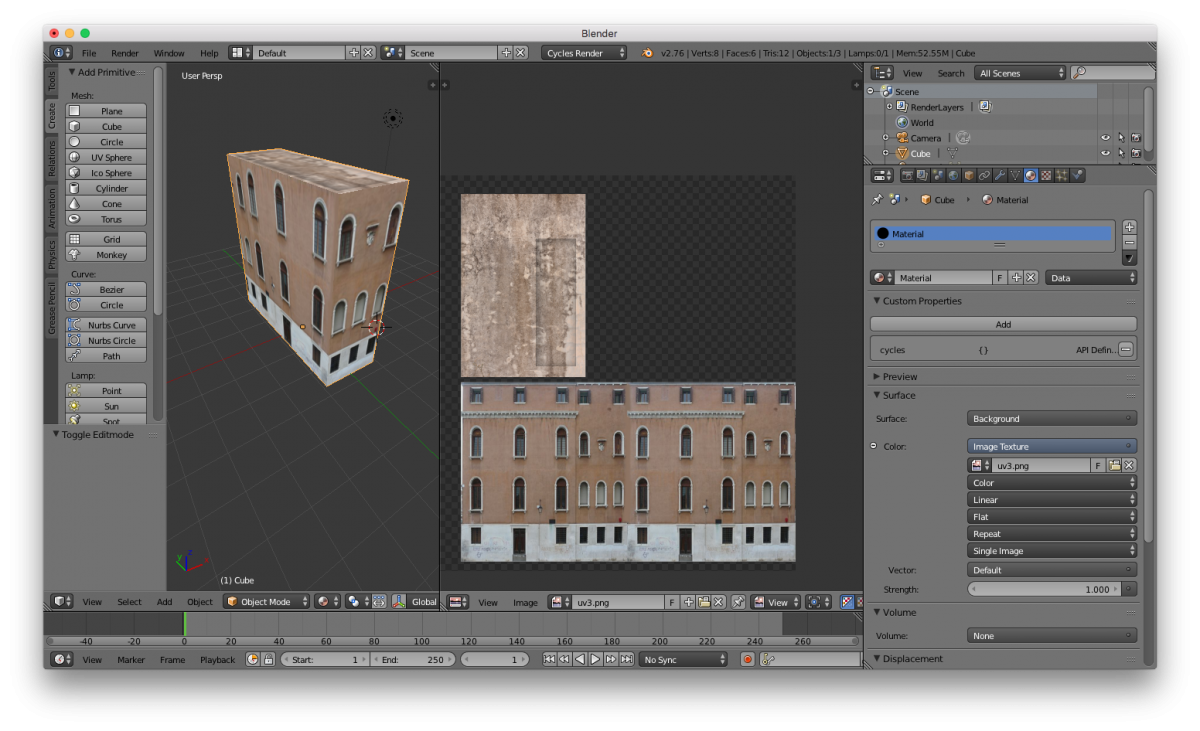
blender building simple uv
you need to start with a blueprint for things at the beginning.
great resources:
- car blue prints : http://www.carblueprints.info/eng/view/volkswagen/volkswagen-kombi-1963-1967
- cgtextures for facade textures: http://www.textures.com/search?q=facade&filter=all
"realLove" glossy nodes black fix
reference image
my render
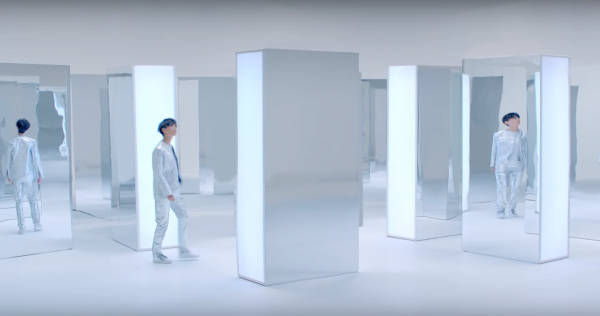
experiment to recreate set of Chris Lee (Li Yuchun 李宇春) - Real Love / Only You
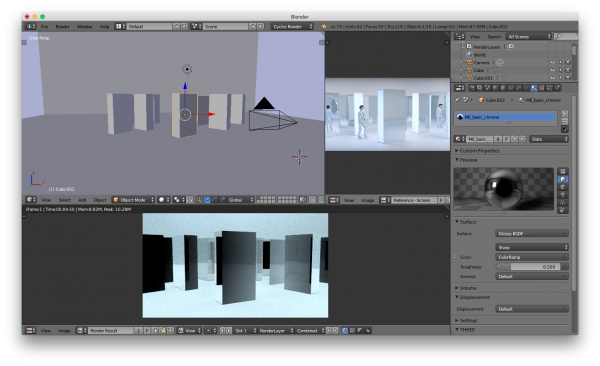
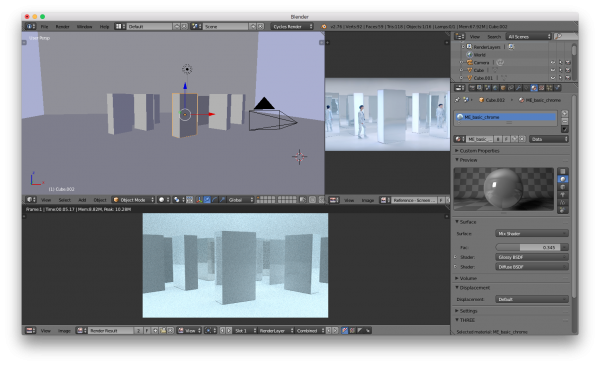
- Initially had problem where glossy chrome had black areas. fortunately it is a very simple fix, it is because the glossy shader has no base colour, only gloss. it just needs a base colour. in nodes, add diffuse white shade and mix shader.
- Also, the material should have been platinum not chrome. Chrome has quite a hard dark sheen whereas platinum is light.
- I edited the lightbox to be at an angle based on the reference. From this I can already backwards engineer the actual set that it was shot in.
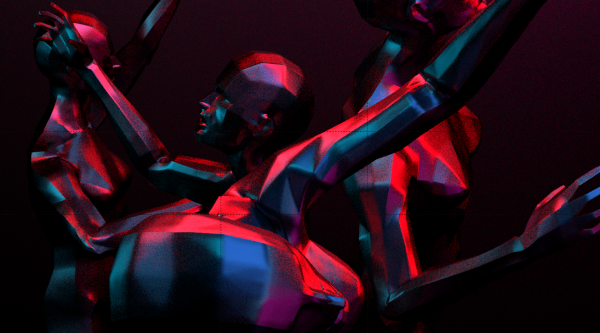
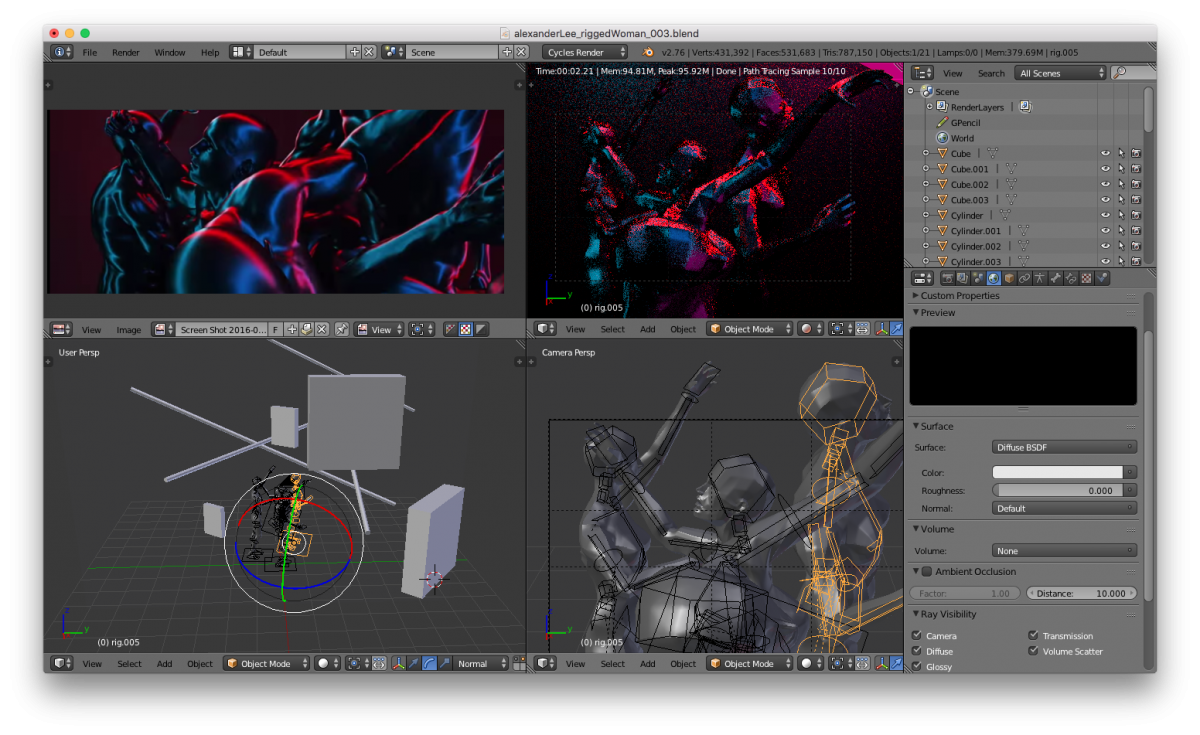
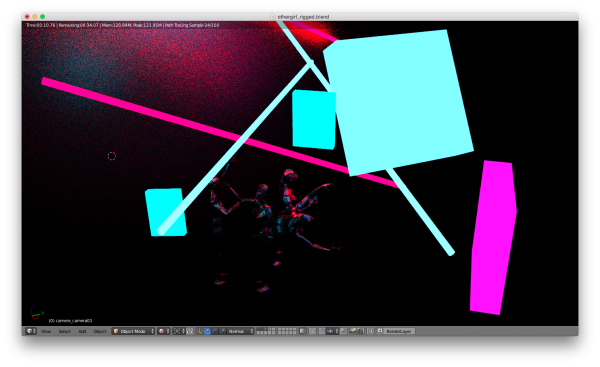
"otherGirl" cycles lighting exercise
reference image
my rendered image
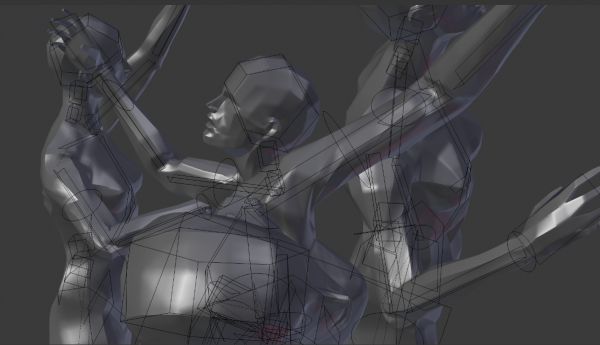
reference from SEVDALIZA - THAT OTHER GIRL (visual by Pussykrew) https://www.youtube.com/watch?v=koAtzvSBvfE Using fairly low poly but rigged female model on blendswap by AlexanderLee http://www.blendswap.com/blends/view/57706
simple geode #1
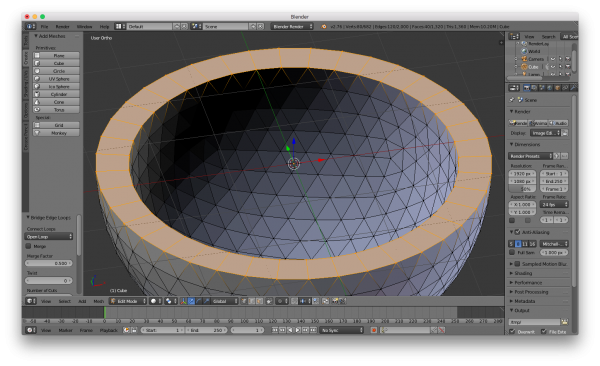
W to get specials menu (with subdivide and other useful things > to join two edge loops you just go to bridge edge loops P to seperate by selection
object was not manifold.
maybe because of normals. normals = the direction the 3D face/vertex is pointing. A lot of things use Normals. Normals determine things like the direction of an Emmitter Object, the way the Hair Strand will stand, and how the Cycles Glossy Shader with Fresnel will react to the object.
N toggles the properties bar on the right (whilst you're in edit mode) which has a normals view section.
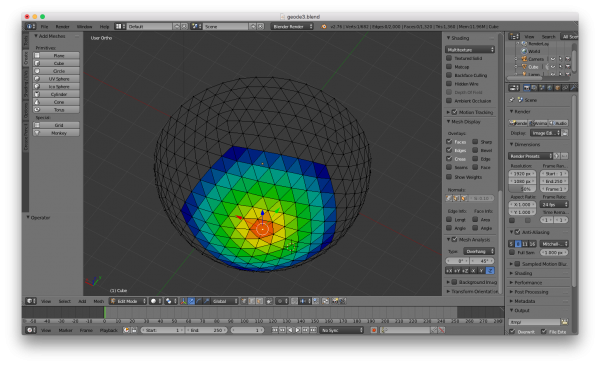
ctl option shift m to check for non manifold.
what is this rainbow? oh its a mesh checker. there is an overhang here.
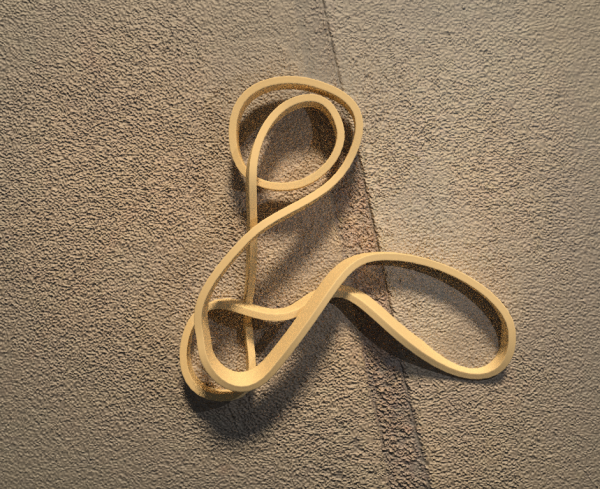
rubber band
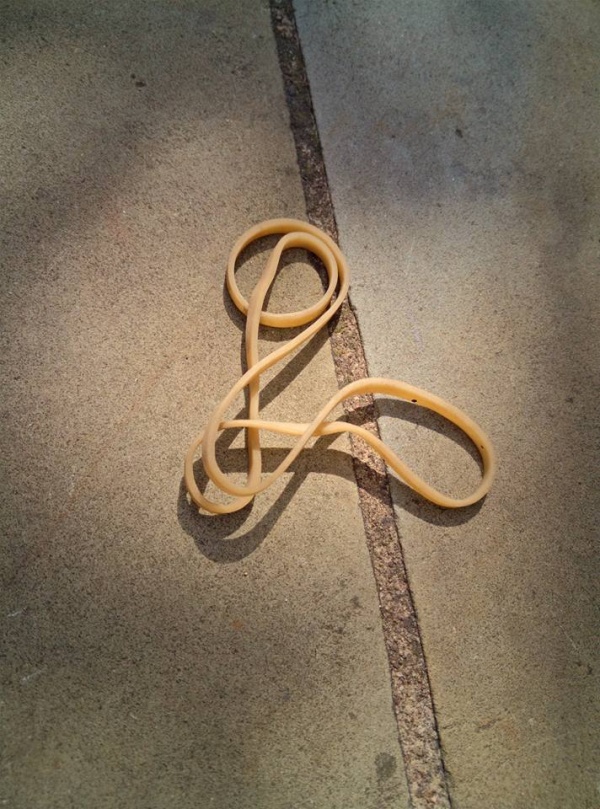
reference
reference image: courtesy of alasdair duncan
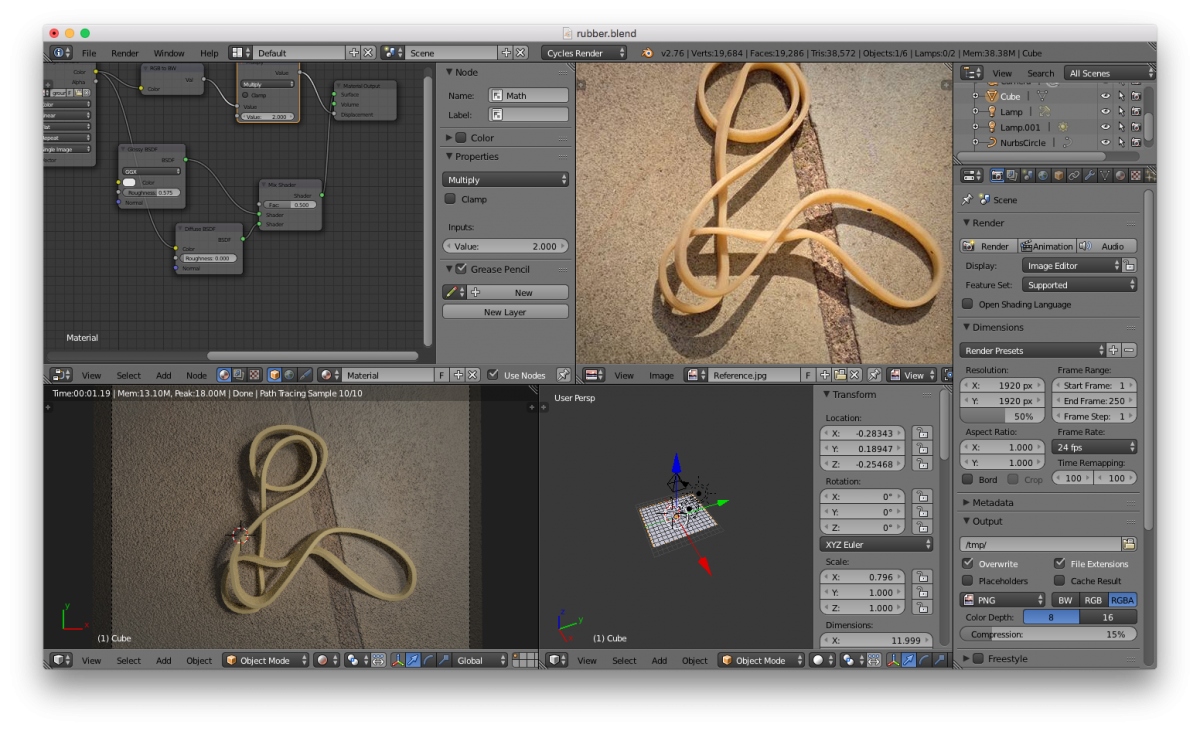
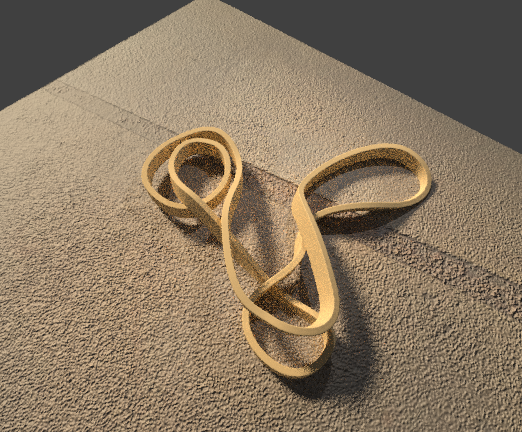
my render
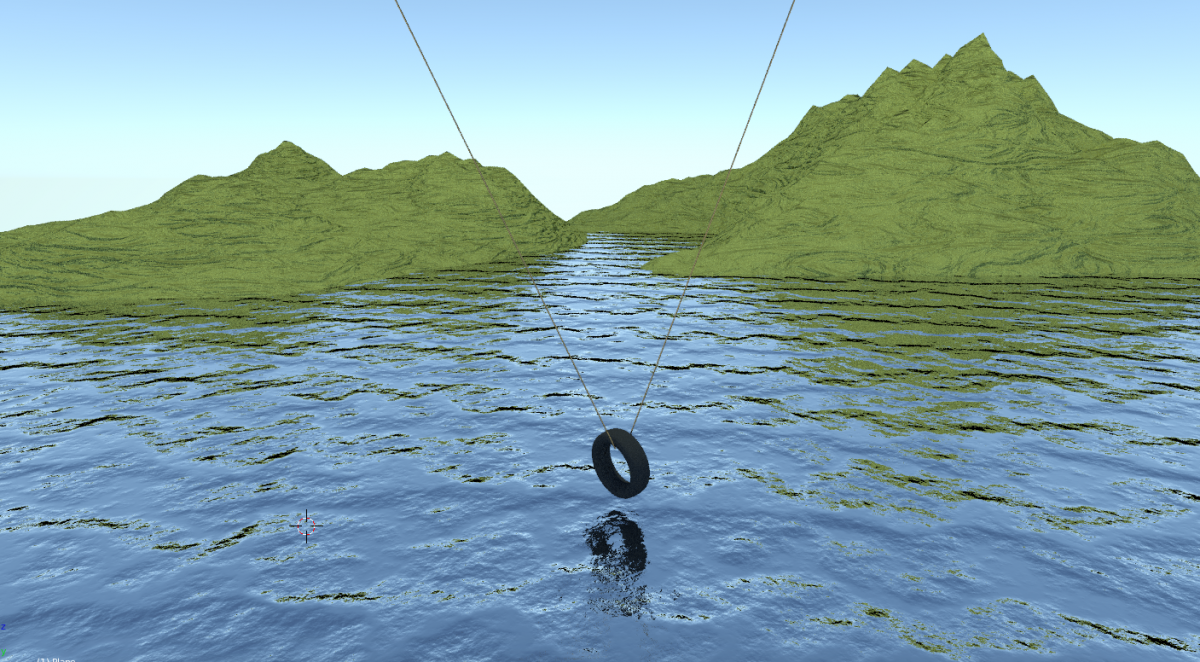
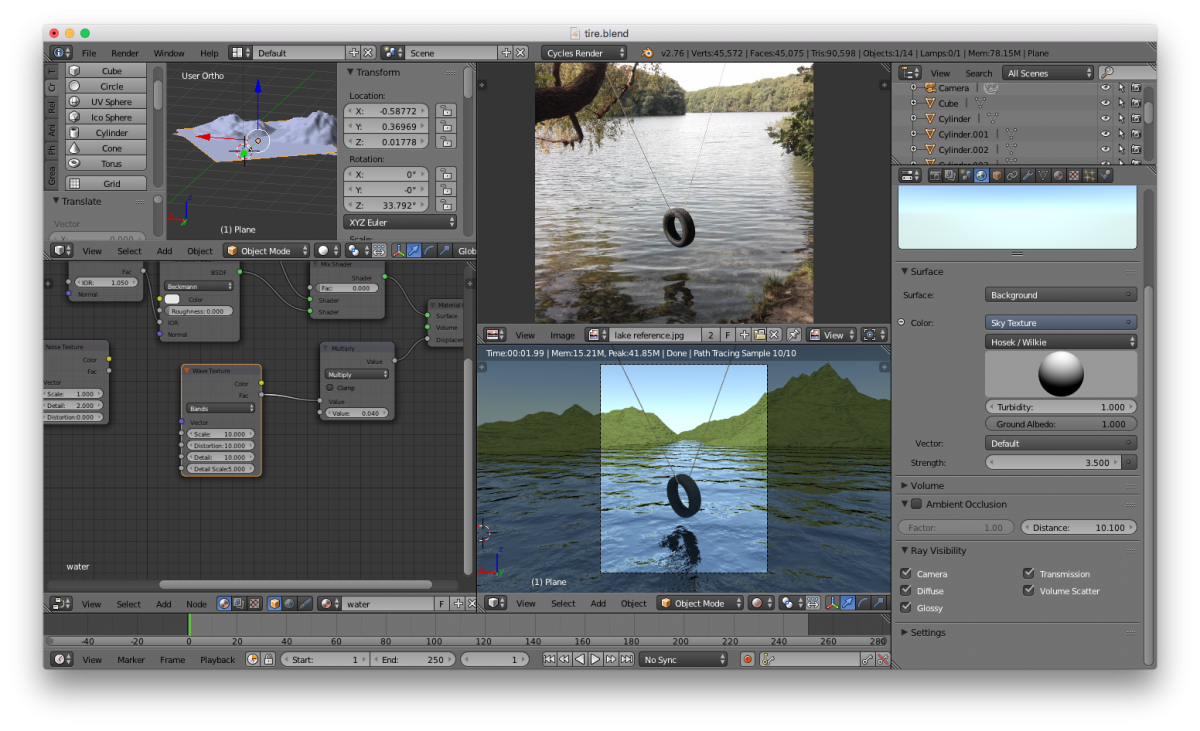
lake and tire
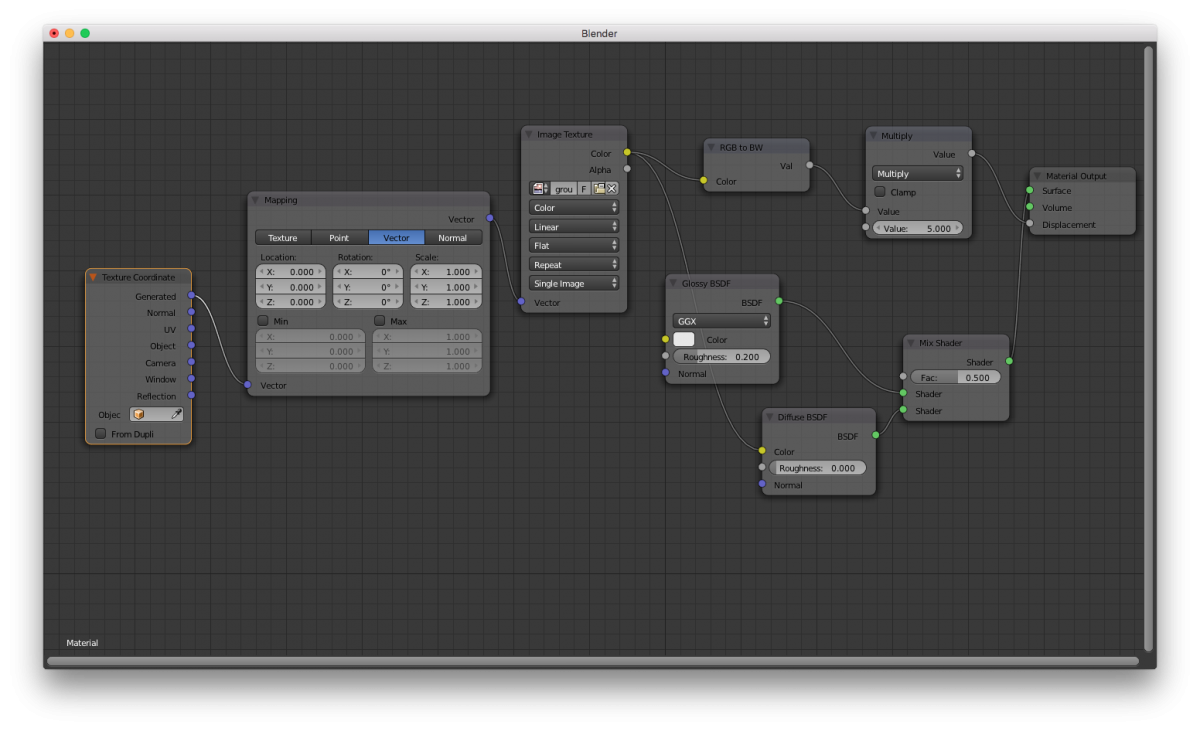
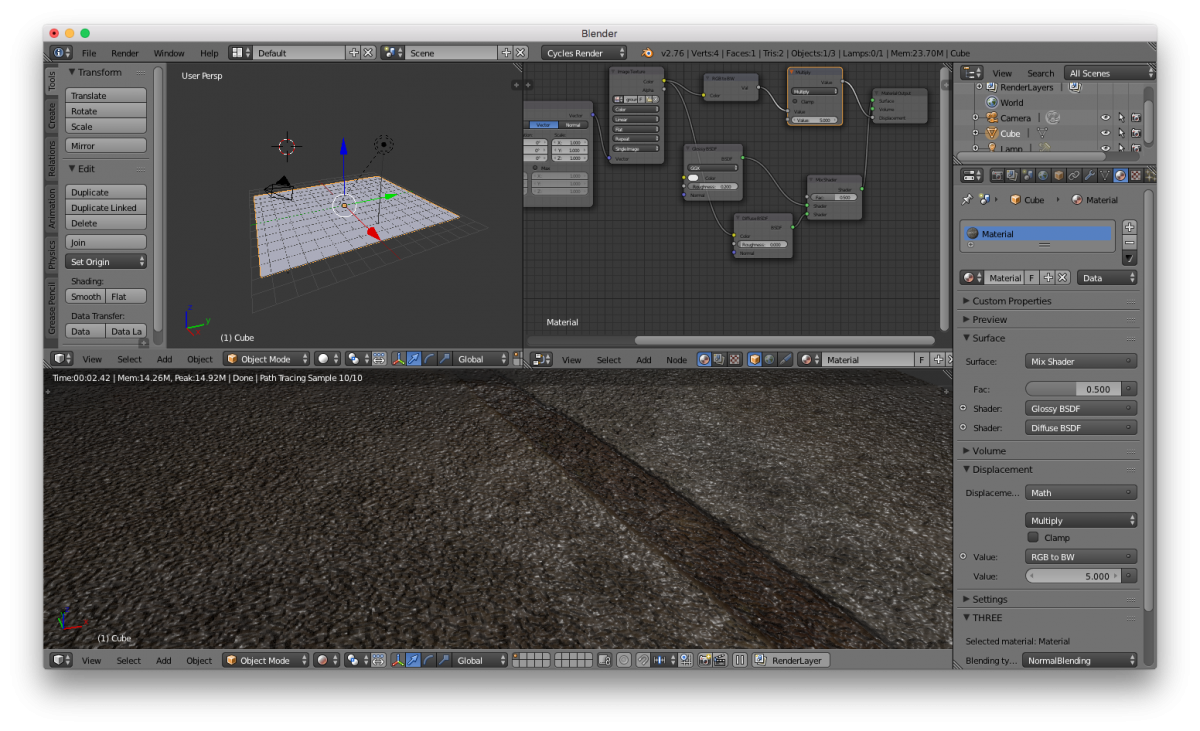
User preferences > enable ANT landscape
black room
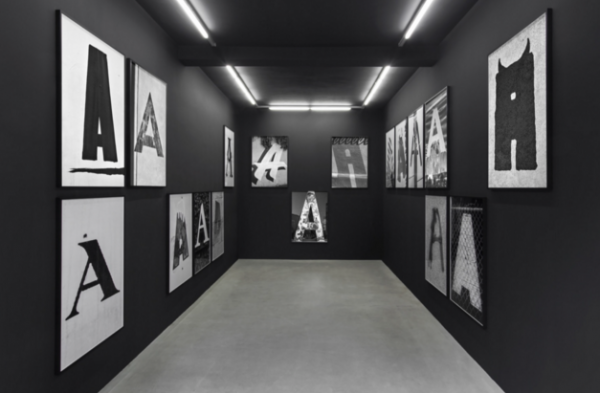
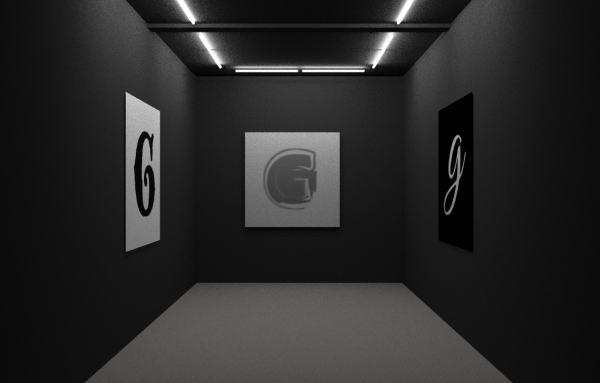
reference image
image randomly picked from google images "Shannon Ebner at ICA Miami (via icamiami.org)"
source: http://hyperallergic.com/256635/your-concise-guide-to-the-2015-miami-art-fairs/
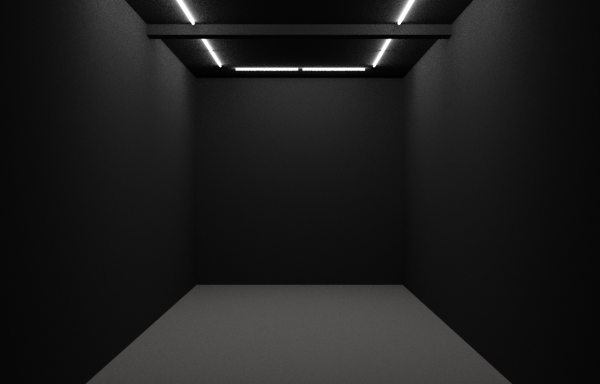
looked at "typographical art" exhibition and said MEH, I CAN RENDER THAT AND THE WHOLE ROOM EVEN.
my render
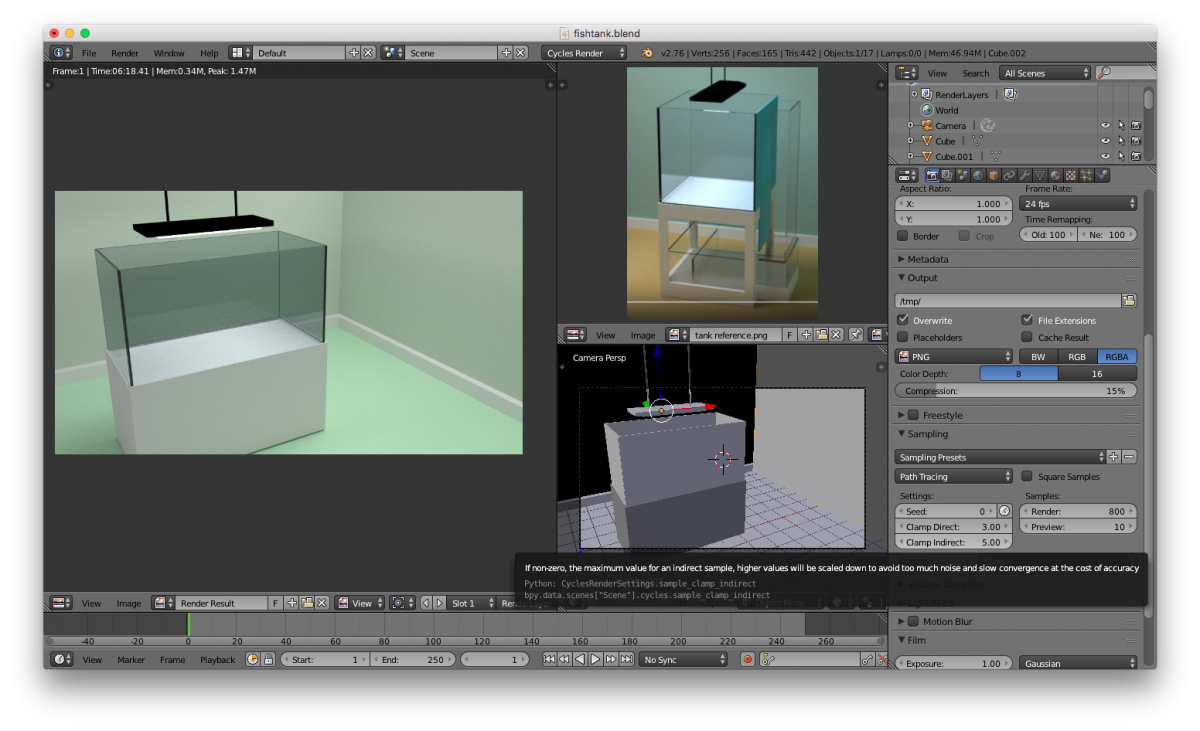
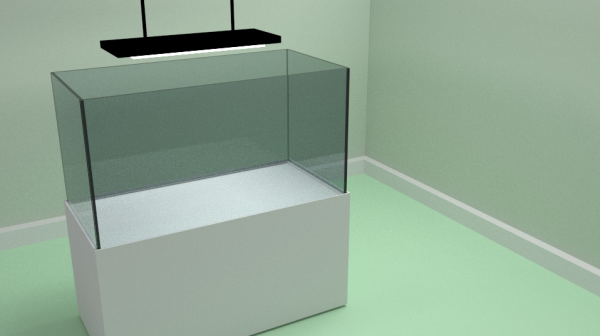
fishtank
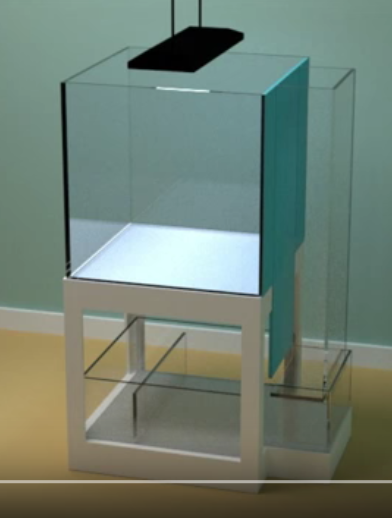
reference image
my render
south gallery
no clue where this is but was just attracted by the photo so i made it.
postnote: theaster gates is a person? not a place? oh my.
this is interior of white cube anyway.
WHO NEEDS GALLERIES WHEN YOU HAVE INSTAGRAMMABLE TUMBLR 3D RENDERS
reference image
Theaster Gates - South Gallery II, room I theastergates.com640 × 479Search by image South Gallery II, room I
my render
wightman road gallery
photo i took on the way home WHY NOT MODEL IT TOO
reference image
my render
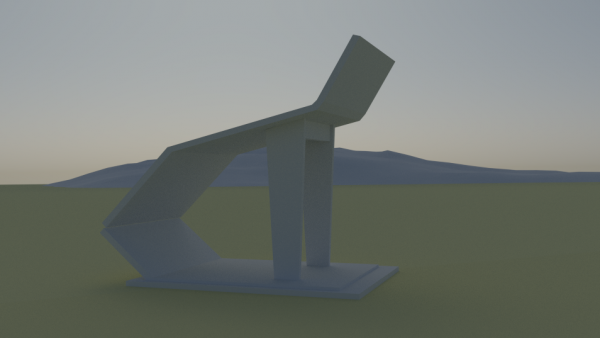
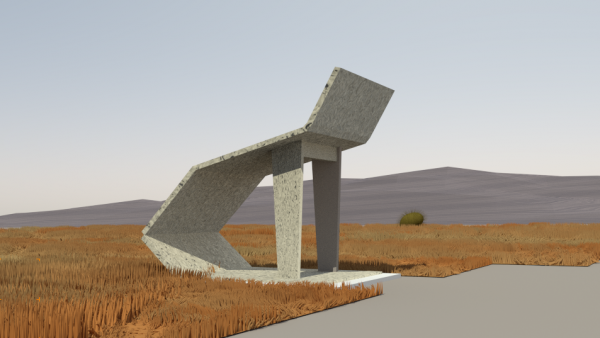
soviet bus stop
an oldtime favourite of the BRUTALISM APPRECIEEATION CLUBB
LETS RENDER IT
reference image
my render
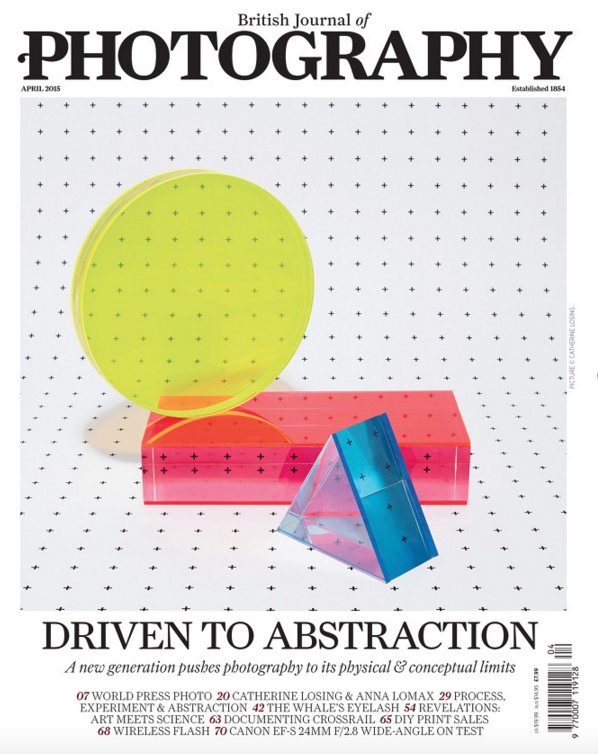
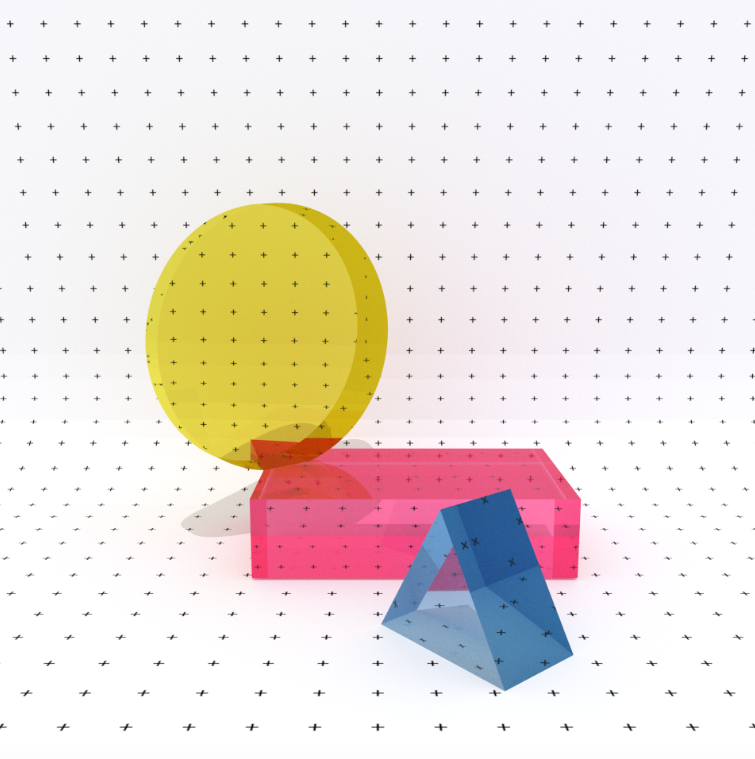
driven to abstraction
reference image
image traced back to http://www.catherinelosing.co.uk/
my render
this was obviously easy peasy - half an hour and a rough sketch emerges!
TO BE DONE: broken calorie
this article was being reposted constantly
http://digg.com/2016/calorie-unit-broken the image traced back to http://www.catherinelosing.co.uk/
TO BE DONE (blender crash..)
TO BE DONE: brutalism bridge
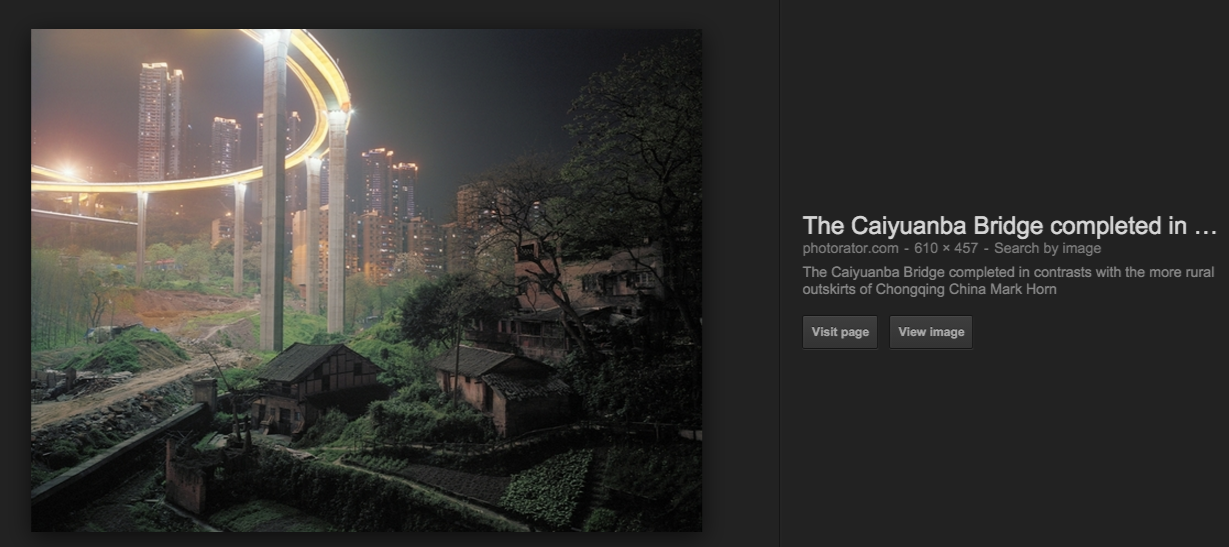
someone posted this on brutalism appreciators again... traced back to: Caiyuanba Bridge by Mark Horn
TO BE DONE: vilinius geometry
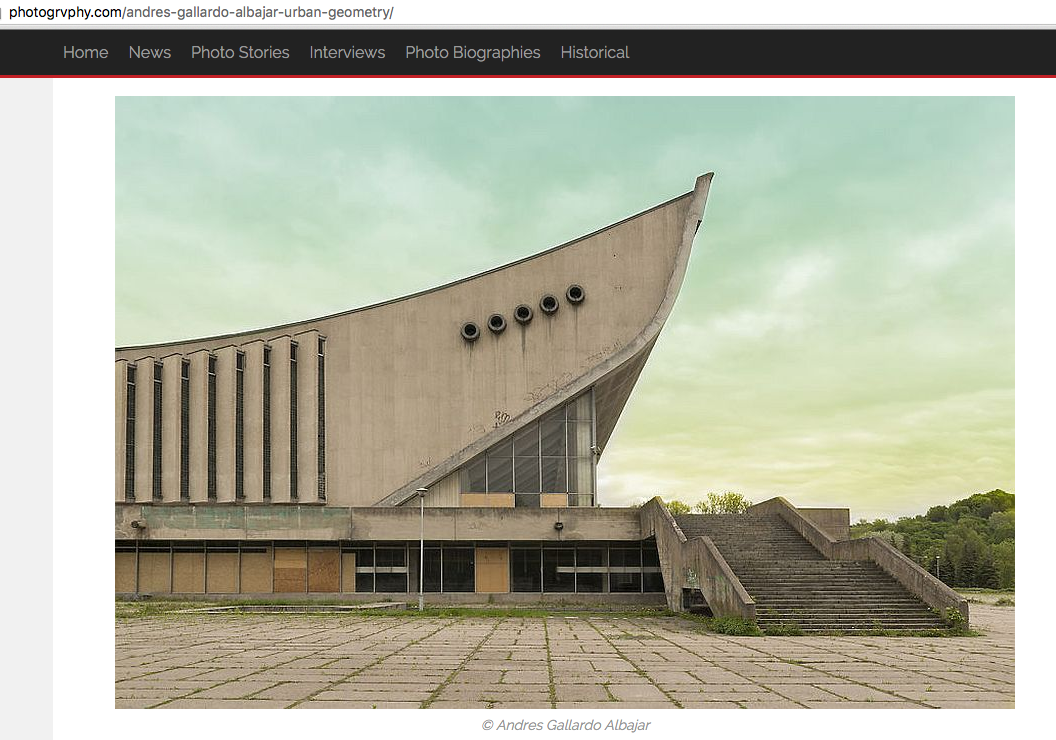
this image had "similarity" to the soviet bridge image on google image search.
traced back to a photo by Spanish photographer Andres Gallardo Albajar. "Urban Geometry: I Capture The Contrast Between Soviet And Modern Architecture In Vilnius"
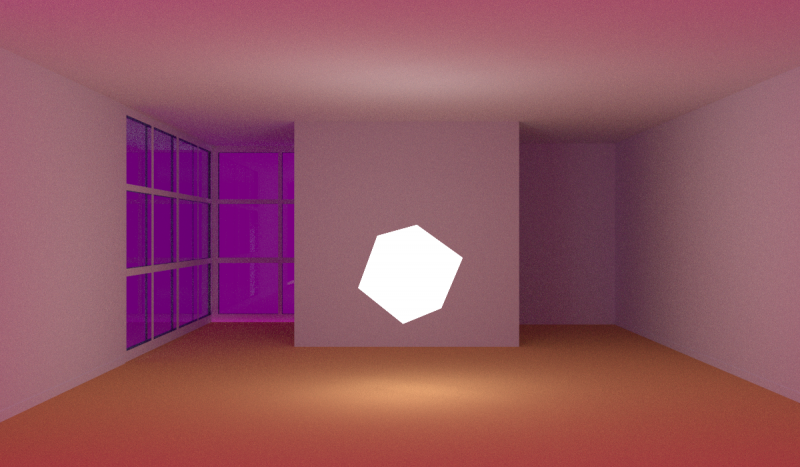
purple room
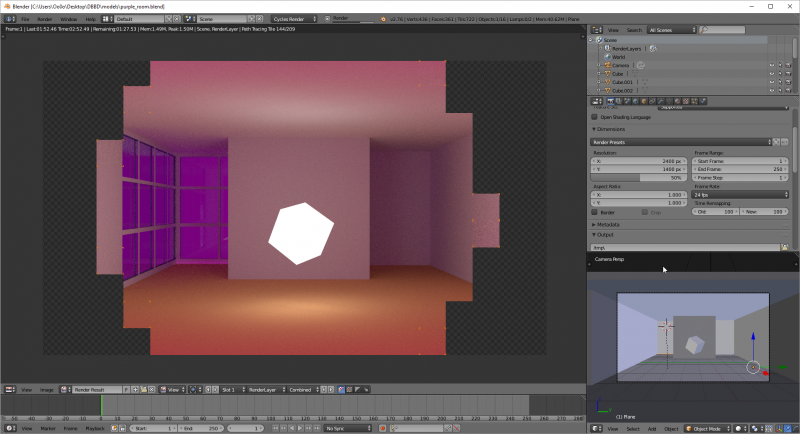
many fireflies - only managed to remove by increasing clamp indirect to over 1. in the end upped it to 1.95 to get a clean render but lost some brilliance.
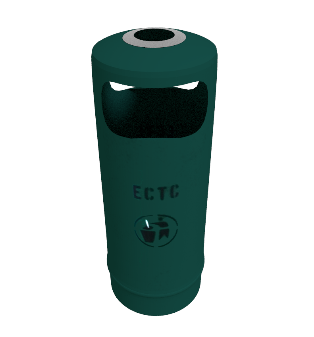
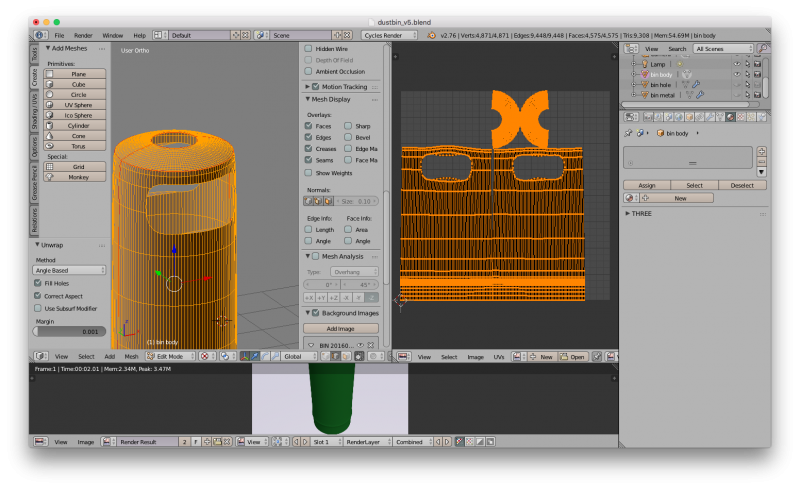
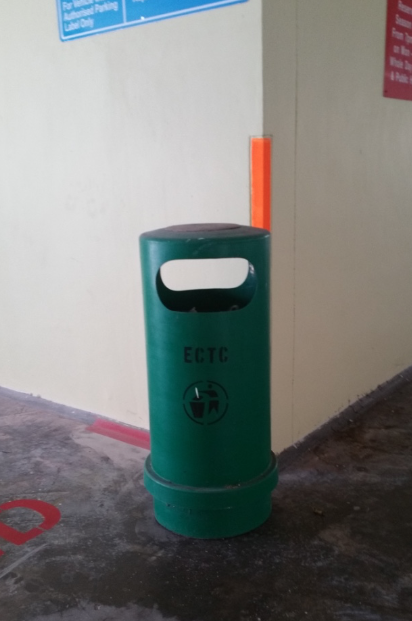
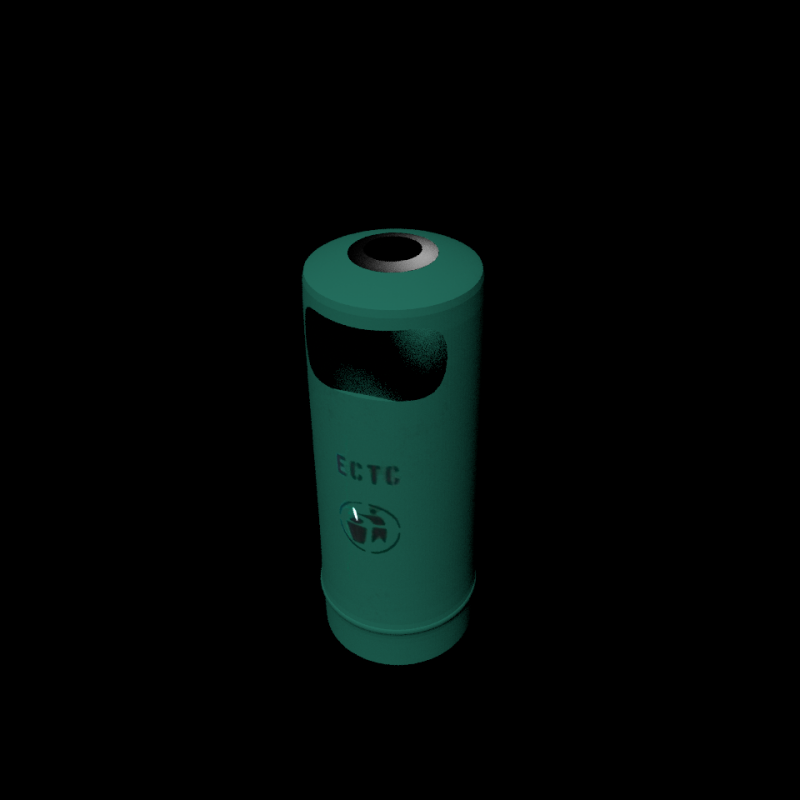
MSCP Dustbin
Blender refresher
- Control-R for Split Edge
- Select Vertex: W>Subdivide
- to subtract objects is add modifier to main body > boolean > union with minor body
- Select seams - Ctrl E to mark seam - when red those will be cut
- U when you are in uv to unwrap
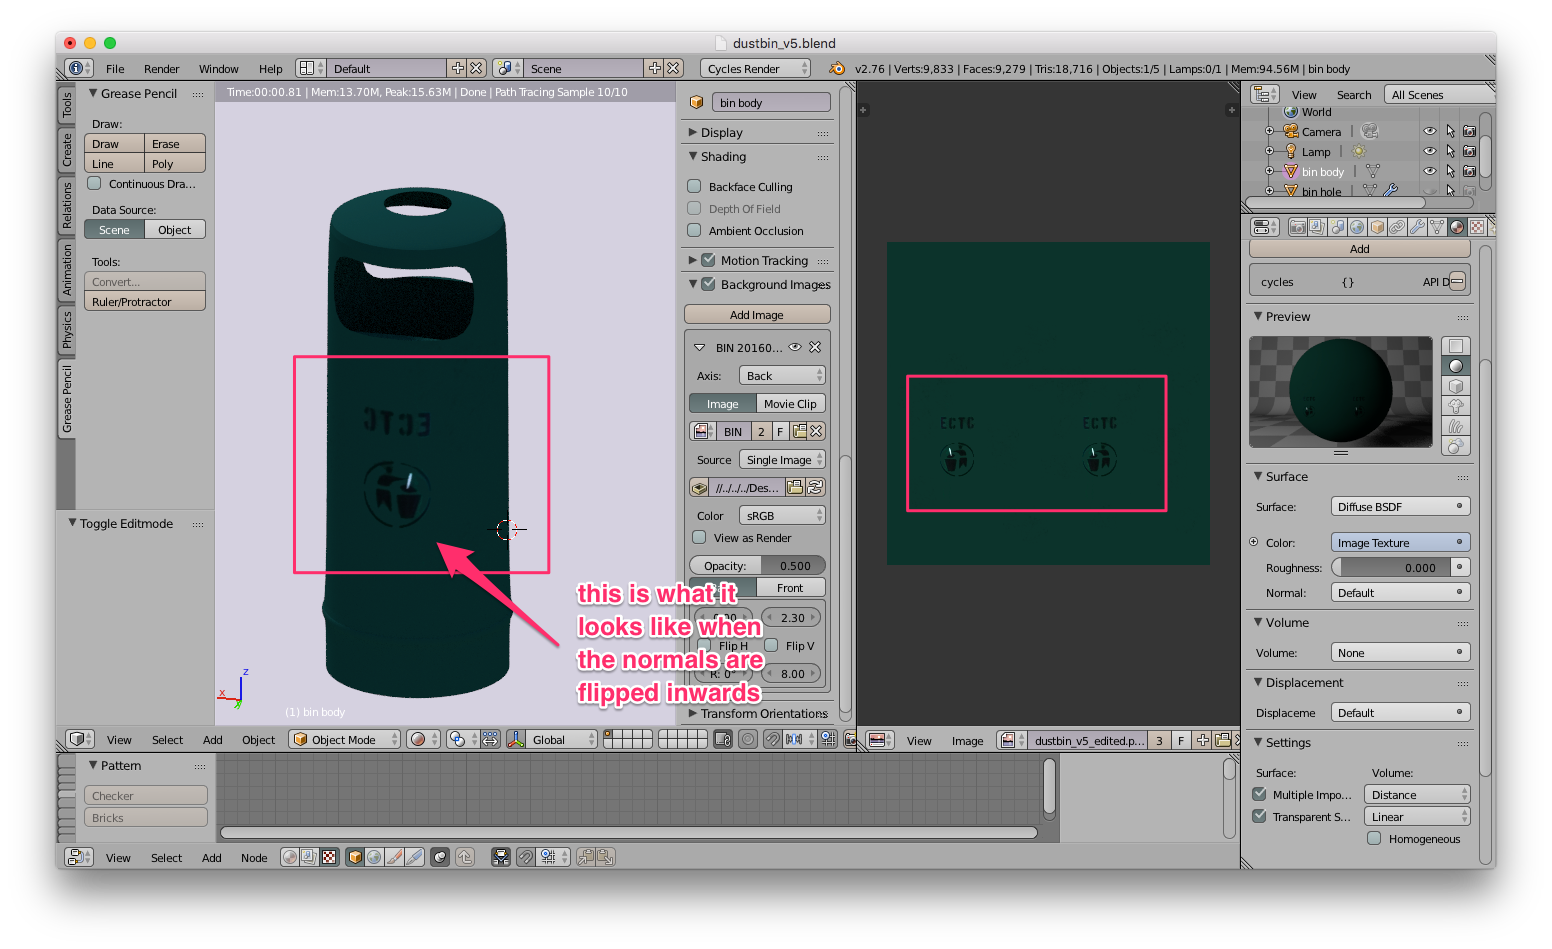
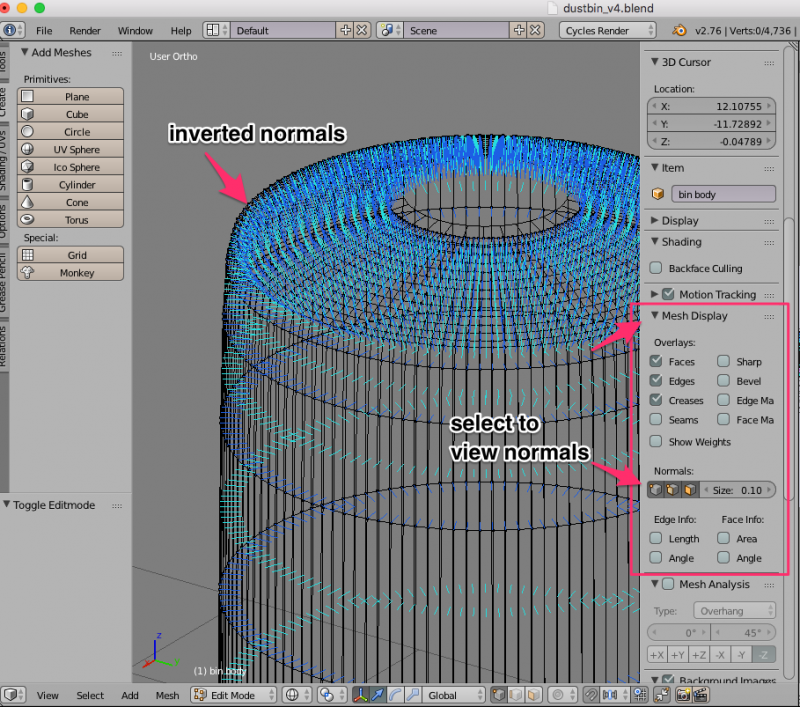
- S X hyphen 1 (sx-1) to manually invert normals flip normals
- IS A TEXTURE UPSIDE DOWN OR INSIDE OUT? CHECK THE NORMALS.
- you need to mark seam, unwrap, create new material, add texture image in nodes
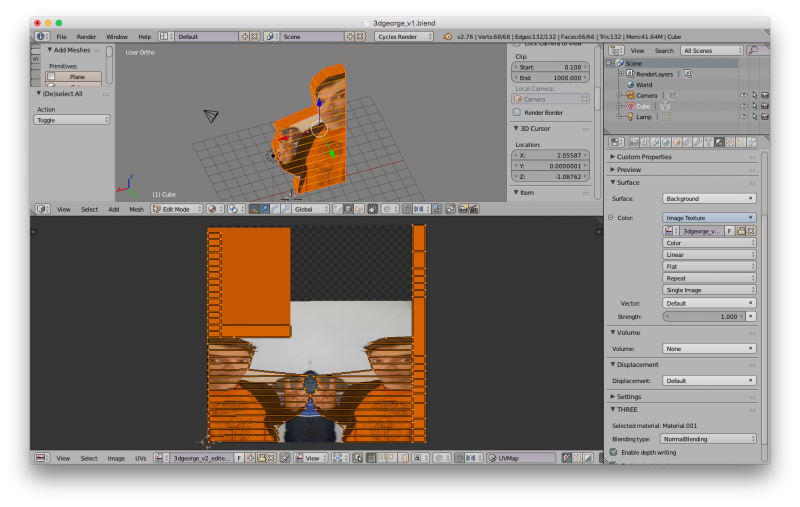
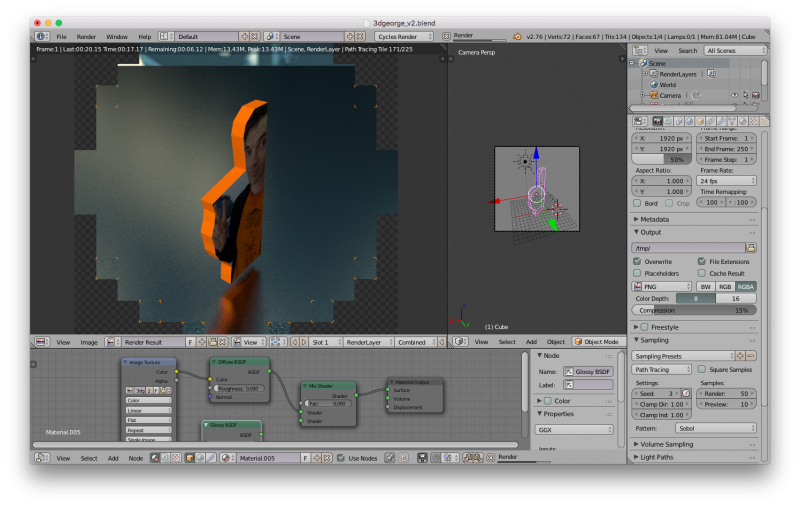
George Object 1
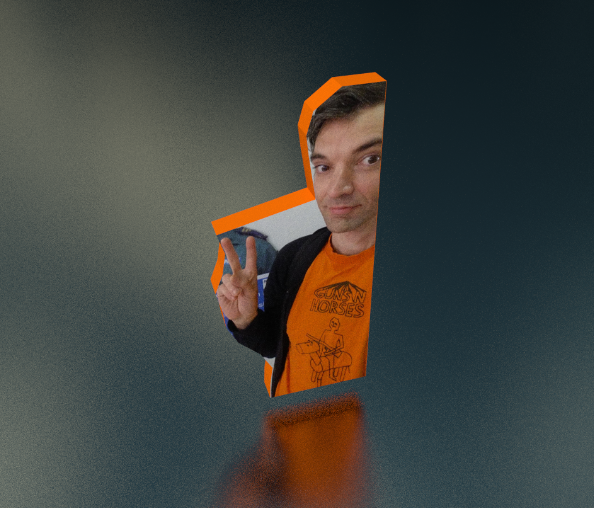
George Object 2
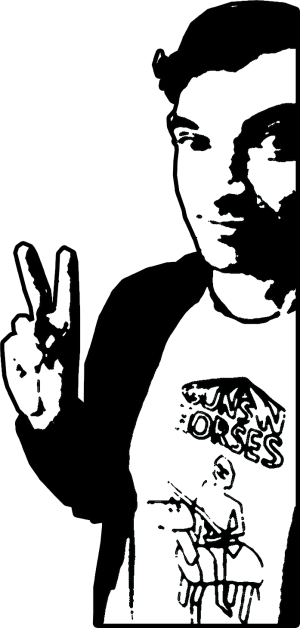
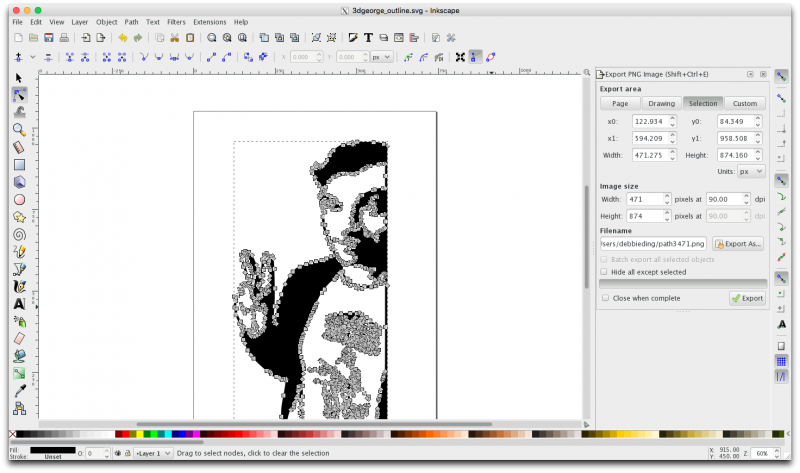
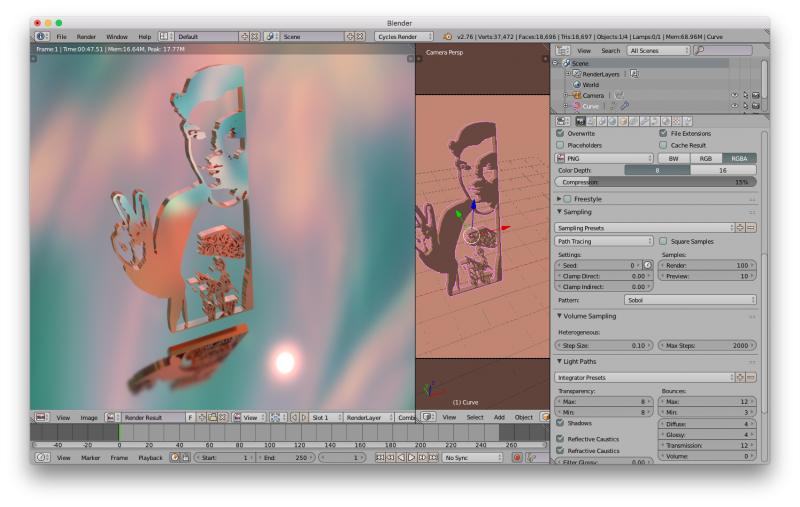
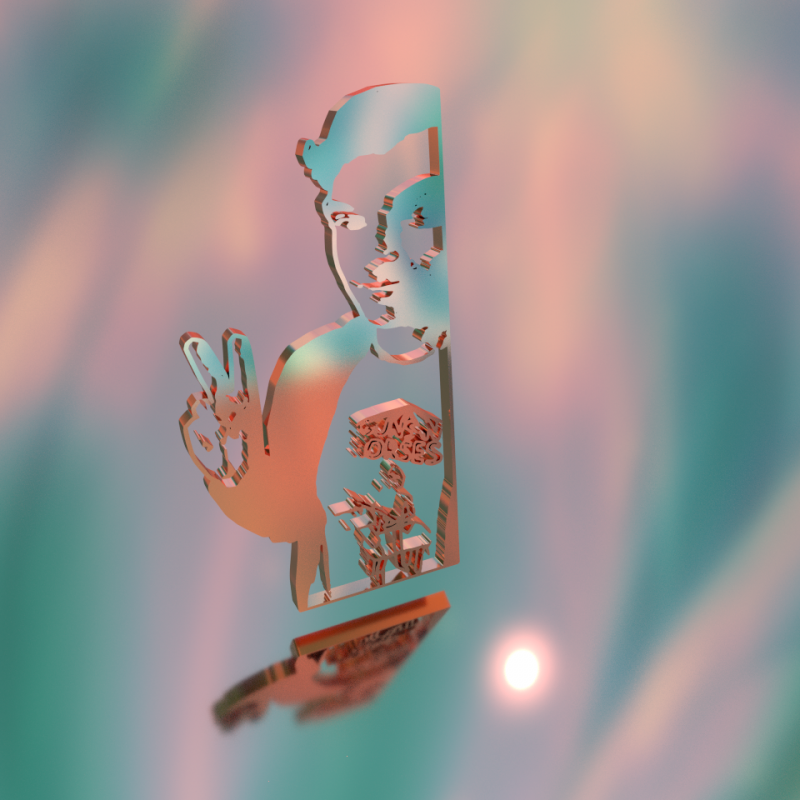
- save image as hi-res transparent png
- use inkscape to trace bitmap
- save as svg
- import into blender
- add modifier > solidify
MSCP sign
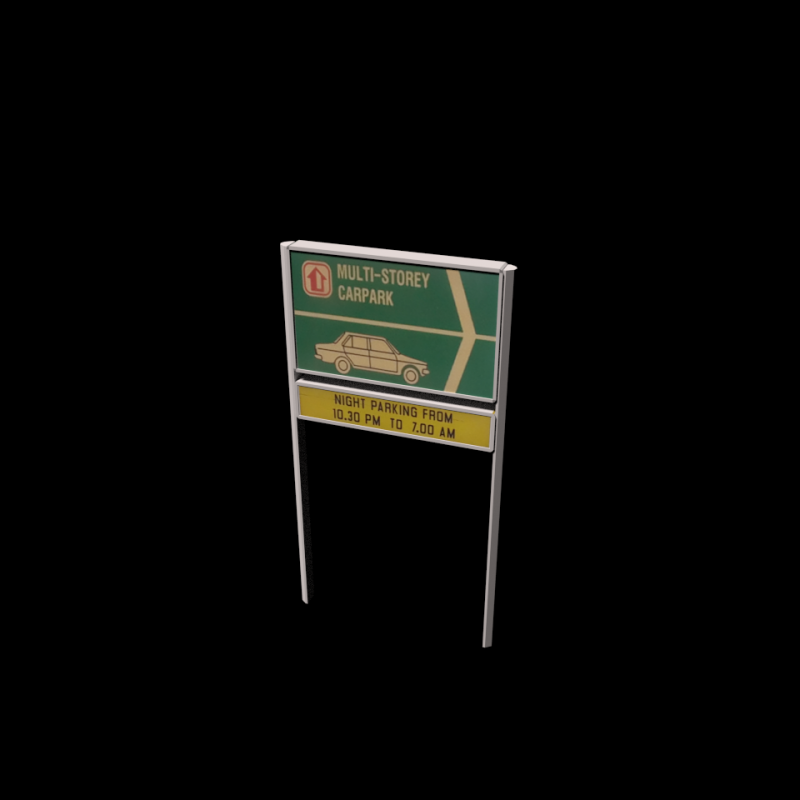
- Separate ( create new object) P key
- Separate (inside same object - split)- Y key
- qn: ok why didn't the uv appear?
- Surface should not be background, it should be diffuse or whatever you want (mix shader, etc)
- whatever you see in the uv window is not context dependent - this is something like a window browser for image files and uvs. however, it will change to be context dependent when you have highlighted the object in edit mode!! - then its uv map will appear!
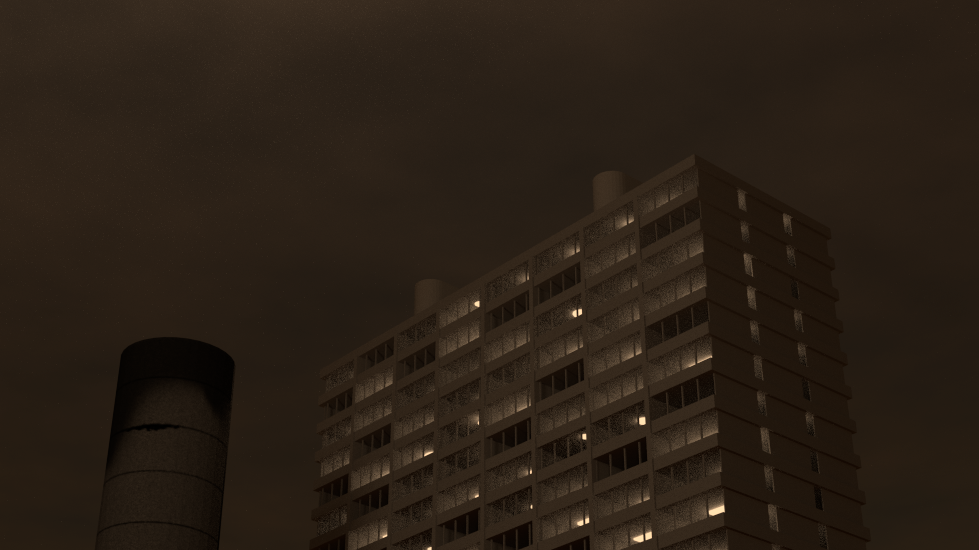
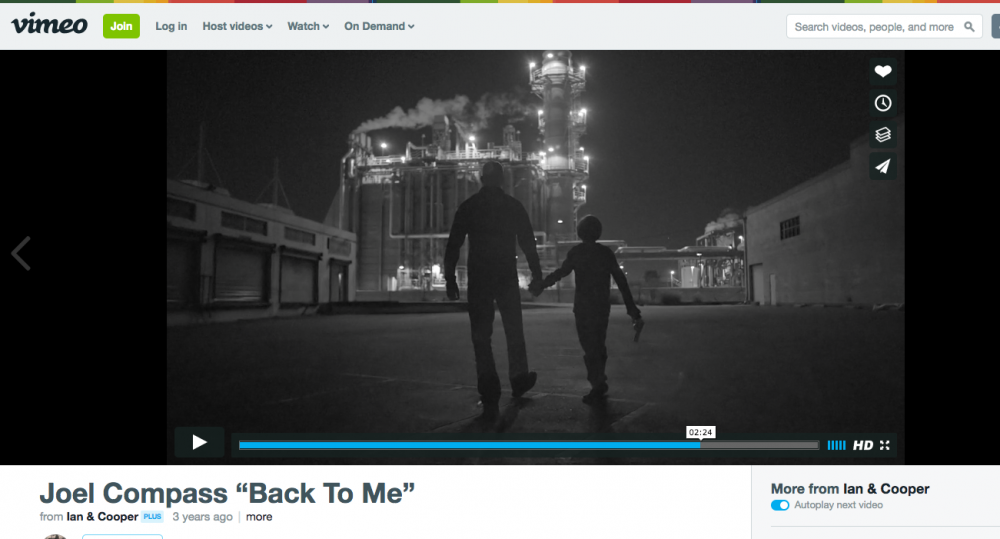
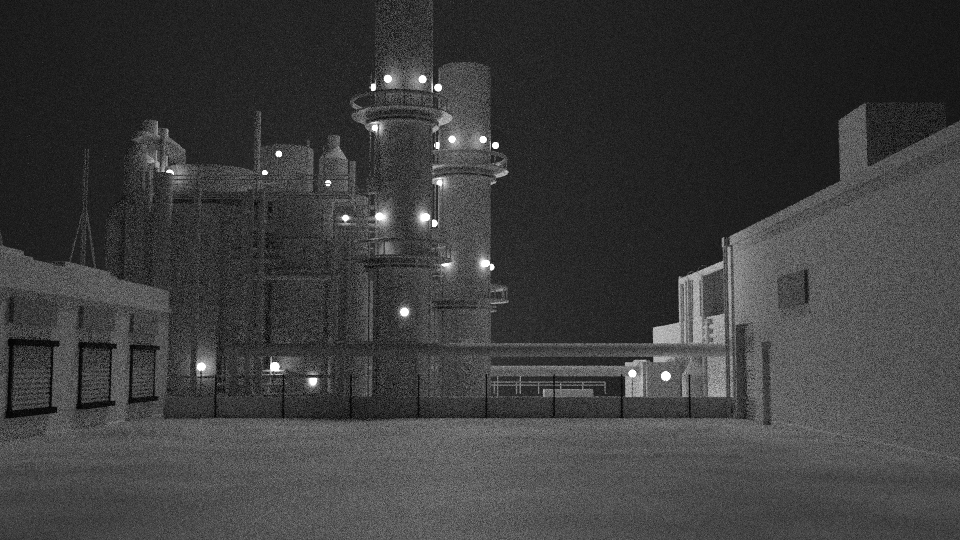
Building at night
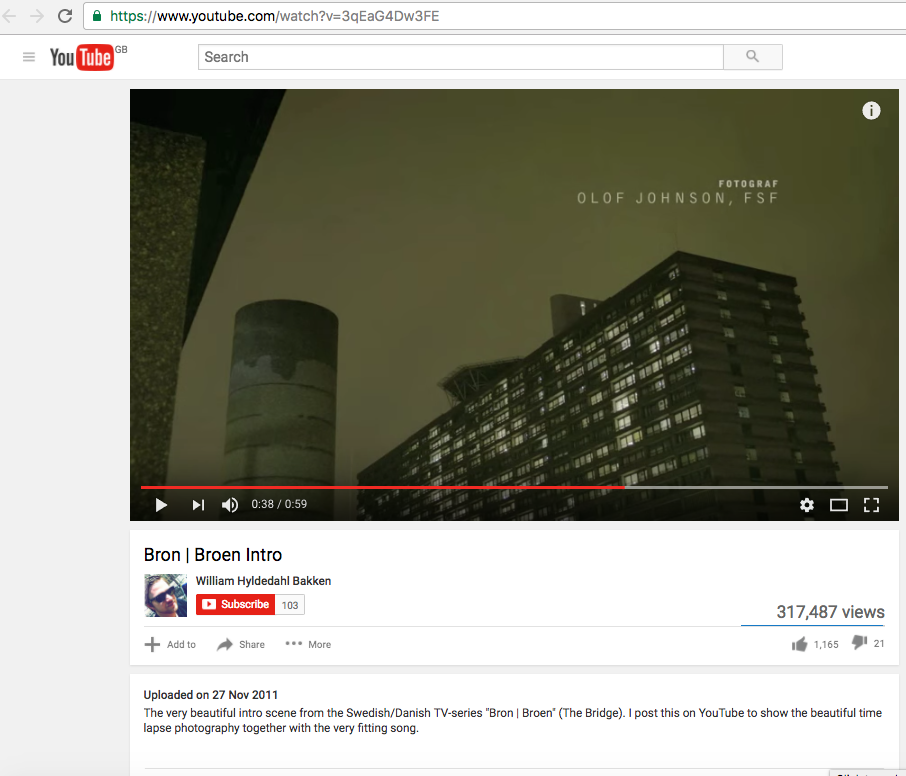
ORIGINAL
https://www.youtube.com/watch?v=3qEaG4Dw3FE
BLENDER
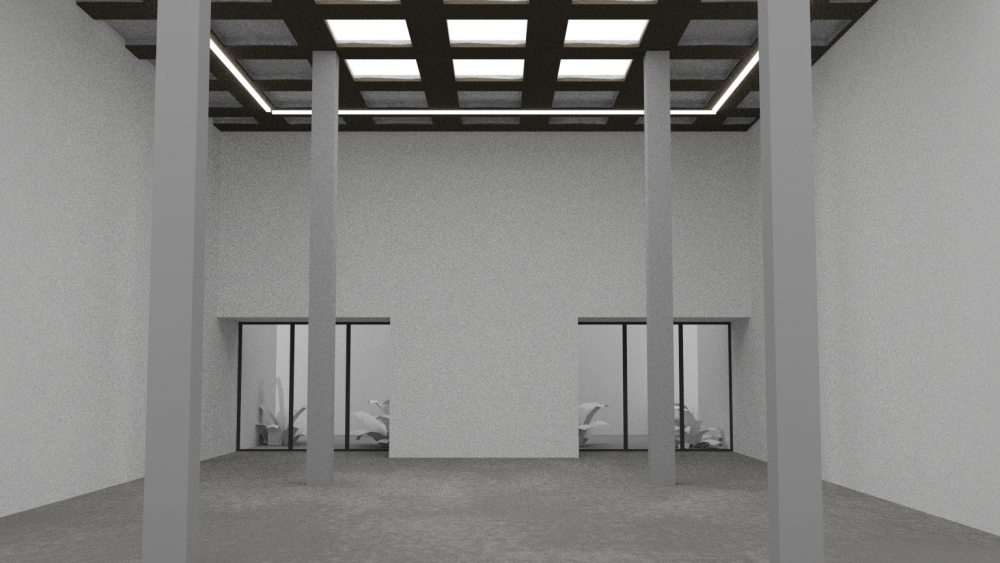
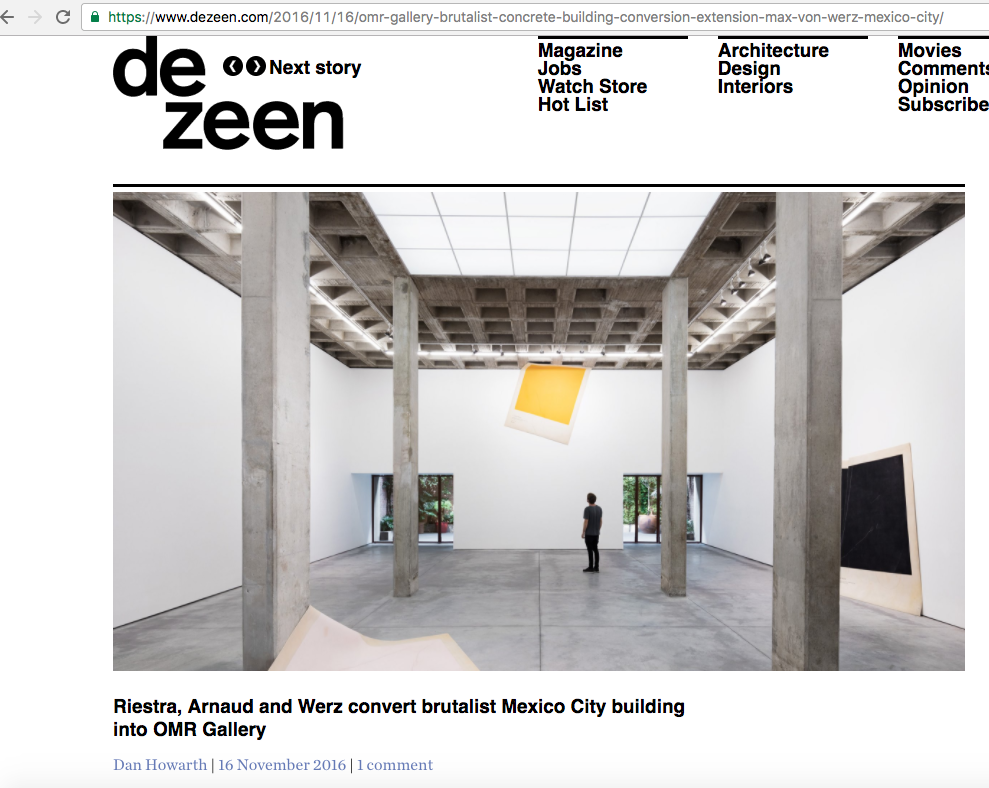
Concrete Gallery
ORIGINAL
https://www.dezeen.com/2016/11/16/omr-gallery-brutalist-concrete-building-conversion-extension-max-von-werz-mexico-city/
BLENDER
FACTORY
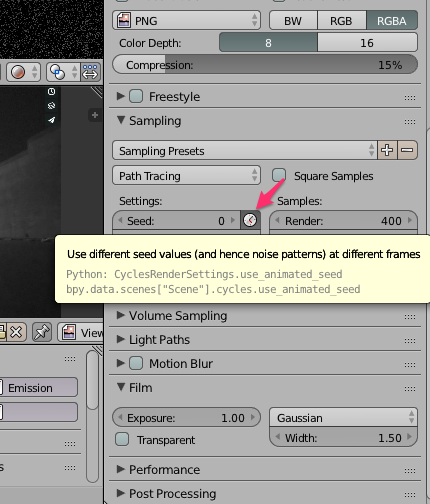
different seed values to reduce weird noise repeat:
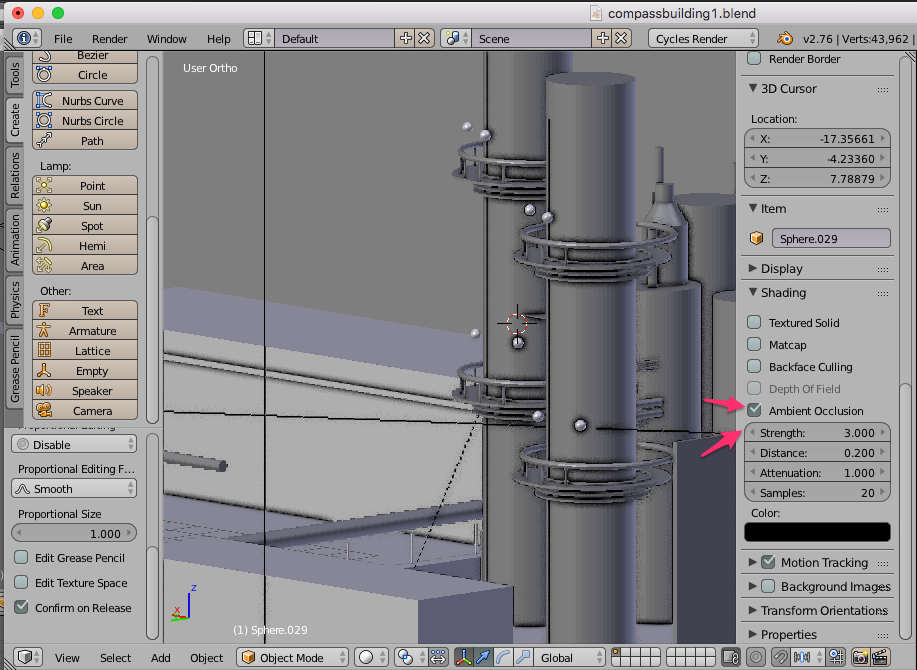
can't see your render in the viewport? you can view it with more ambient occlusion!
