Vvvv Workshop
From Wikicliki
vvvv workshop conducted by Joreg, 19 November 2013, RCA Mechatronics Lab
vvvv is a:
- hybrid development environment
- visual programming language
- node/code library
- runtime environment
Contents
- 1 basic patching
- 2 featured shortcuts:
- 3 component modes of windows:
- 4 ways of viewing the renderer window / patch window
- 5 exploring other patches
- 6 Graphics
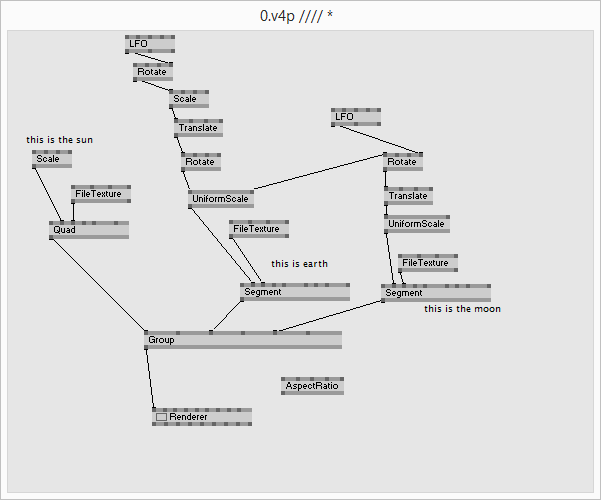
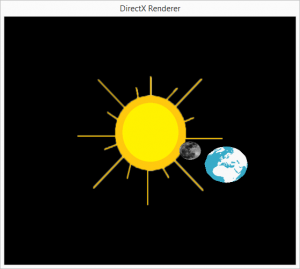
- 7 Experiment: To make a sun with earth and moon rotating
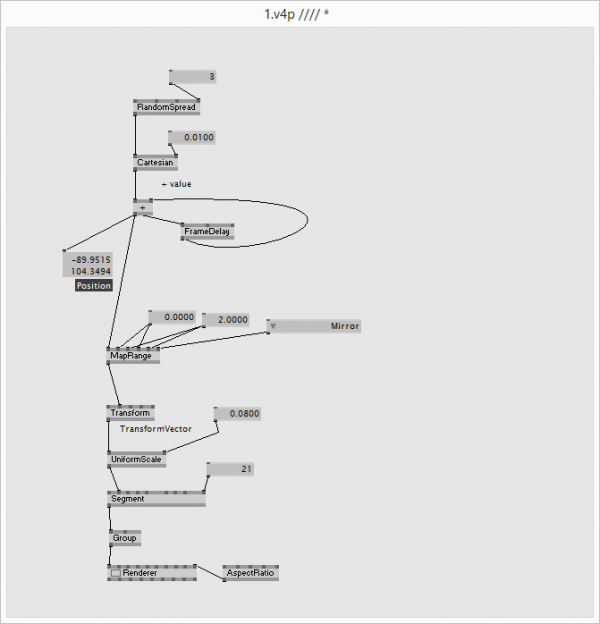
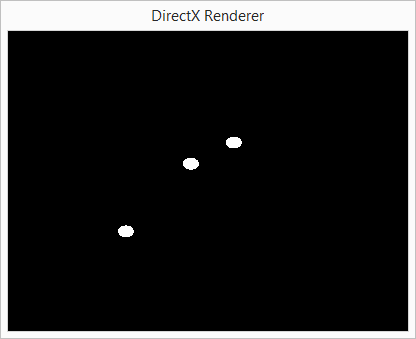
- 8 Spreads and slices
- 9 Linear Spread
- 10 Debug modes and other visual editing modes
- 11 Slice
- 12 Mouse interaction
- 13 Kinect
- 14 Projection Mapping
- 15 Arduino
- 16 TUIO
- 17 See also
basic patching
- new node - left doubleclick + start typing the nodename and select from upcoming list
- new iobox - right doubleclick
- nodelist
- left doubleclick + rightclick to open an alphabetically sorted list of all available nodes
- move mouse to the left to get the same list sorted by category
- use scrollwheel to scroll this list. if you got no wheel hit space to *show a scrollbar
- connecting nodes
- click on a pin to start a connection. notice that all pins that will accept this connection
- have grown. click on such a bigger pin to establish the connection or right click to cancel
featured shortcuts:
- F1 - if a node is selected its corresponding help patch will be loaded. else. this patch.
- Ctrl+F1 - FanClub. the online source to get help via IRC-Chat
- Main Menu - middle mouse click on empty patch area (or right mouse click + space)
- Ctrl+P - create new patch
- Ctrl+O - open existing patch
- Ctrl+S - save patch
- Ctrl+I - create new inspektor
- Ctrl+W - close a window (deletes its corresponding node)
- Ctrl+Shift+W - close all windows and start all over again with a new root
- Alt+R - show root
- Alt+F4 - quit
- Ctrl+Shift+1 - take a snapshot of the window and get asked for a place to save the file
- Ctrl+Shift+2 - same as above. but only snapshot the clientarea of the window
component modes of windows:
- Alt+1 - show as window
- Alt+2 - show as box (in corresponding patch)
- Alt+3 - hide window
- Alt+Enter - fullscreen
- Press Ctrl-Tab to cycle through windows. to hide root, press alt-3
ways of viewing the renderer window / patch window
- docking
- fullscreen
- hidden
- in a box
- in a window
- Documentation on renderer - http://vvvv.org/documentation/renderer-(ex9)
exploring other patches
- http://vvvv.org/documentation/diki-patches
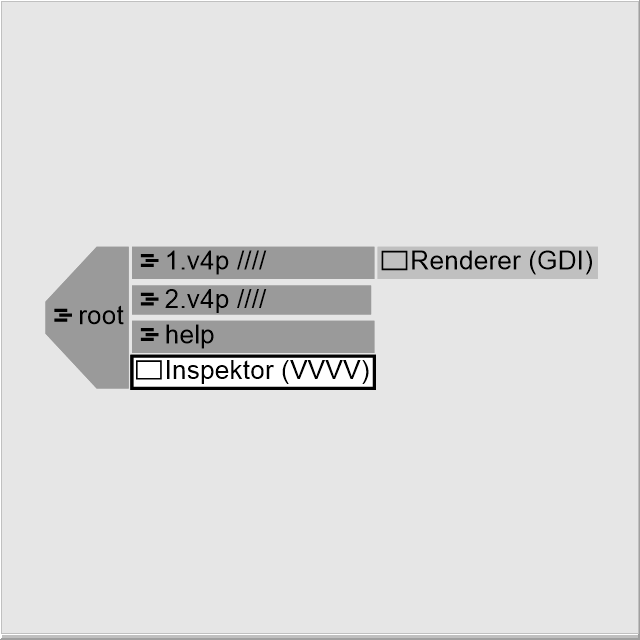
- use the inspector to see what types of nodes there are available - things such as iobox and framedelay....
Graphics
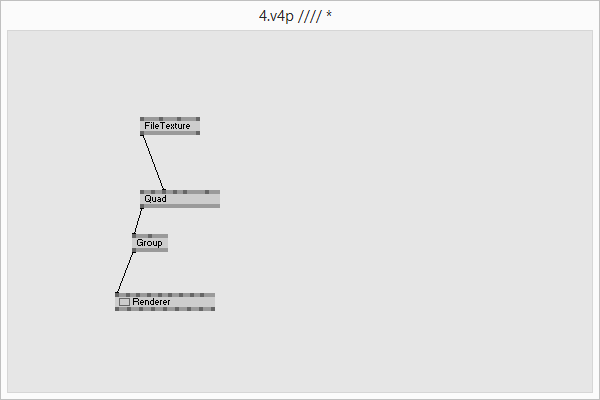
- quad = rectangle
- segment - polygon
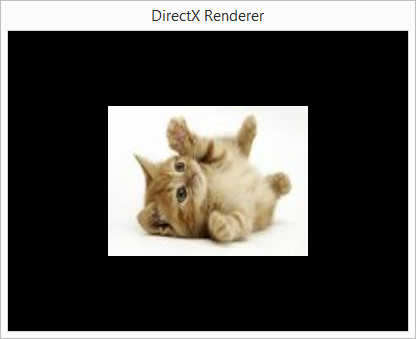
- FileTexture - layers a file over
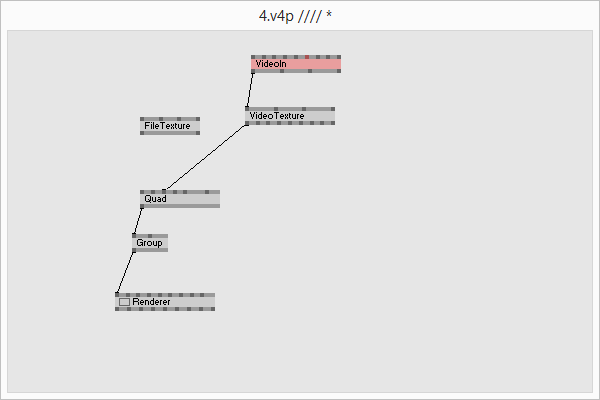
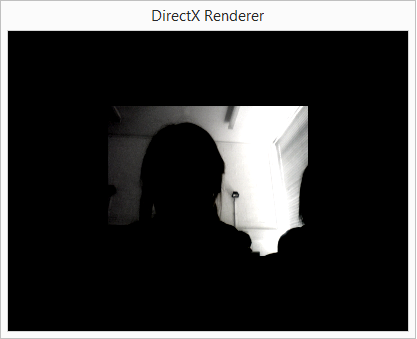
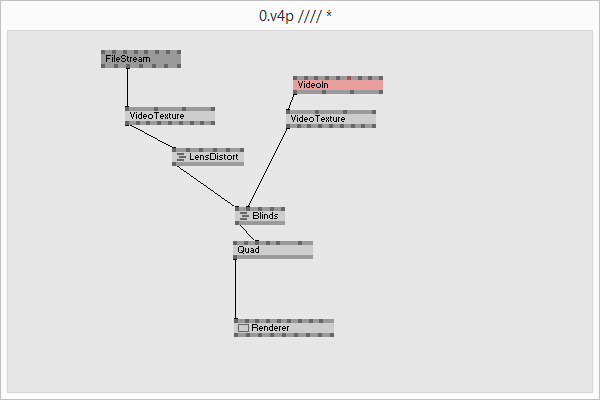
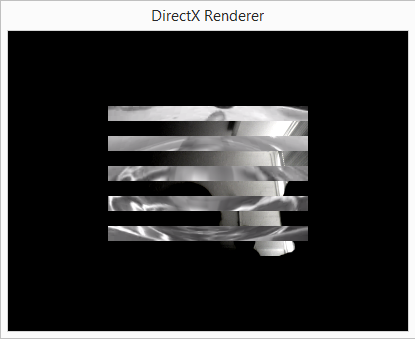
- VideoTexture with VideoIn - uses webcam image to texture the quad
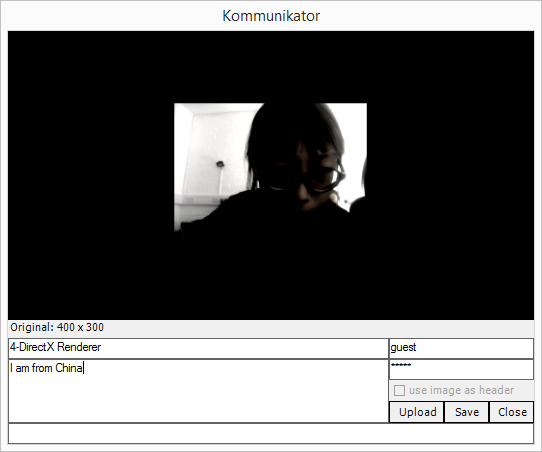
- press ctrl-3 to upload it. no clue why it thinks im from china.
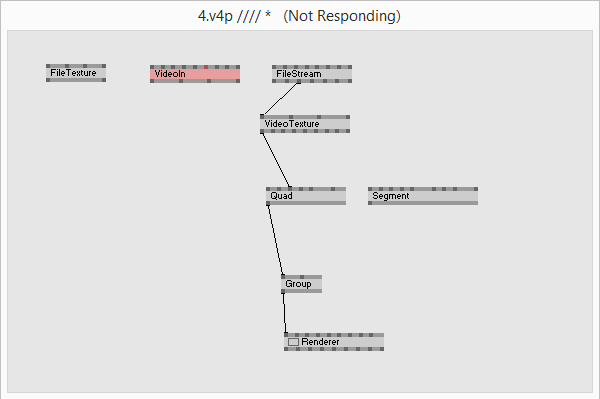
- FileStream (dshow9) to play video as the texture over (you can also use segment and fxfilters, such as LensDistort or Grain)
- Layer for effects, type mixer to see various effects...
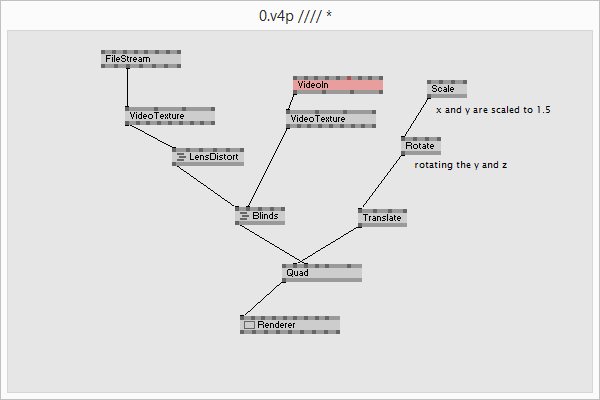
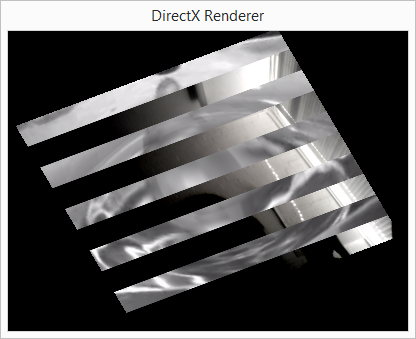
- Translate, Rotate, Scale, Transform
- LFO - a popular function is the LFO - it will then change the values (eg if you connect the lfo output to the rotate z input then it will rotate continuously on the z axis
- LFO > WaveShaper > IOBox to use sine wave instead for smoothness
- Press F1 to see info on each node type
- Can use Tweener for easing effects
- if you do not have enough inlets (such as in the case of Group), you can click on the node, press ctrl-i to see the inspector, double click on the property and then type in the new number
Experiment: To make a sun with earth and moon rotating
- To neaten up the script, when you want to align the nodes vertically or horizontally, select the nodes in a row/column and press ctrl-l
Spreads and slices
- Cartesian (x,y) vs Polar Coordinate system (angle and length from centre point)
- select a line, press control-y, and it will become a curvy connector instead of straight line connectors between nodes
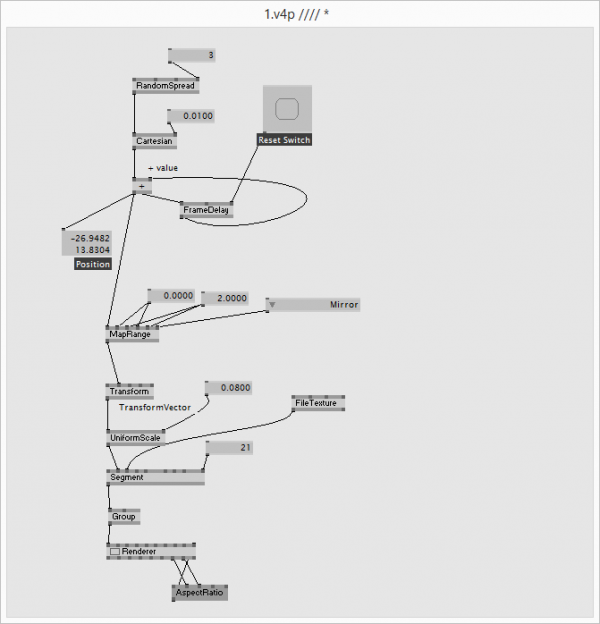
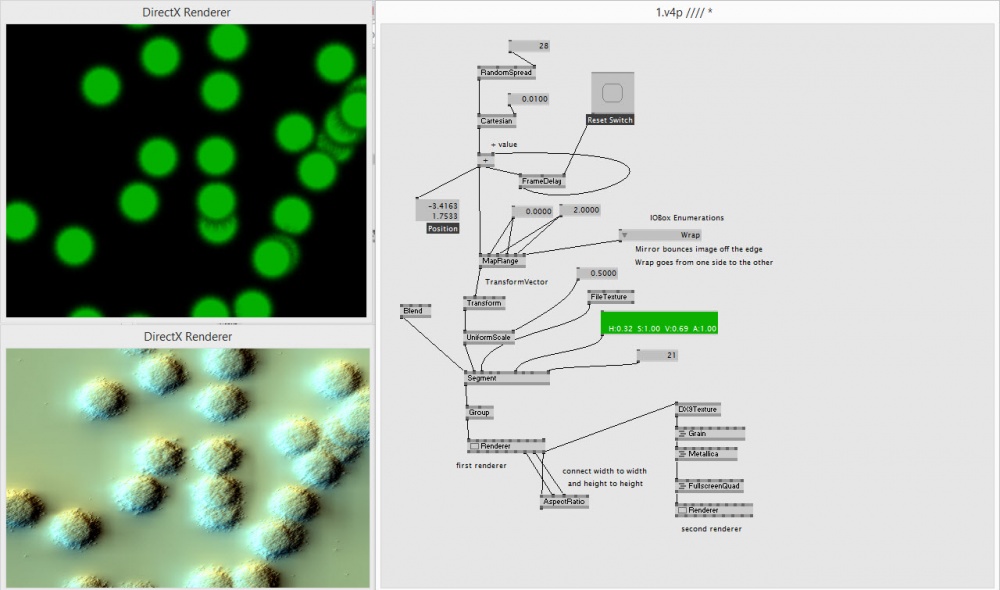
- Now we apply a texture to it and fix the aspectratio
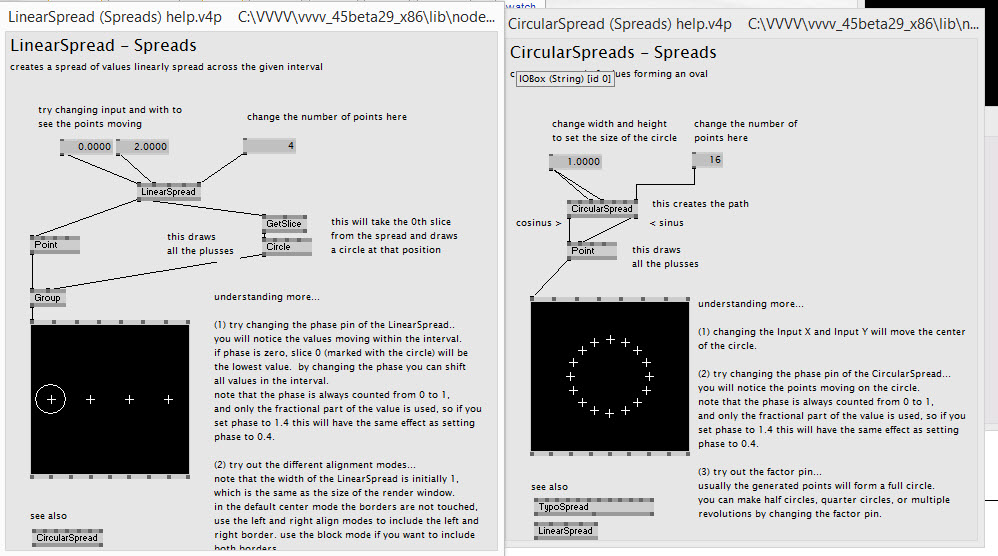
Linear Spread
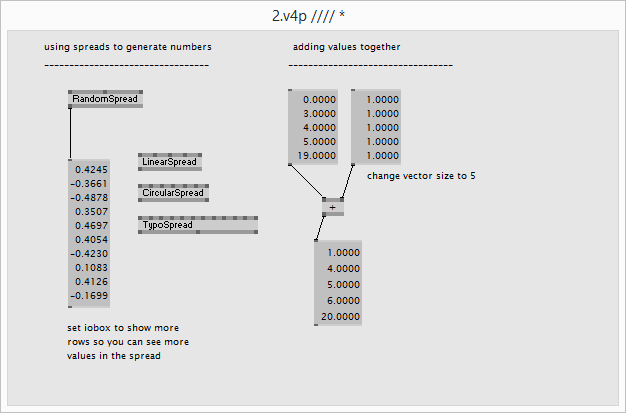
LinearSpread, circularSpread, TypoSpread... create in your pattern and press F1 to see info about them
Debug modes and other visual editing modes
- lighten/darken your patch with ctrl+6/7.
- Debug mode - ctrl f9 - what is the meaning of the colors on the inlets?
- green seems to an inlet that requests data
- red seems to be an in/outlet thats spreadcount changes
- blue seems to be an in/outlet that gets calculated.
- there is apparently another debug mode in which the pipes that are used more turn thicker and the ones that arent used are like dotted lines - ctrl f10 - but we didnt see it on ours?.......
Slice
- Slice is like array for assessing large sets of numbers/values - http://vvvv.org/documentation/slice
- GetSlice, GetSpread
- SetSlice, SetSpread
- InsertSlice
- DeleteSlice
- Sift
- Sort
- Reverse
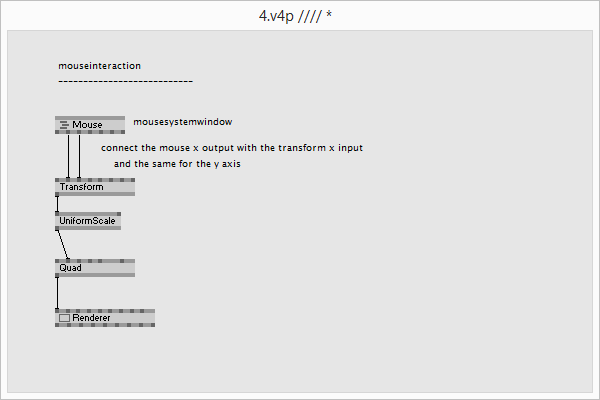
Mouse interaction
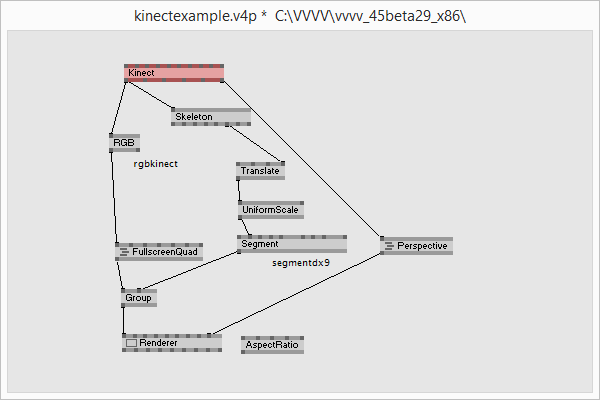
Kinect
- axisandgrid, camera, stickman (get addon pack)
- https://code.google.com/p/kinect-mssdk-openni-bridge/downloads/list
- Command prompt is the windows equivalent of the mac Terminal
Projection Mapping
- http://vvvv.org/documentation/how-to-project-on-3d-geometry
- like madmapper
- flat surface - use homography
- curved surface - more complicated - have to build mesh and map it to it. for simple curves use sphere
- xfile, coladaFile
- http://vvvv.org/documentation/undistorting-projections
- see also Klaus Obermaier - apparition - http://www.youtube.com/watch?v=-wVq41Bi2yE
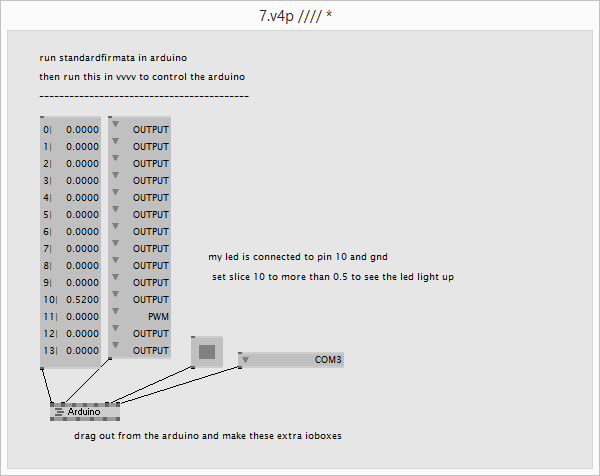
Arduino
- firmata - http://firmata.org/wiki/Main_Page
