The point of a 3D printer or 3D replicating device is that it should be able to print new parts for itself; and this week in our house we were getting one step closer to the Singularity!
So I got the UM2 about two weeks ago, but I had some incredibly frustrating problems with the material feeder grinding filaments down terribly, exacerbated by my inability to open the screws on the material feeder itself. Fortunately, George’s bike allen key worked better than the UM provided allen key so he finally opened it and could clean out the ground up PLA and adjust the tension slightly. George thought my loosening of the screws of the material feeder (the 4 on the exterior of the black plastic case) could also have made the tension higher because of the design of the material feeder. Since the design of the material feeder was clearly the weak point in all this (nozzle was fine; already tried the Atomic method), we decided the next step should be to print a new material feeder for the UM2!
Turning temperature down midway too quickly ruins prints
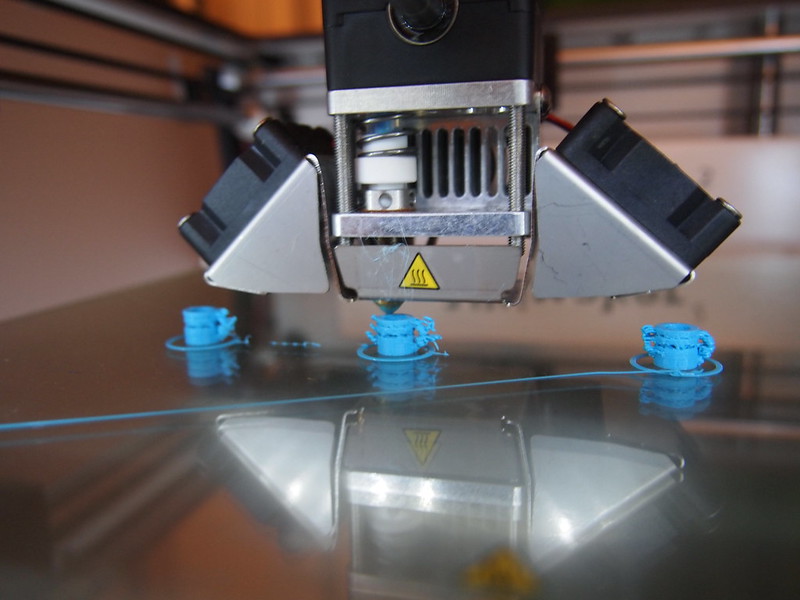
There was a weird blob of filament on the UM2’s nozzle which seemed to overhang dangerously so I thought I would slowly raise the temperature to 260 deg to get rid of it. After the nozzle had heated sufficiently to make the blob disappear, I turned the heat down to go to 220, but the fans were too effective and actually lowered the temperature to 205, and the sudden change in temperature caused some underextrusion, like scars on tree rings on these tiny teacup tests. Therefore if you need to change the temperature, it seems you should change it very slowly and no more than 5 deg at a time.
Improvised tools for retrieval of bowden clip which has fallen into hot end
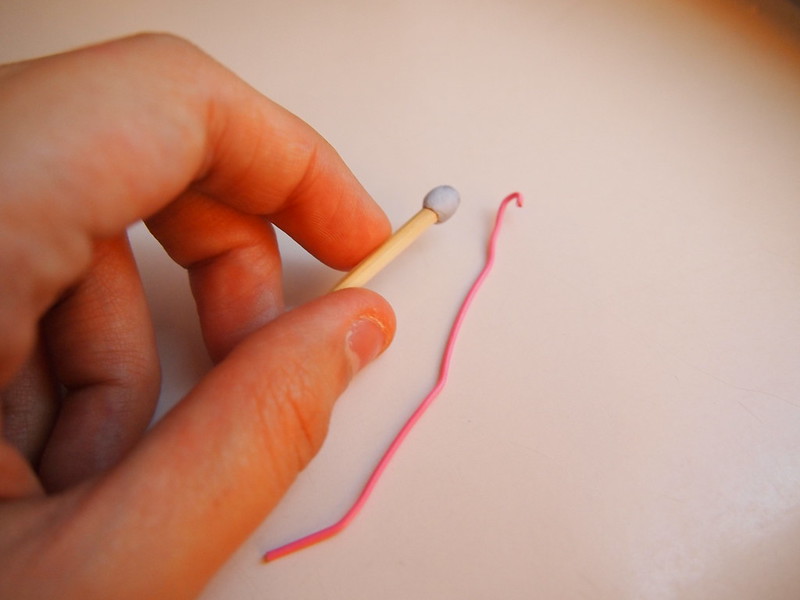
Removing the blue bowden clip takes some effort… and then some. Earlier yesterday, while the machine was turned off, I was trying to remove the bowden clip and it jettisoned itself out violently… RIGHT INSIDE THE HOT END. After having a small nervous breakdown, I was eventually forced to face reality and to improvise some new tools to retrieve the blue bowden clip from inside the hot end. These finally worked for us – a bamboo stick with blu-tack on one end, and a small paperclip fashioned into a hook. Use the stick with a sticky end to lift the blue clip and then fish it out with the hook.
This unfortunate error happened twice in the day.
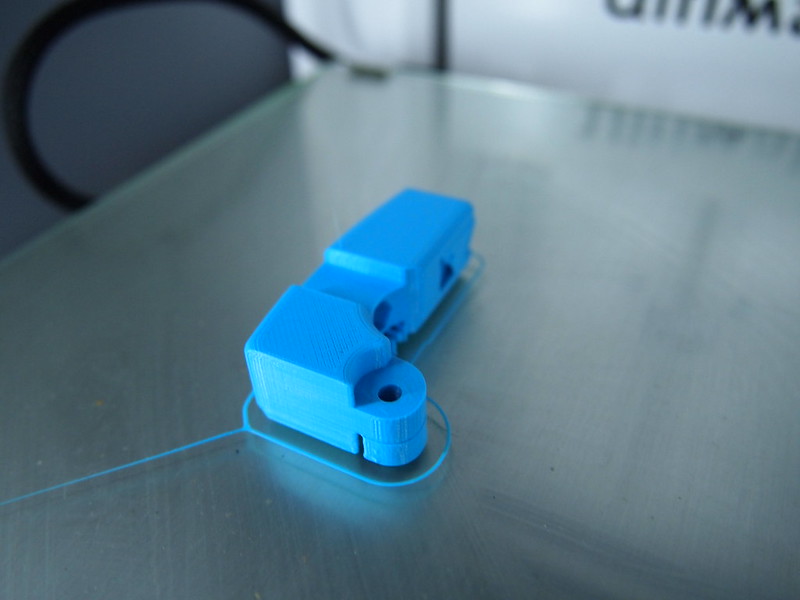
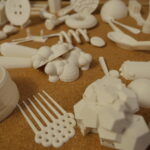
Printing a new material feeder
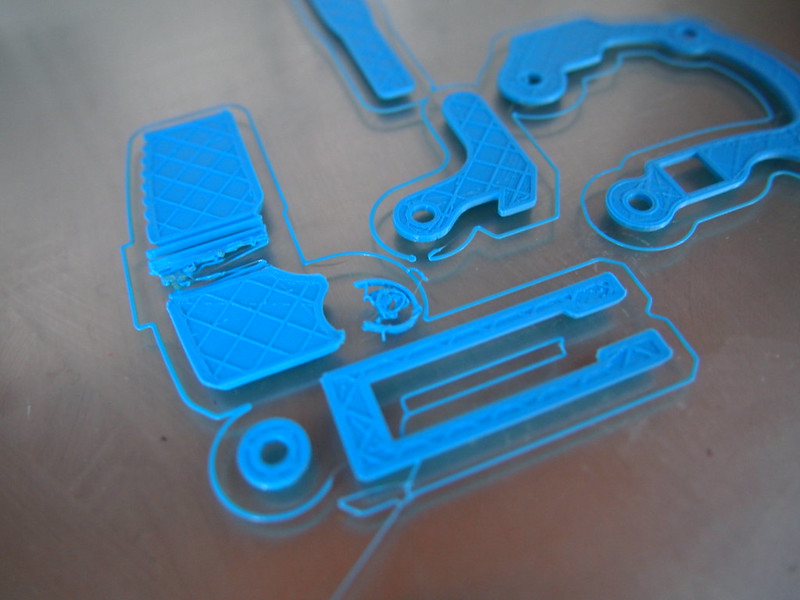
We tried to print all 5 parts of a replacement material feeder in one print with an initial layer of 0.3mm. The result was that every first layer was borked, although we didn’t understand what was the reason for it not sticking properly to the build plate. Obviously, if the first layer does not turn out right then the outlook for the piece seems pretty dismal. We tried this about 6 times and each print’s first layer either did not come out straight or detached from the print bed, so we aborted each attempt in succession.
I tried putting some glue on the test bed (with a damp paper towel to spread it out), but I believe the glue doesn’t do very much and can be dispensed with, especially with a clean heated bed. After which we decided to print one part at a time with an initial layer of 0.2mm (and a lower print speed of 35mm/s) and it printed perfectly.

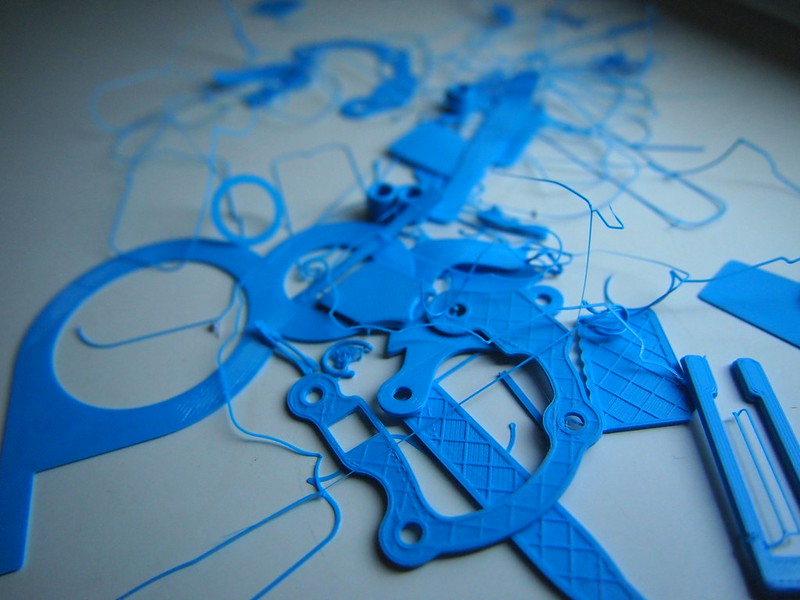
Some appearance of “pillowing” occurs during printing process. Just saying, in case if you are paralysed by inertia and standing there watching the print like a paranoid babysitter – yes, the outcome will be alright as long the top layer is thick enough.
After successfully printing two parts individually on its own, we decided to print 3 of the parts together with an initial layer of 0.2mm. This printed beautifully. Therefore one possible conclusion is that our initial problem with the smaller details of the print not properly sticking to the build plate might have been caused by setting the initial layer at 0.3mm?
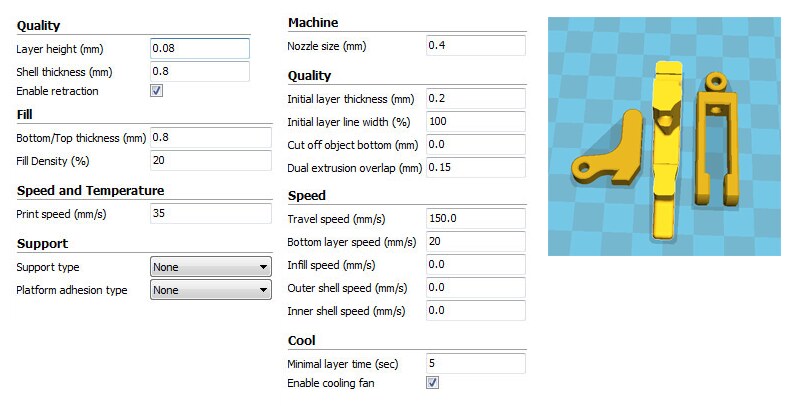
Update: EVERYTHING WORKS BEAUTIFULLY NOW. I recommend that if you have grinding problems with the UM2 that you print this feeder with similar print settings. Your sanity will thank you.
See also:
Atomic Method for fixing underextrusion problems
Ultimaker Visual Troubleshooting Guide by 3dverkstan
I’ve been bogged down by too much work lately (a constant and paralysing problem), and regrettably am behind in a lot of documentation and writing. But during the course of my projects involving any 3D printing, each weekend I’ll do a sum-up of all my prints and experiences with the UM2.
Related posts:
 Ultimaker 2: The Importance of Filament Guide design, and Underextrusion Troubleshooting
 Lessons in 3D Printing: Raft Vs Brim Vs Skirt
 Lessons in 3D Printing: Blobs, Warping, Gaps, Ugly Overhangs, and other disasters with gravity
 FFF/FDM (Fused Deposit Modelling) vs SLA (Stereolithography)
 Craft and Material (Victoria & Albert Museum)
 Material Culture and the Artefacts of Science History (Treasures Cadogan, Natural History Museum, London, Jan 2014)
 Meshmixer Experiment
 Moire Colour Banding