Designing and teaching a 3D module has had the unintended effect of giving myself the role of “de facto 3D printing technician” and “general-all-round-fixer of 3D models and print settings”. Ah! I am a fool, for I had already known of the fickle nature of 3D printers, their unwillingness to behave when ordered to. Also the machine is a wilfully obtuse device that will do exactly what the designer asked it to do even if the designer has made an awful mistake.
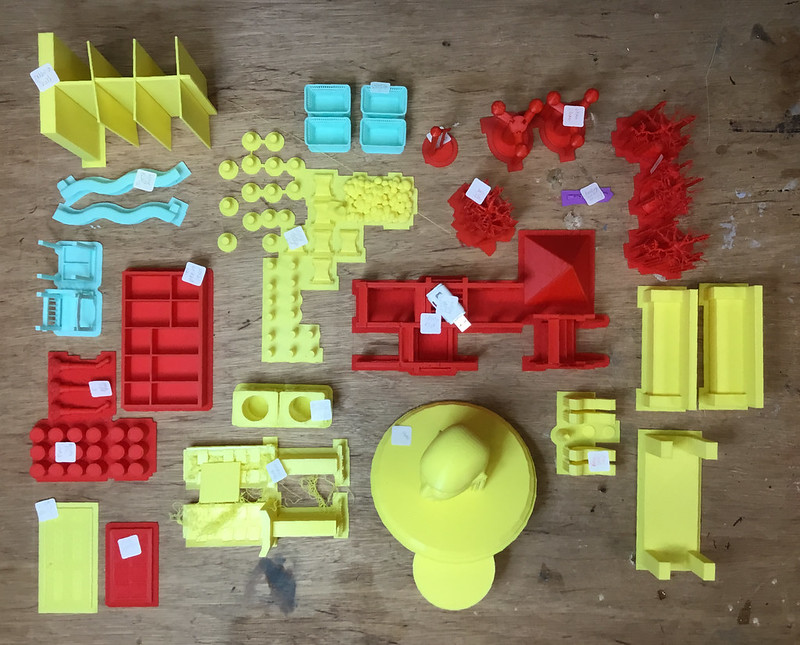
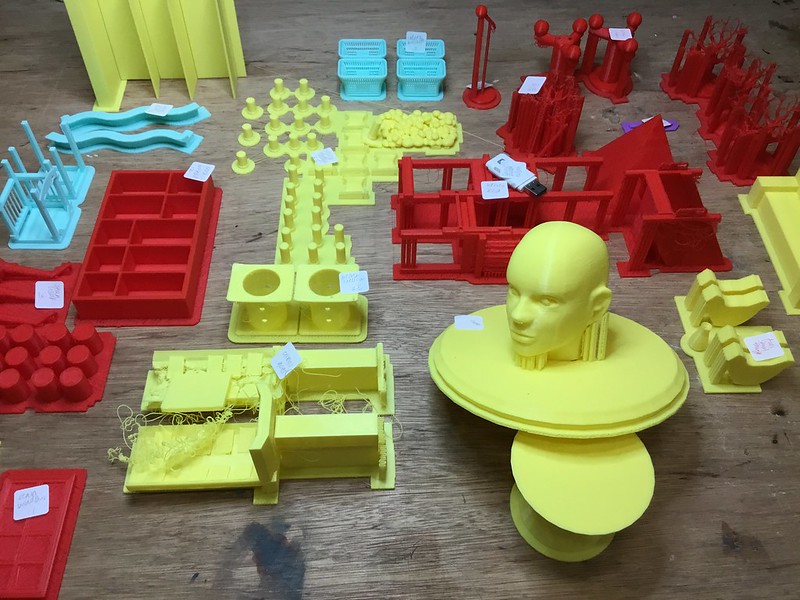
Here is a list of lessons I have learnt after facilitating several hundred hours of 3D Printing in a mini workshop. Printers used were Raise3D N2.
1. Raft Vs Brim Vs Skirt? JUST USE A RAFT
What is the difference between using a Raft, Brim and Skirt?
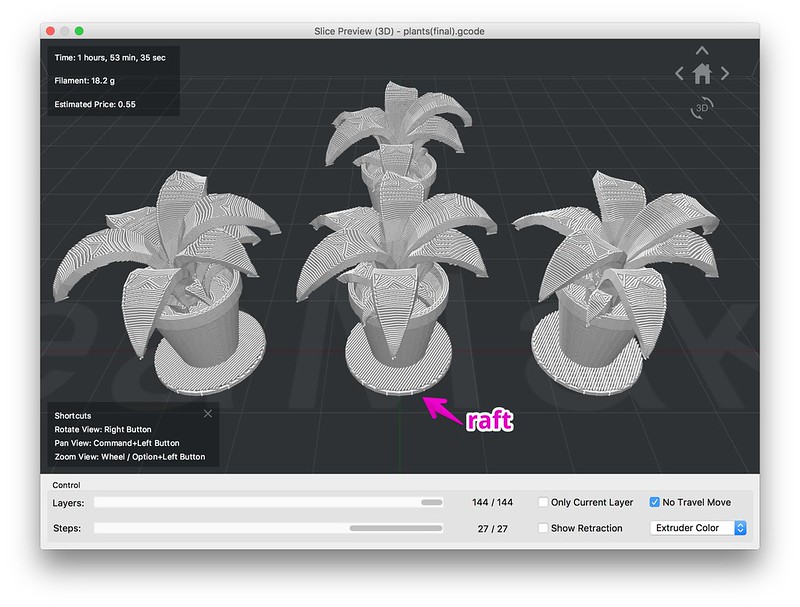
The Raft is an additional piece below the entire print itself.
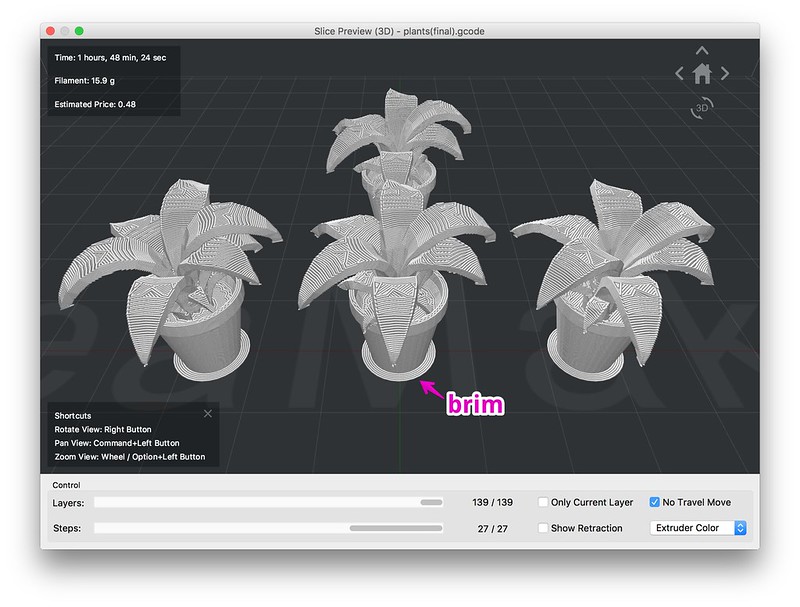
The Brim is an extension of the first layer which expands the amount of contact the first layer has with the print bed. The print’s first layer is already touching the bed itself, unlike the raft which is an additional few layers below the print itself.

The Skirt is just an additional line printed around the print itself.
Often one may think that the raft is a waste of material but I have found that rafts are absolutely essential since it will affect the first layer adhesion greatly, and with this kind of FDM printers the first layer adhesion is one of the main factors which will literally make or break your entire print. As the raft is much bigger than the print’s footprint (and also bigger and thicker than a brim), it ensures better adhesion to the print bed.
Also if you end up having difficulty in removing the print, you can afford to damage the raft somewhat during the process of removal – without also damaging the actual print.
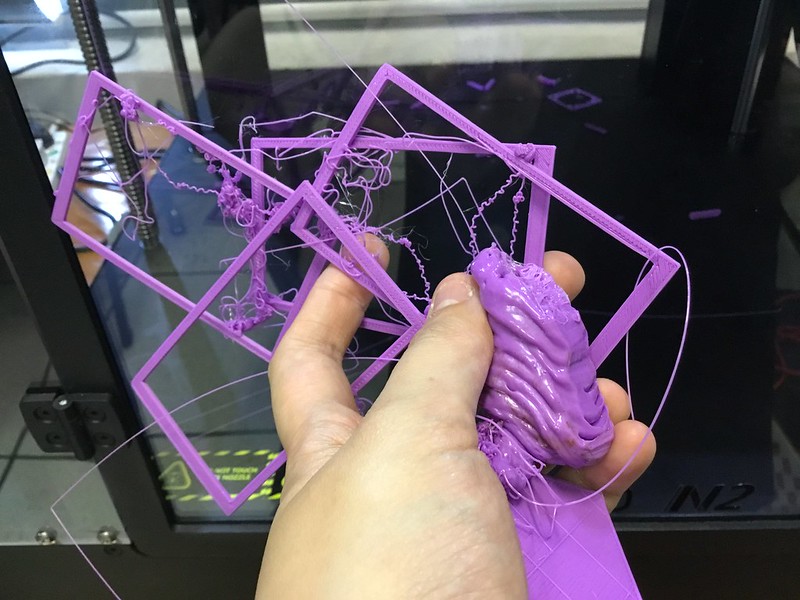
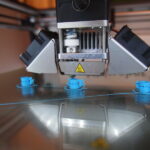
Example of failed print: This generally flat print would not complete when I printed it with just a skirt. It would only print when I did it with a raft. For a large print, this kind of error may cause the print to turn into a huge blob that can potentially be pushed into the axis belt – breaking it and causing total breakdown of the machine. So you can imagine how these problems with adhesion shouldn’t be taken lightly if you want to keep on printing!
2. Infill Density
10% will do for non-load bearing parts all the time. Don’t bother printing more infill unless needed.
3. Always Check Slicing Preview
Check Slicing Preview for EVERY PRINT before printing. More often than not it will provide the clues for whether a print will actually complete. A common issue is where the work is not touching the print bed. If there is a gap in a layer, or no raft over any part, or any part which defies gravity and the known laws of physics, then do not proceed for THIS WILL NOT PRINT WELL. Redesign the part before printing.
4. Tricks for very large overnight prints
Lay item as flat as possible on the print bed
Ensure that you have observed the raft completing successfully before leaving the print to run overnight.
If you don’t want to do a raft because a raft would exceed the print bed size, set the first layer to be extra thin.
5. Only Cura can slice right-extruder-only print for dual extruder printer
A crazy question you may find yourself asking if you are using a dual extruder is “should I try to use just the right extruder to print?” Well, no, its not advisable at all, and also I can’t seem to find any other slicing app which allows for such a setting. Alternatively, you can dive into the gcode directly and change all instances of T0 to T1. However the problem remains that right-extruder-only prints may experience nozzle strike:
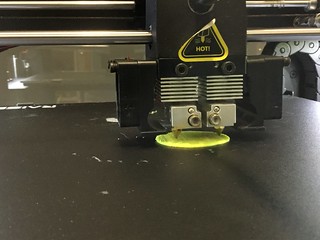
Left: Nozzle Strike in progress. Right: Print which I stopped because the left extruder was clearly impacting on the print being produced with the right extruder only.
Related posts:
 Lessons in 3D Printing: Blobs, Warping, Gaps, Ugly Overhangs, and other disasters with gravity
 Ultimaker 2: Printing a New Material Feeder
 FFF/FDM (Fused Deposit Modelling) vs SLA (Stereolithography)
 Ultimaker 2: The Importance of Filament Guide design, and Underextrusion Troubleshooting
 OpenSCAD: transformations, minkowski sum, and lithophanes
 Meshmixer Experiment
 Landscape Renderings: Should the light come from the left or right?
 Moire Colour Banding