ITS THE NEW YEAR!
These last few weeks Meshminds gave me the opportunity to work with the HTC Vive and I’ve decided to build a small VR experience using Unreal Engine. I had a “VR Ready” laptop (Gigabyte Aero 15) but yet I must confess that the setup for the Vive is not as easy or straightforward as it seems. Here are some notes on the process…
Setting up the Play Area
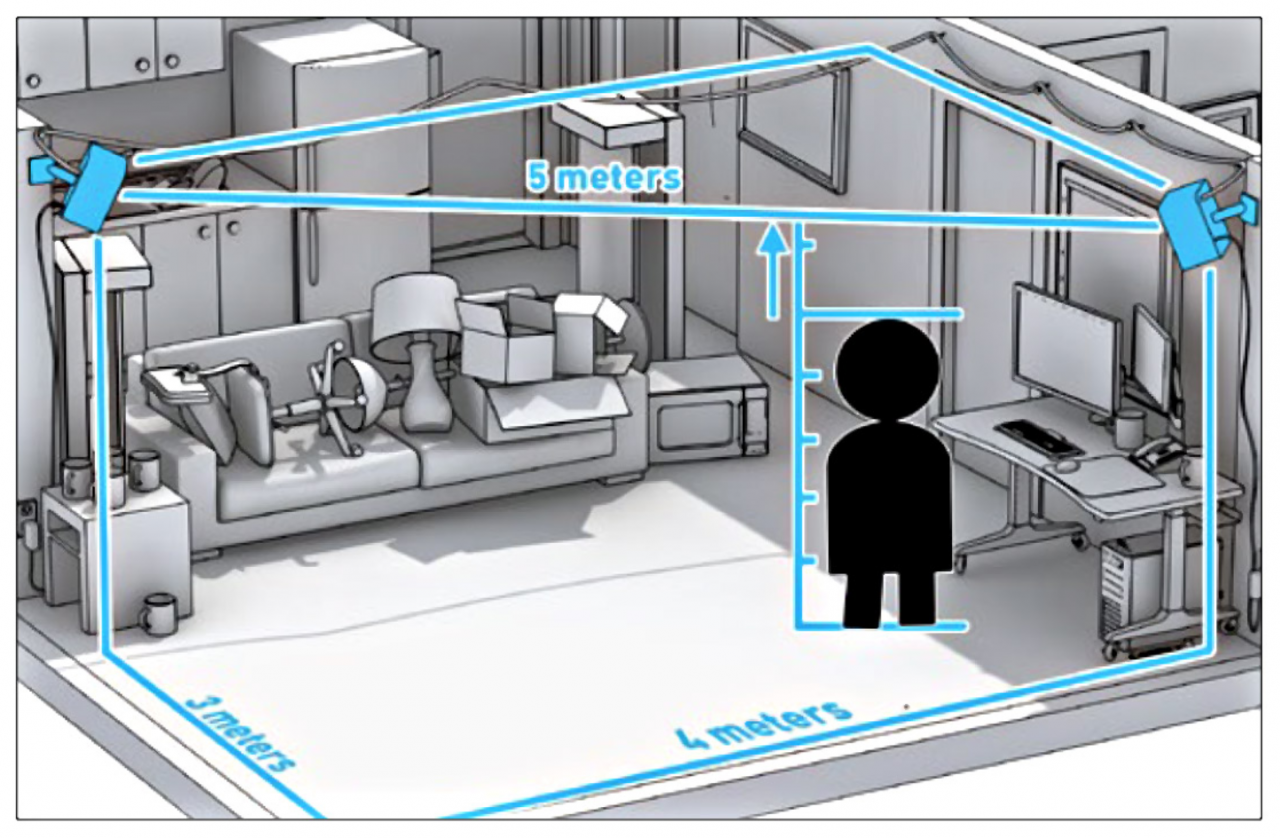
Recommended setup
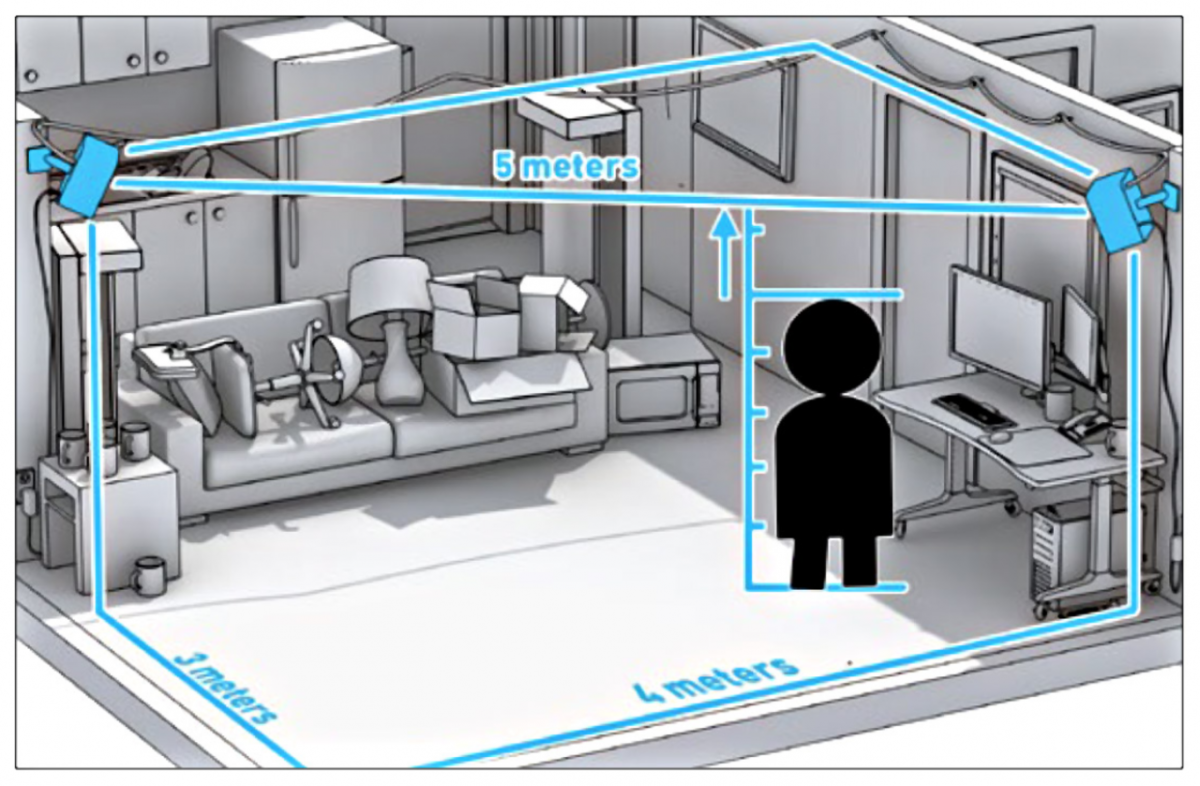
First, you’ll need to clear the play area. In our case, having just moved back to Singapore, our boxes haven’t arrived from London just yet, so we simply moved all the furniture out of the way. Technically speaking, all you need to clear is 60m2 (3x4x5) metres. But let’s be realistic: not everyone is going to have this luxury of floor space in their home or rental flat. And even if you think you’ve cleared everything (and even when you see the Chaperone boundaries) you’ll probably still violently thwack something with the controllers or stub your toes on the furniture you stowed away in the corner at some point.
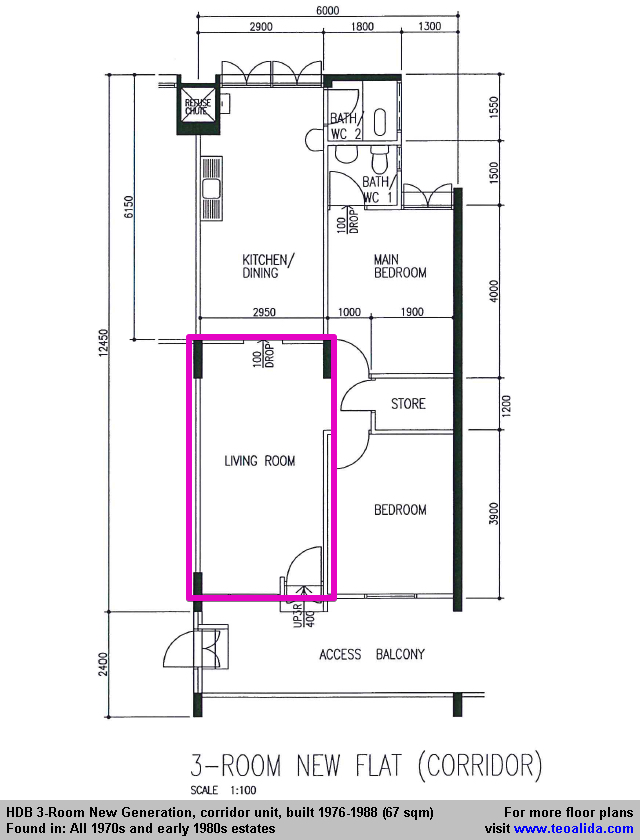
[Note that the average HDB flat living room floor area will exceed the volume required so take care that the second lighthouse shouldn’t exceed a distance of 5m from the other lighthouse]
Vive Installation
The Vive came in a reasonably compact box, but once I took out the items from their neatly packed state, the cables somehow seemed to gain volume and a wilful desire to take over the entire room. After moving the equipment from one room to another (whilst trying to decide which was the room to use), I found myself spending time detangling cables over and over again.
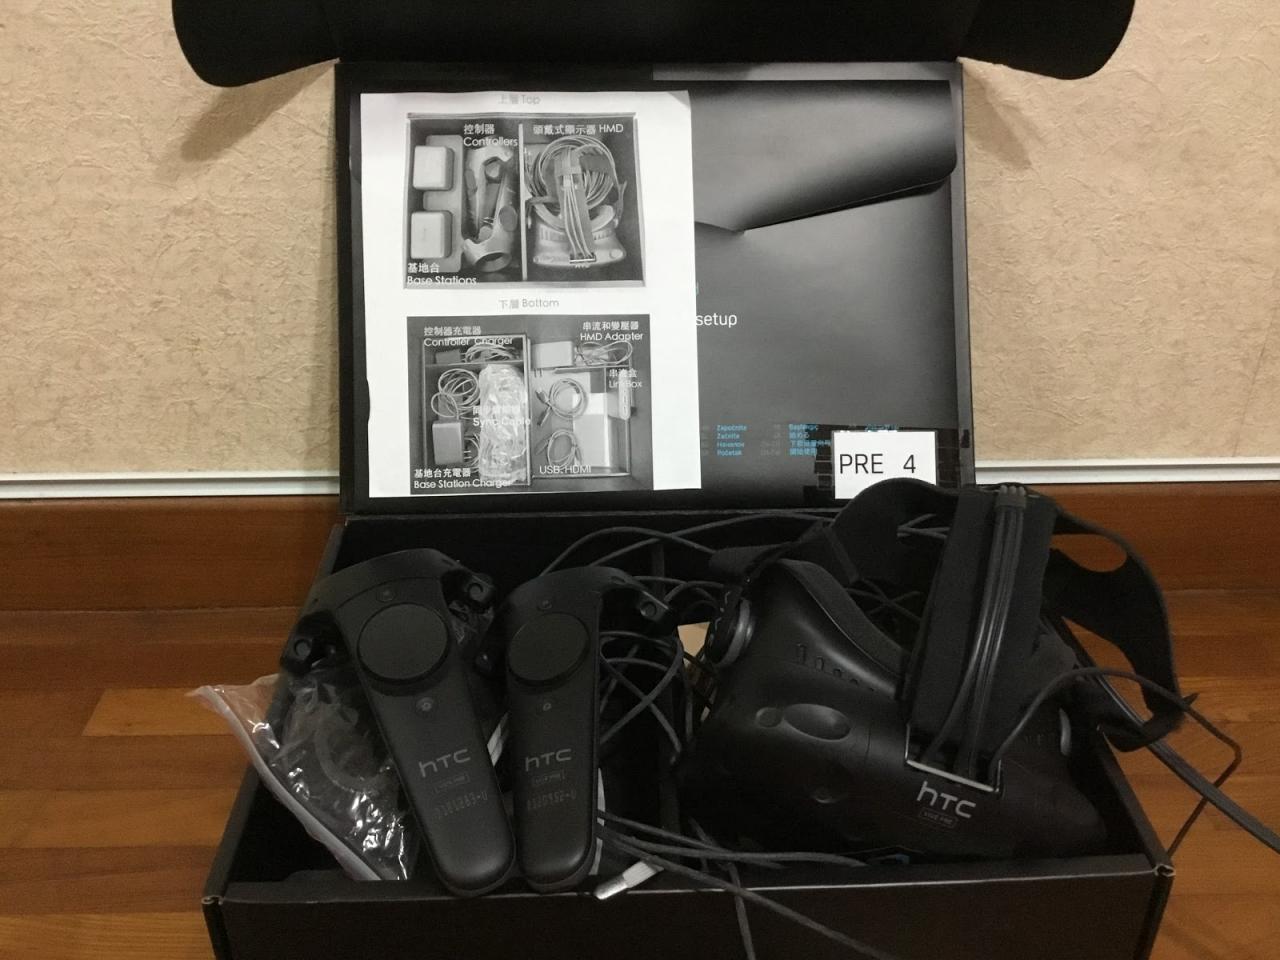
Cable explosion after I took it out. Even with the diagram its difficult to put it all back in after you uncoil everything…
If you are renting, then you probably don’t want to do anything so drastic as to drill a permanent mount into the wall. After cracking our brains on what to do, we found two cheap $5 selfie sticks with 1/4″ camera screw mounts that also fit the Vive Lighthouses’s screw base. We took the selfie stick apart and mounted the lighthouse on the flat stick which gave us an adjustable mobile rig that we could stick to the wall with a combination of 3M Command tabs and duct tape. (Note that the base station generates some vibration so you definitely want to pile on the duct tape for safety)
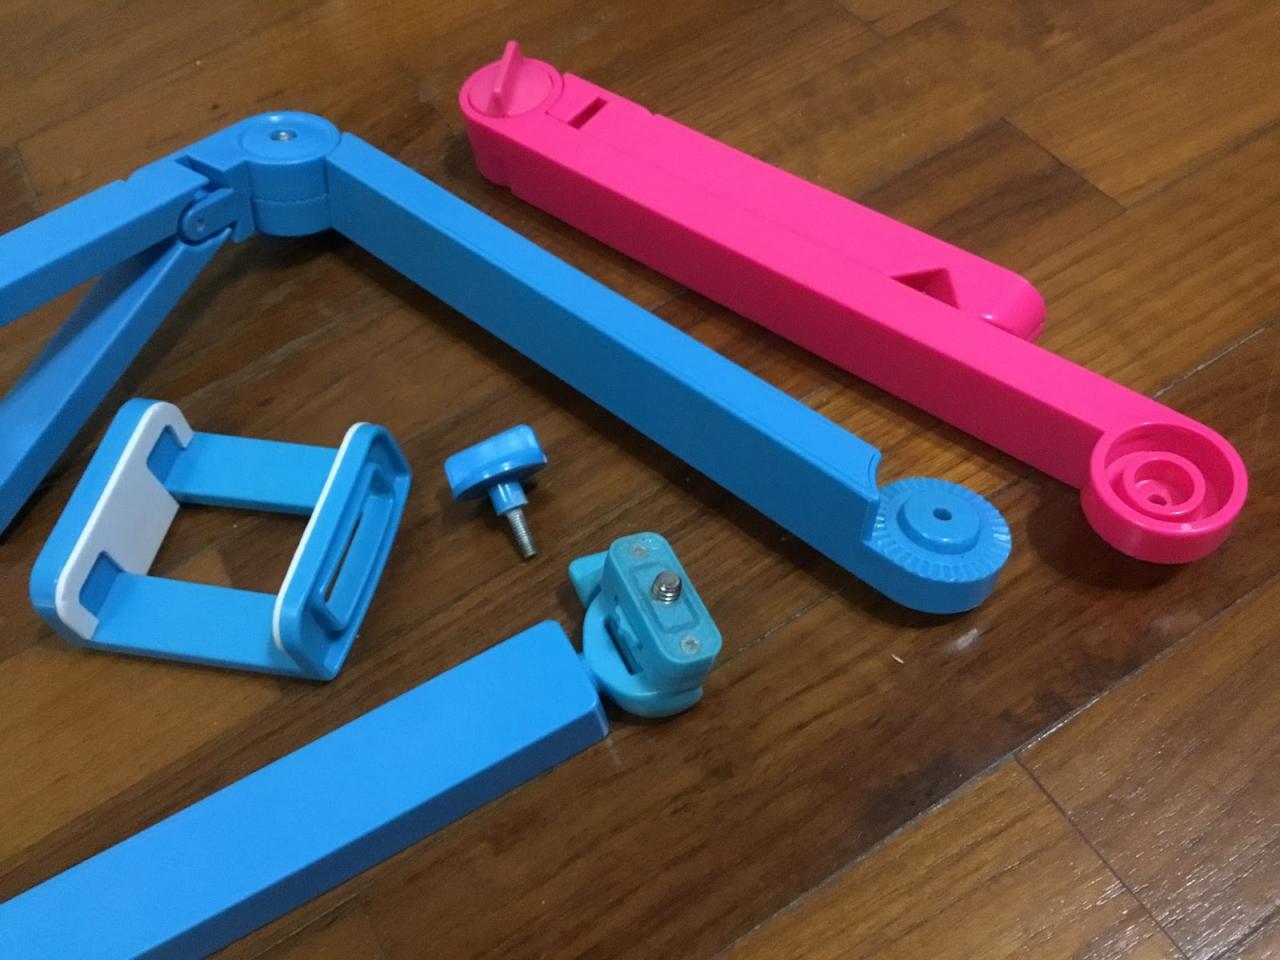

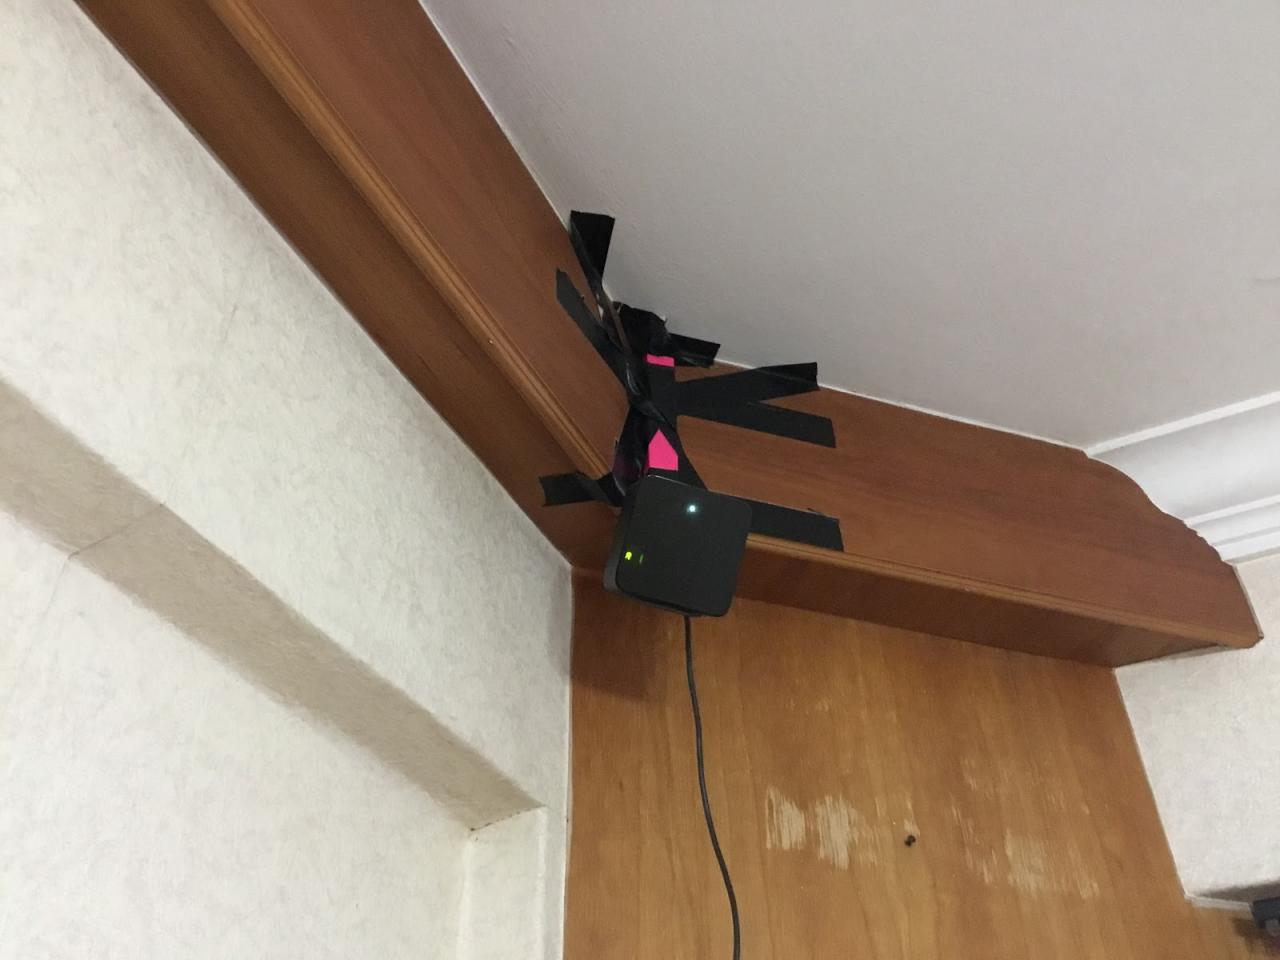
DIY Vive Lighthouse Mounting – NOT PRETTY BUT IT WORKS
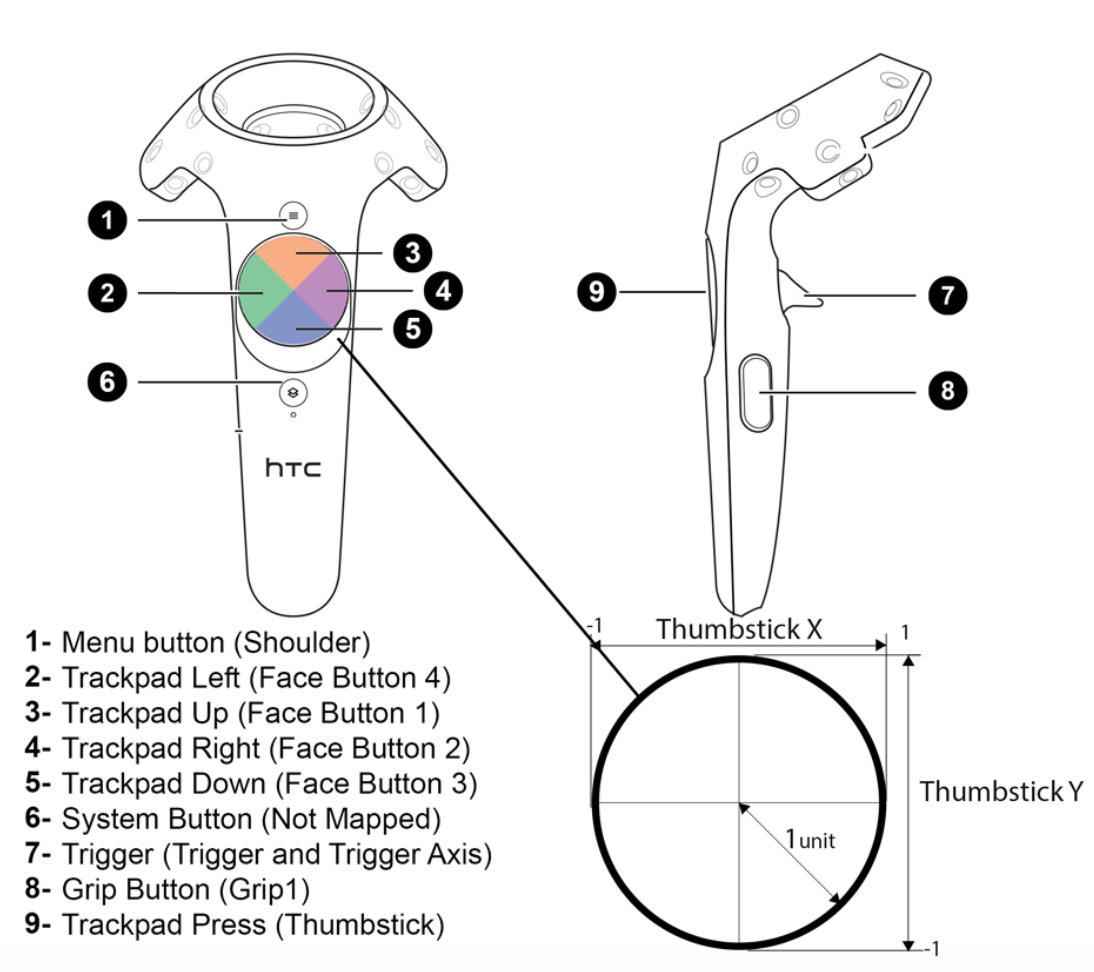
Troubleshooting
After spending countless boring hours installing new drivers and updates for Windows and the graphics card, we were able to run SteamVR intermittently. One recurring issue was relating to the VR Compositor. Every time we restarted the entire system, on the first run it always returns “Shared IPC Compositor Connect Failed (306)” and “Compositor is not available (400)” even when everything is already set to use High Performance graphics (set to default to the better GPU in the laptop). It seems to be a common issue – if you search online you will find several forums where many lost people are also asking the same question “HOW DOES I COMPOSITOR???”


Apparently this error is caused either by too many display devices (monitors, etc) connected or the Intel graphics card somehow taking precedence over the Nvidia GTX1060 in this laptop. The fix for it is to go to SteamVR Settings and Disable Direct Mode and then Re-enable Direct Mode. SteamVR will restart each time you do that. Sometimes this works, SOMETIMES THIS DOESN’T. Okay, most of the time it will fix it.
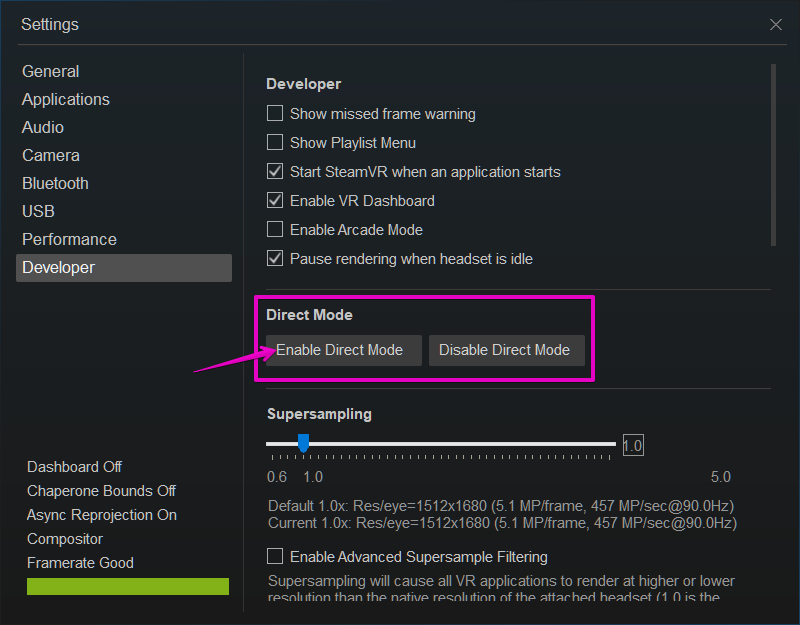
At this point it seems worth asking, so what is the VR Compositor? If you read Valve’s documentation, it says:
The Compositor simplifies the process of displaying images to the user by taking care of distortion, prediction, synchronization and other subtle issues that can be a challenge to get operating properly for a solid VR experience.
If I understand it right, the compositor runs the VR display, and when an application wants to use the HMD (Head Mounted Display) it asks the compositor for access to a buffer and begins to render into that buffer. The eye buffers are a bit like layers that are ontop of one another. Vive’s Chaperone is an example of one such layer that already asked the compositor for access at the very start – so you see the room boundary in the HMD when you walk too close to the edge.
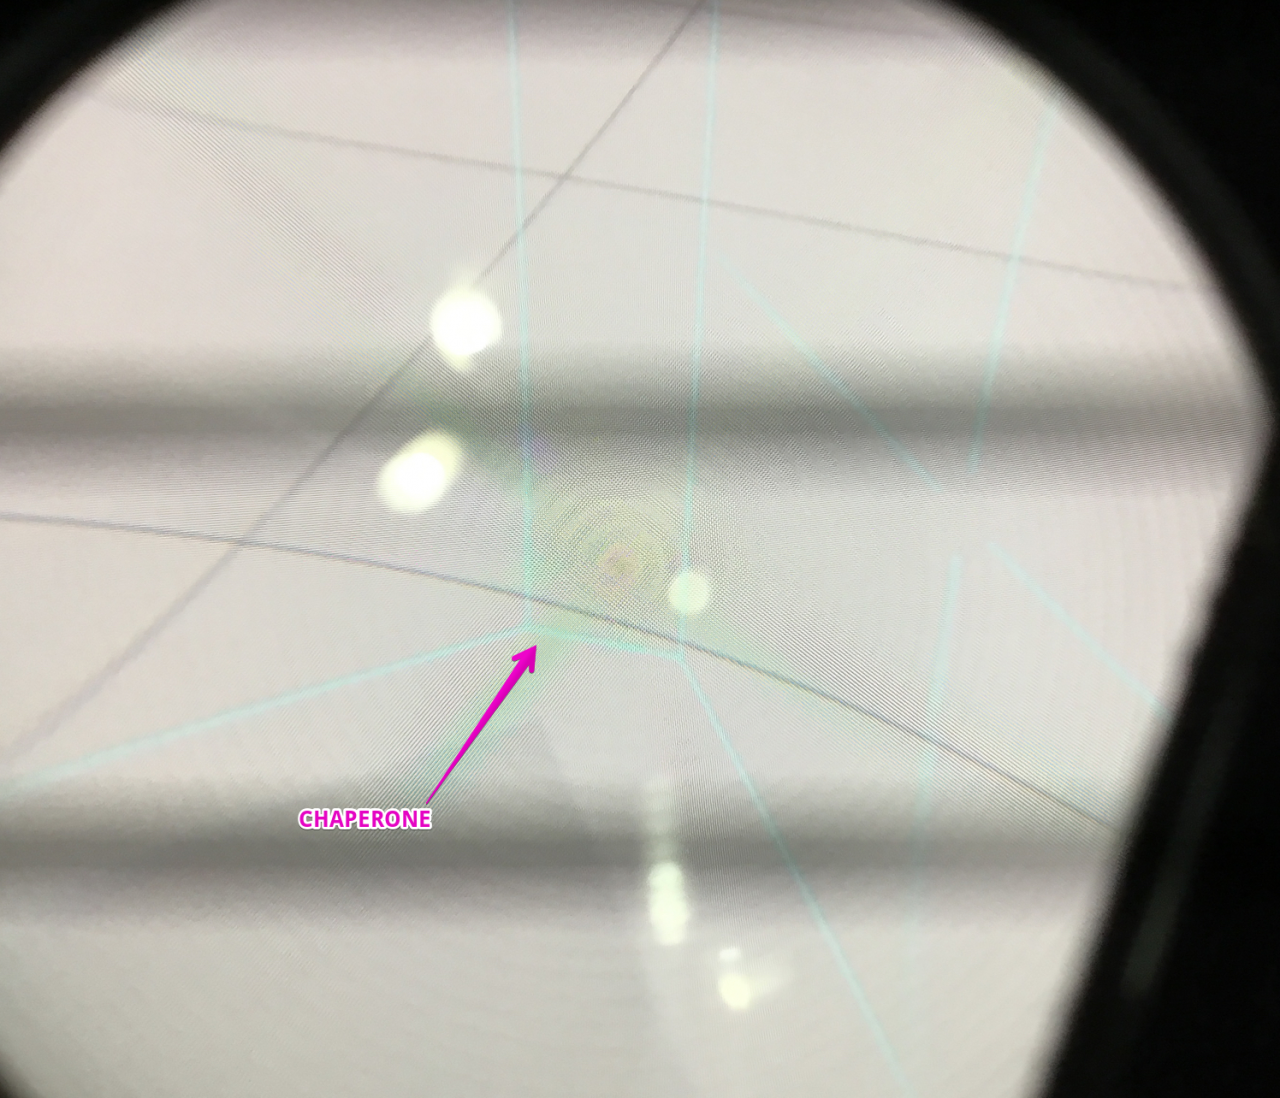
The standard or normal rendering of the 3D world is rendered into each of the eye buffers (one for each eye!) and then the warp pass/spatial as well as chromatic distortion is executed over the eye buffers to allow the final image to match the curved lenses on the HMD so that you see it as a 3D image with the headset.
[Another issue we had was hardware related – one of the lighthouses seemed faulty – one LED does not light up (instead of 17 only 16 LEDs are lit). In the meantime, we simply used the working Lighthouse as the front facing one and tried not to turn 180 degrees in a hurry so it wouldn’t grey out. Apparently it still mostly works with one Lighthouse so long as if you are still kinda facing the single Lighthouse]
ANOTHER FUN READ: Teardown of the HTC Vive
To take a screenshot in SteamVR, press System+Right Trigger at the same time. The image in SteamVR is quite confusing as the prompt on screen is not very clear – I read it as a suggestion that you press System and THEN press Right Trigger. So I thought the screenshot feature was broken until George told me to press BOTH AT THE SAME TIME. As for where these screenshots are being saved, its really not very obvious either. For example, you can’t set the folder for it to be saved. It took me a while to figure this out, but the screenshots are being saved into the userdata folder in Steam. For me, by default the screenshots were being saved here:
C:Program Files (x86)Steamuserdata760remote250820screenshots
Besides the 250820 folder, there were other numbered folders for different apps or sessions. Look in all of the folders inside remote to find your screenshots.
Also note that the screenshots are PRE-warp/distortion. So you’ll get screenshots that all look like two normal views without the overlay of the other buffer layers such as the Vive Chaperone, etc.
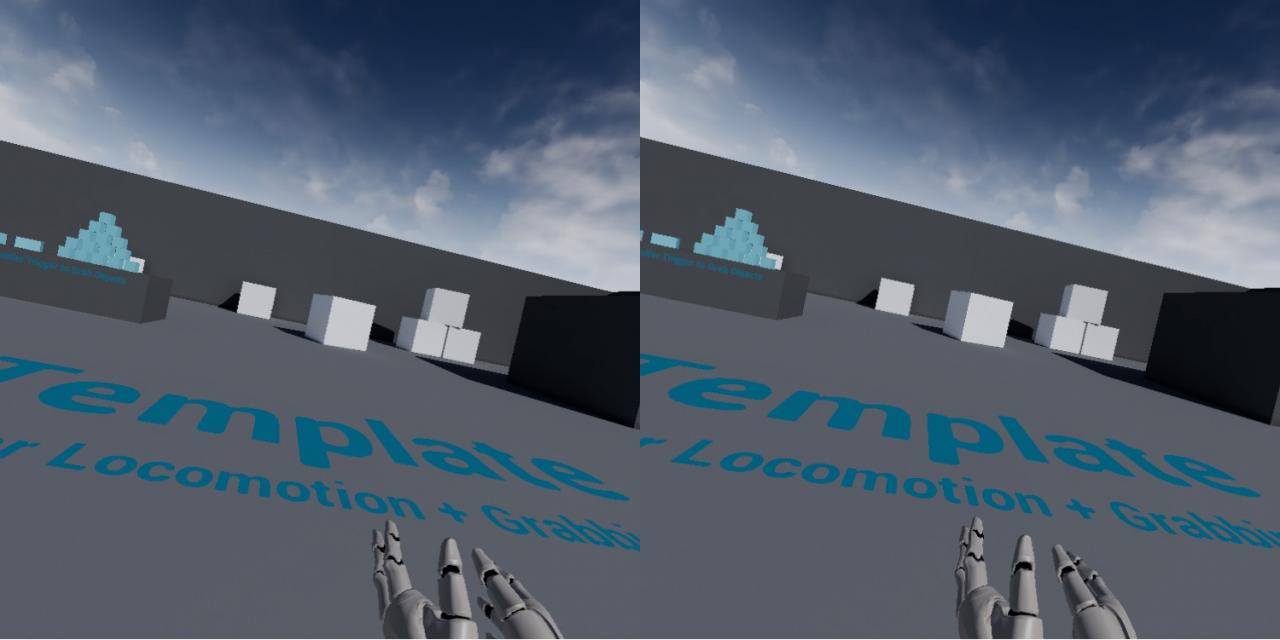
Now for the fun… testing out various VR apps!
The Lab
On Steam: http://store.steampowered.com/app/450390/The_Lab/
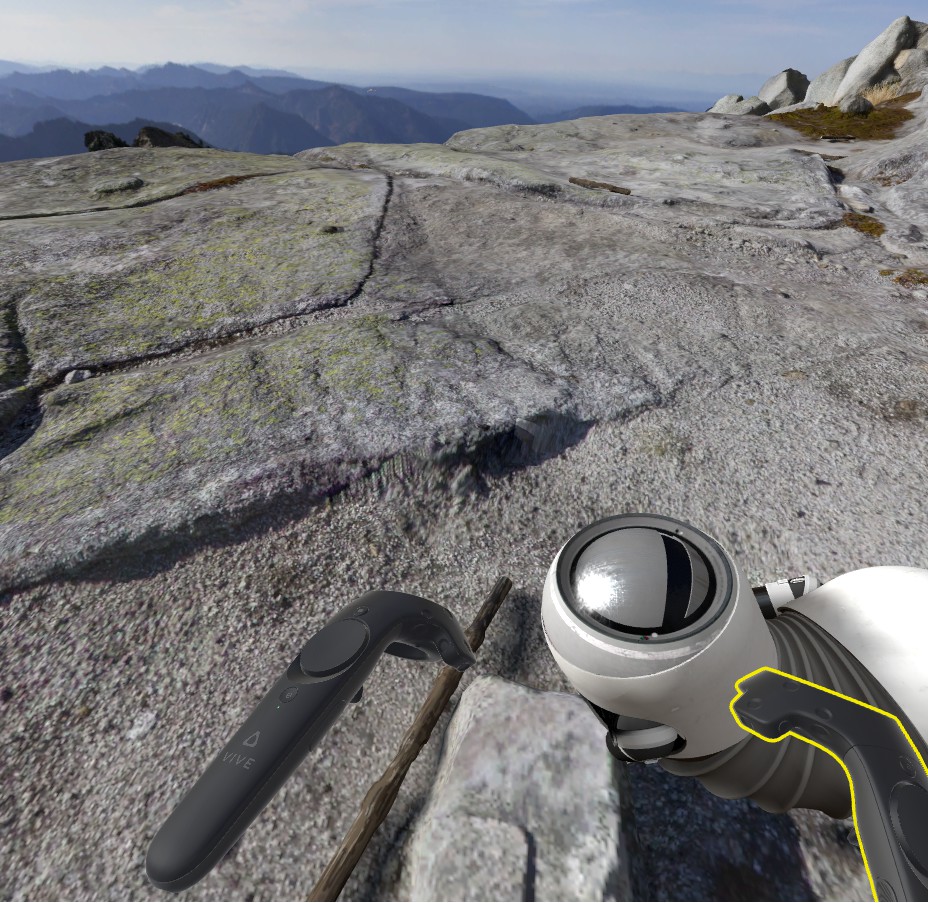
First stop is surely The Lab. Pet your robotic dog on a mountain side and play with other very solid VR experiments in The Lab. This free title is deservedly highly rated – you’ll definitely find that there are quite a number of VR games appearing on the market which are simply clones / rip offs of the devices from this portal-themed collection.
VR Museum of Fine Art
On Steam: http://store.steampowered.com/app/515020/The_VR_Museum_of_Fine_Art/
Art? What art? I came here specially to look at the potted plants used to decorate the dusty corners of the museum. 10/10.
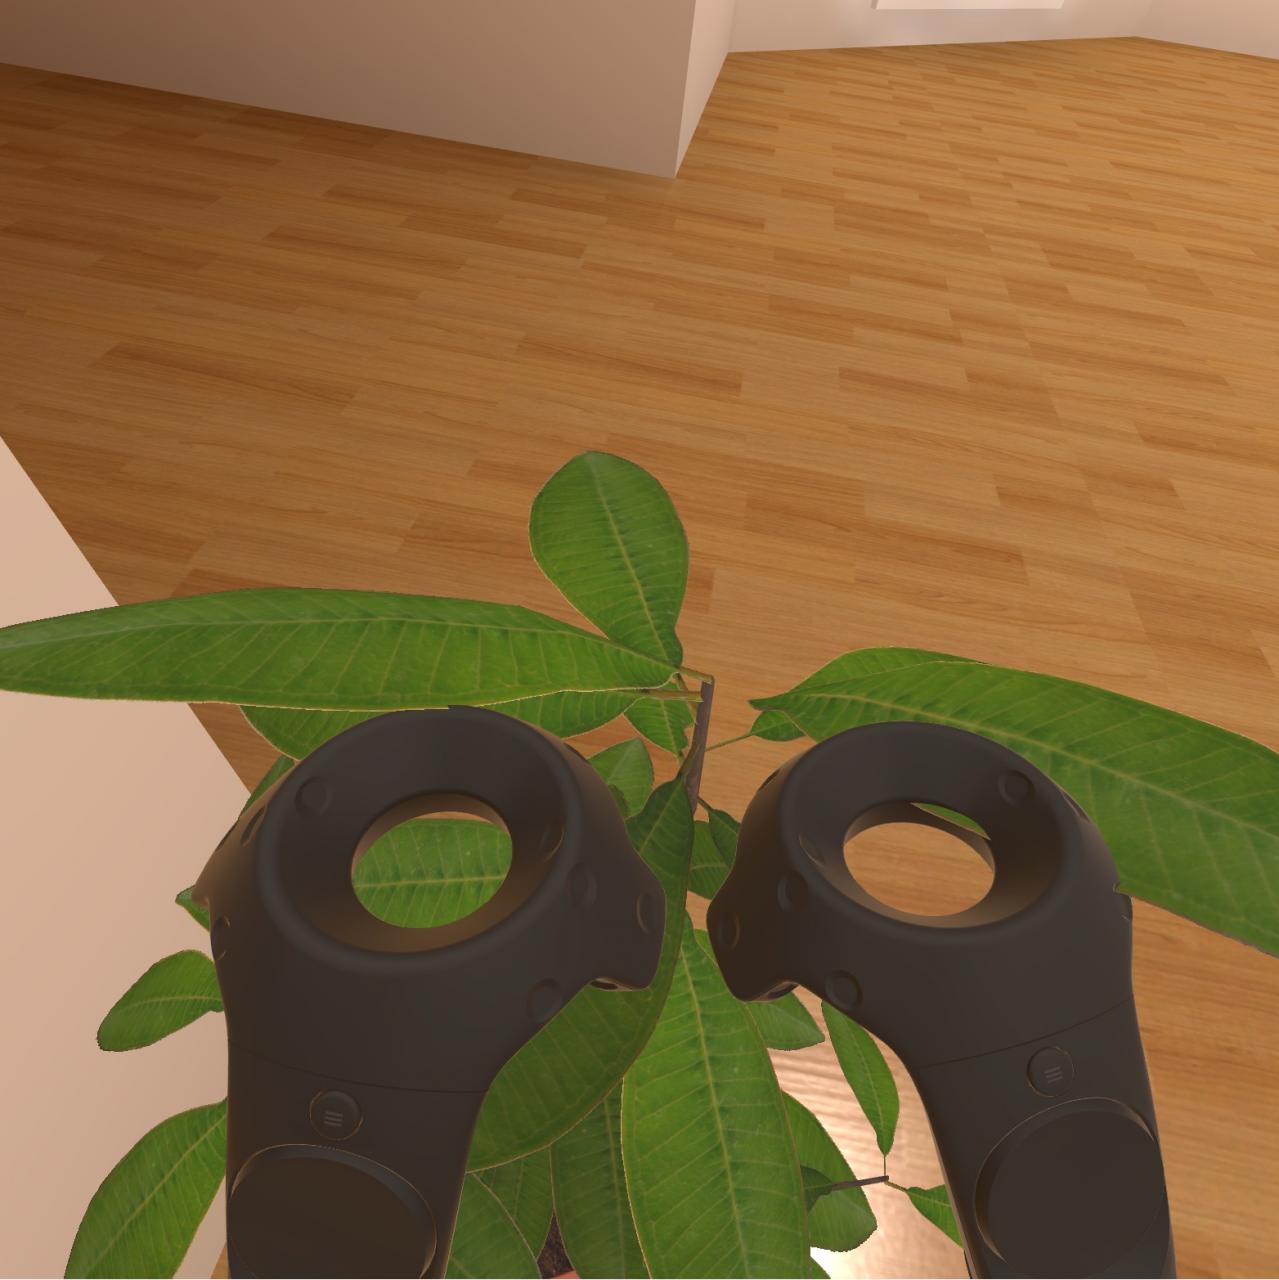
Google Earth VR
Google Earth VR is super impressive in 3D cities like London where you can fly around in a warped clone universe…
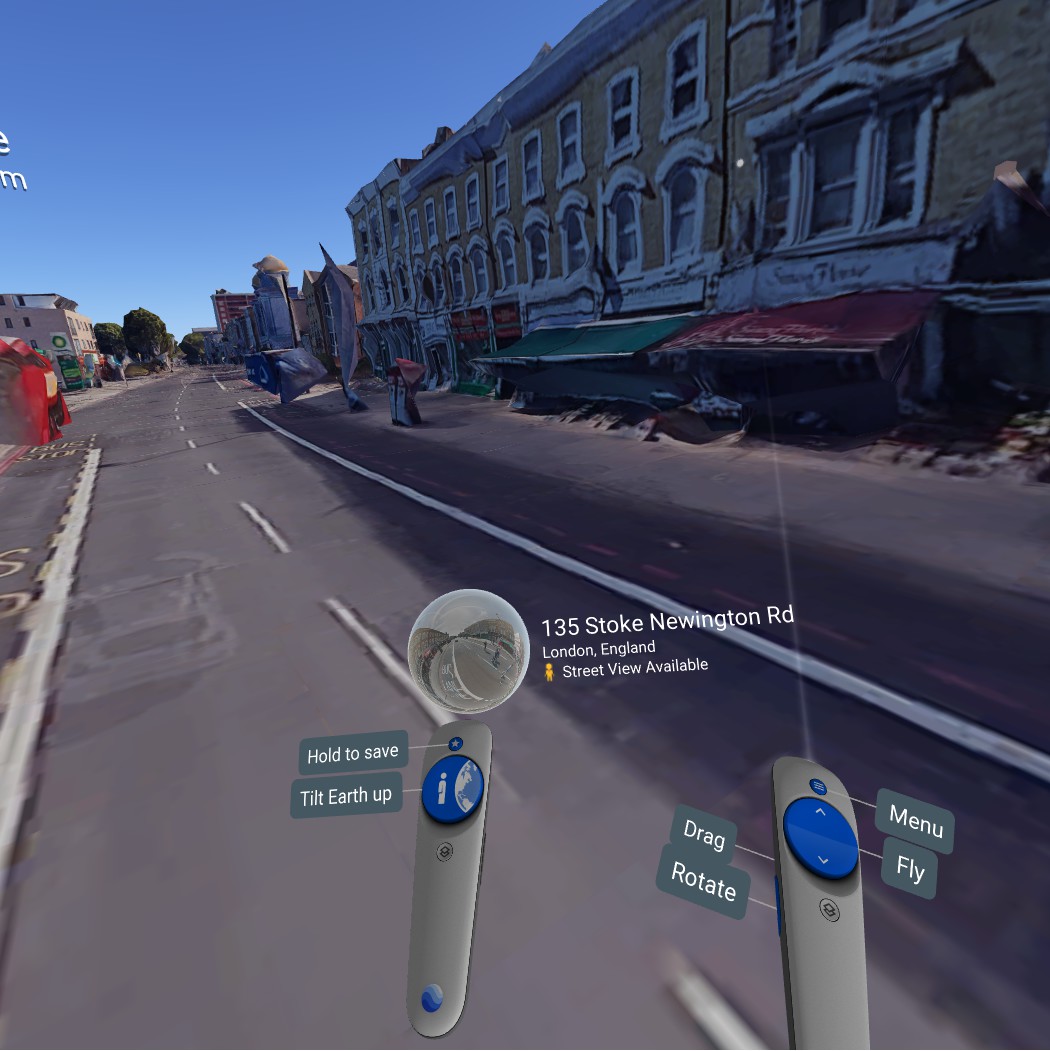
and with a wave your hand you can instantly change the time of day into THE TIME OF THE APOCALYPSE
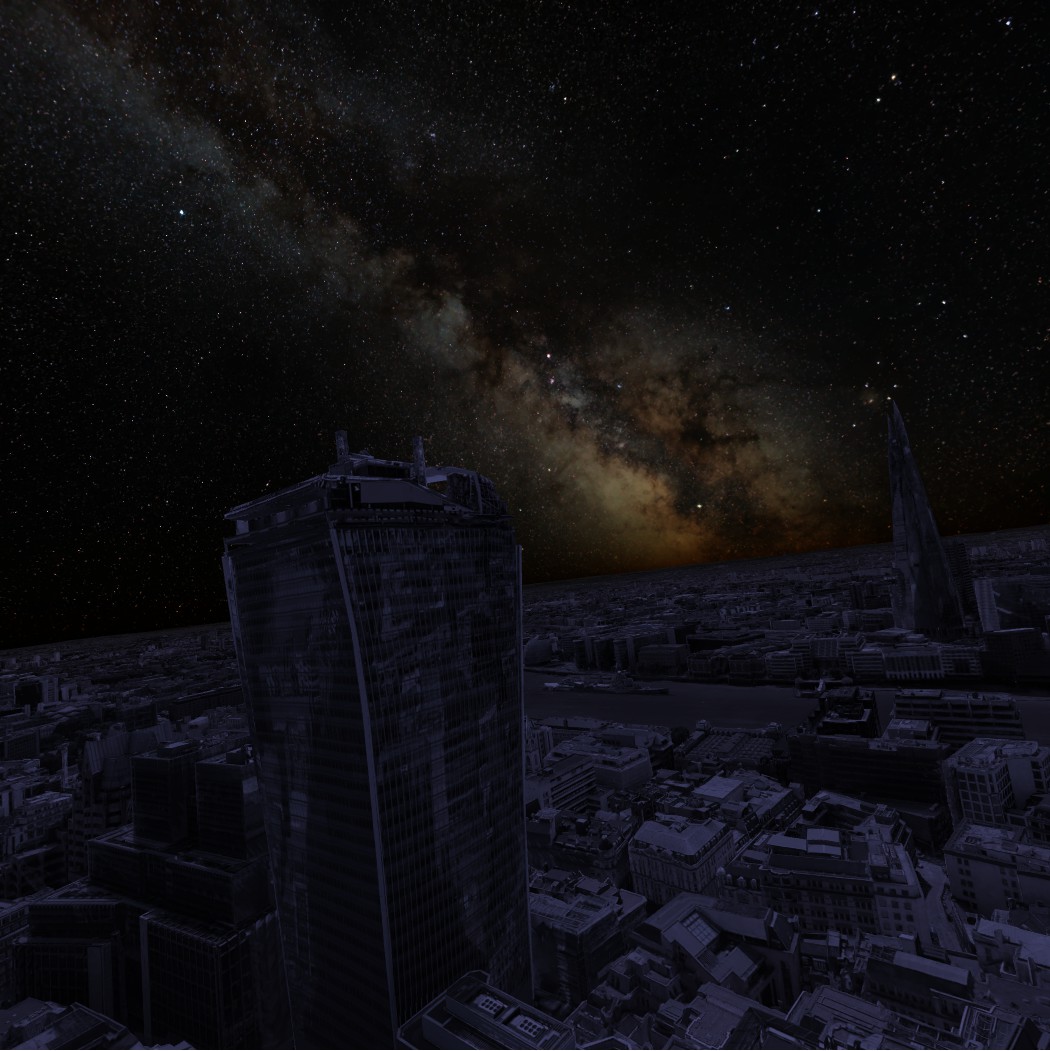
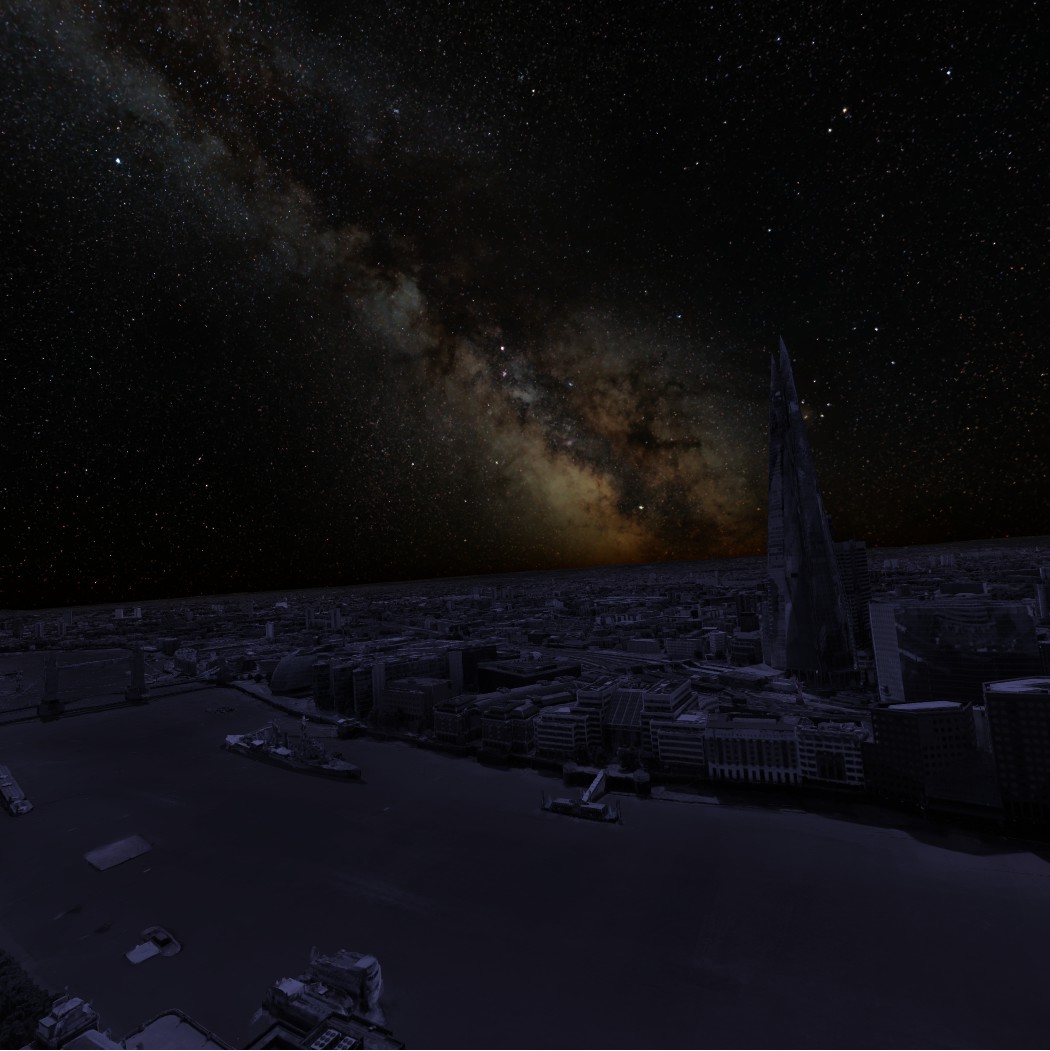
There is also another frightening feature…

AIN’T NOBODY WANTS TO FIND THEMSELVES FLOATING OVER EARTH AT THIS ANGLE!!! URGHHH. Which brings us to the issue of sim sickness. Its not great when the motion in the graphics suddenly does not correspond with the user’s own head movements…
Job Simulator
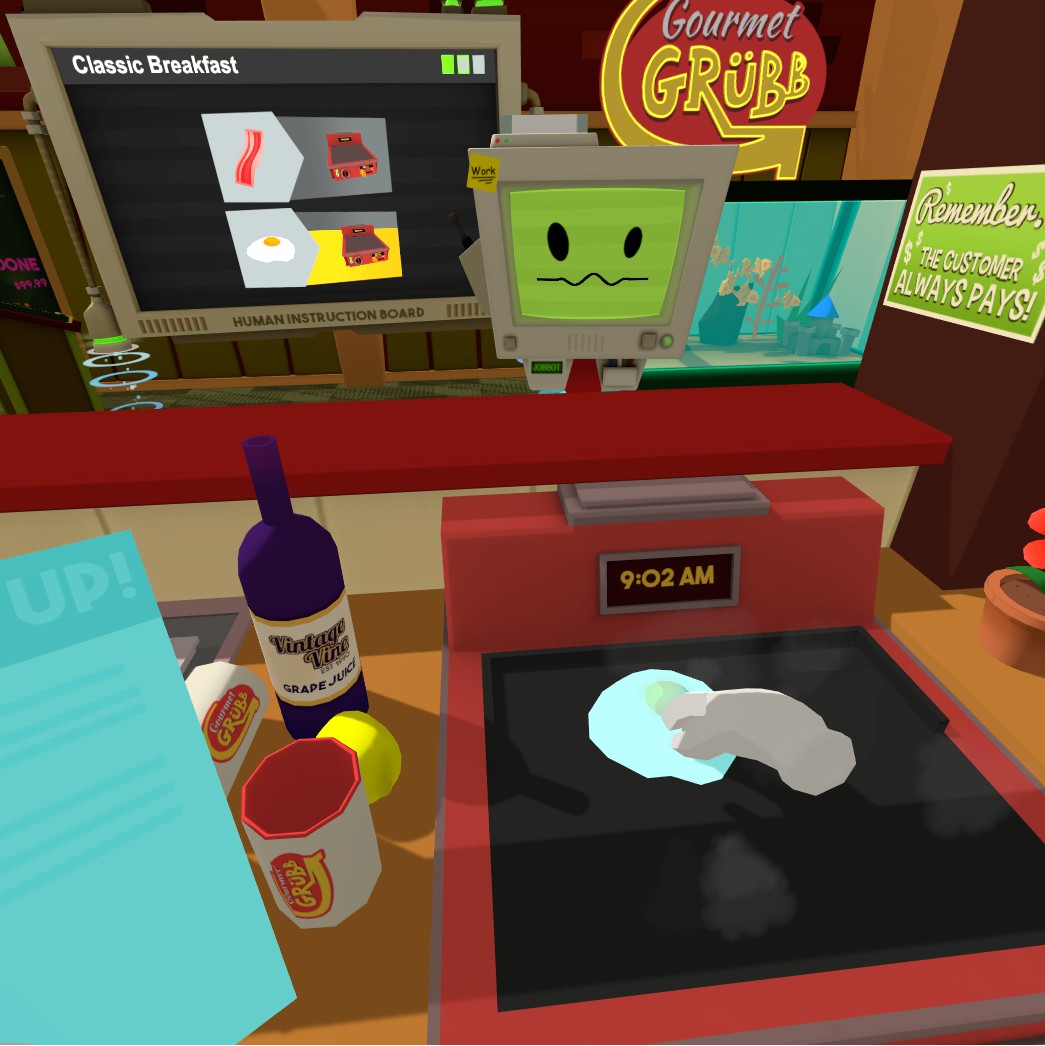
In Job Simulator, you play a human being assigned to do some artisanal jobbing for robots who have developed a refined taste for their services and products being made sloppily and badly by humans in a world of limitless machine perfection. I liked this game too much, because I’m not very good with following instructions in an open roaming world. I haven’t tried all the jobs yet, but here I was being a chef – burning lemons on the grill, drinking virtual wine on the job, and throwing raw meat at the frowning robot customers.
SUPERHOT
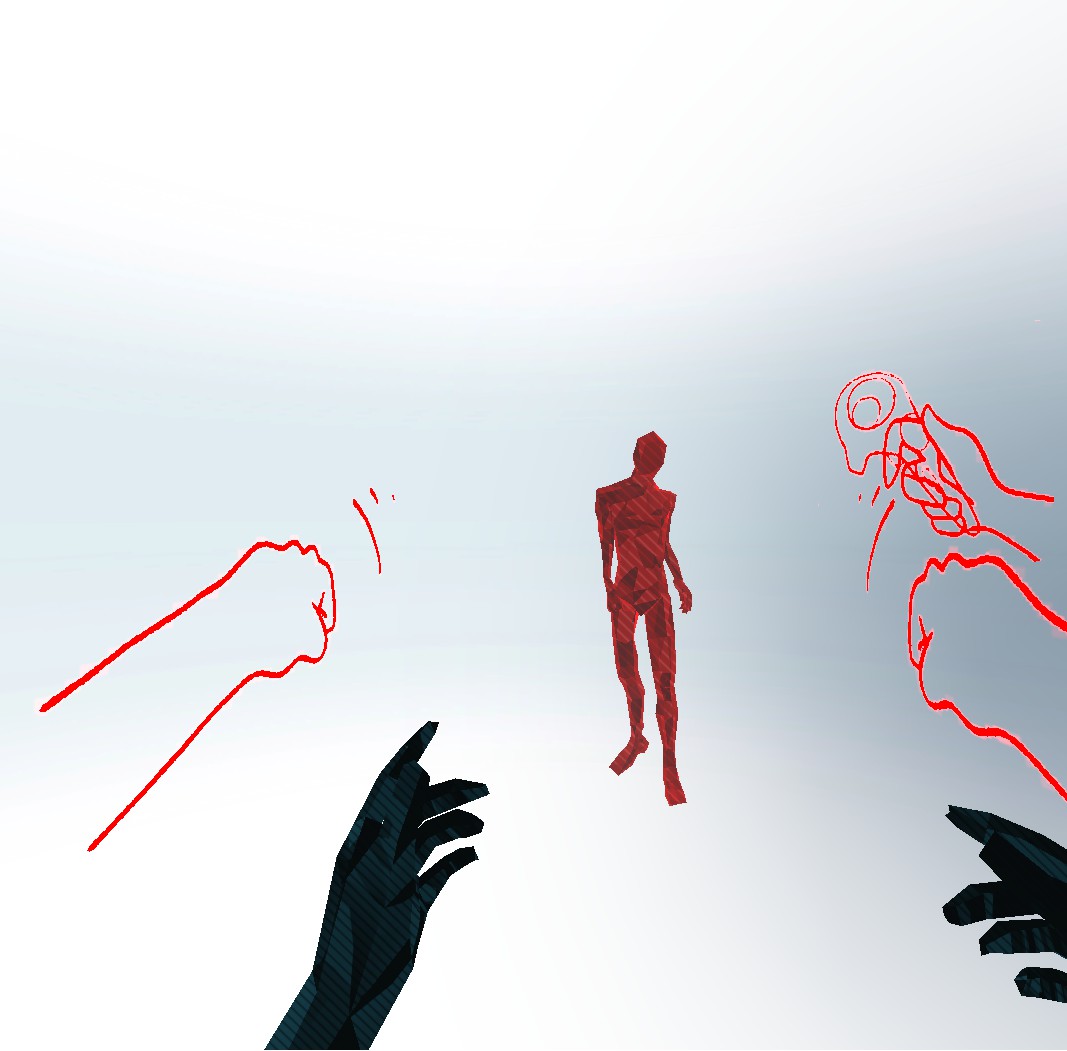
Superhot works on the premise that time only moves when you move. The graphics are simple but the rapidity with which things move when you accidentally make a wiggle of your head in VR is very effectively. It also however leads to a lot of unintentional arm or hand flapping when you somehow need to make things go faster, so it was quite amusing to watch George playing this.
