I have some big announcements to make later this year but for the meantime I’ve been toiling away at various personal VR projects. I might even consolidate this blog into another form later this year? Because I often ask myself, who is the audience of this blog? Who are you? People must be so confused. How does someone whose blog was originally about psychogeography and geography and art – end up writing so much about tech and vr?
I feel like I’ve learnt from various bits of information online and through trial and error so I thought I would write out a little tutorial of how I have been developing VR apps for Oculus Quest 2.
When I was purchasing a new computer this year, my concern was whether the Macbook Pro 16″ would be up to me doing VR game development on it, and maybe even developing on Parallels. The answer is YES! This machine has been able to do everything without ever breaking out a sweat. Even if you do it on Parallels!
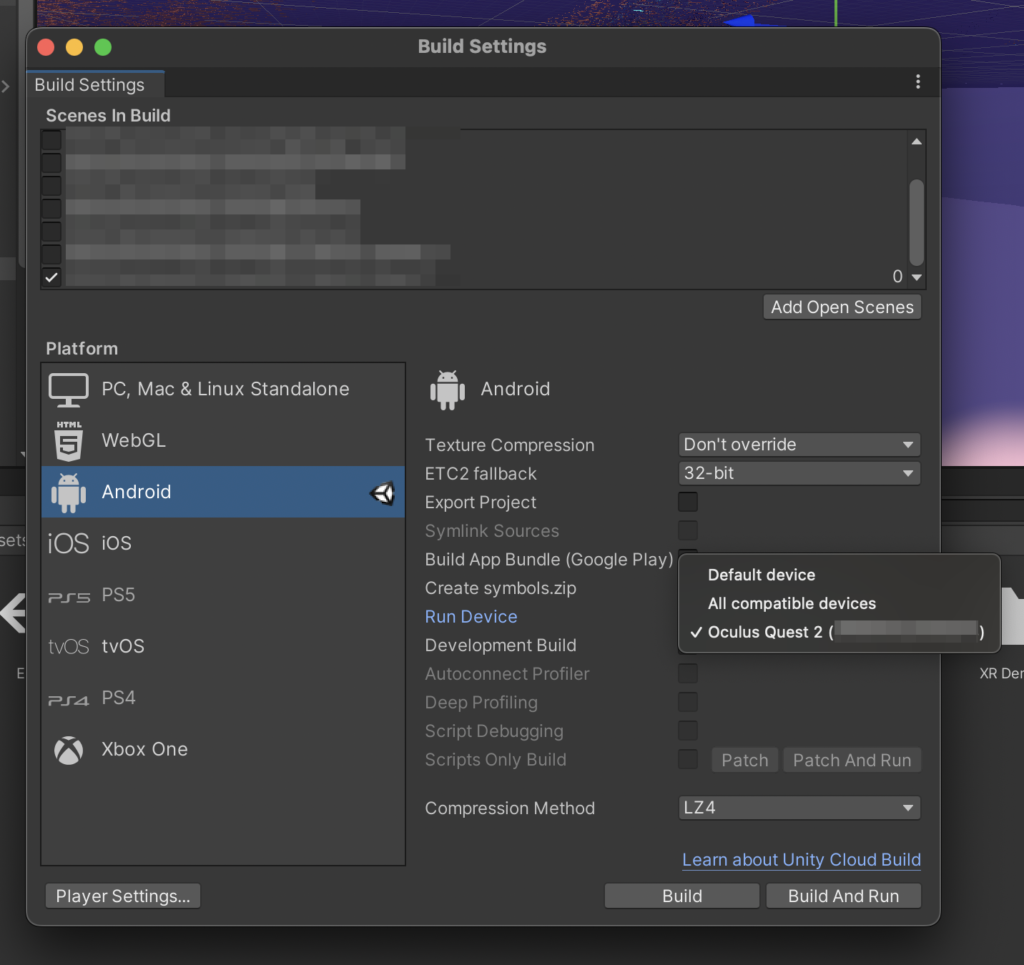
Testing your app on Oculus Quest 2 directly from Unity with cabled connection
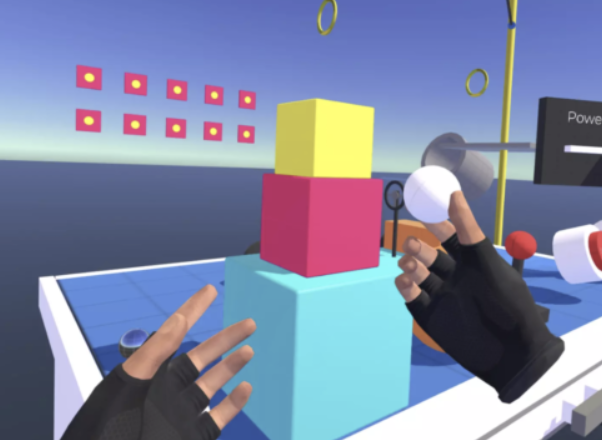
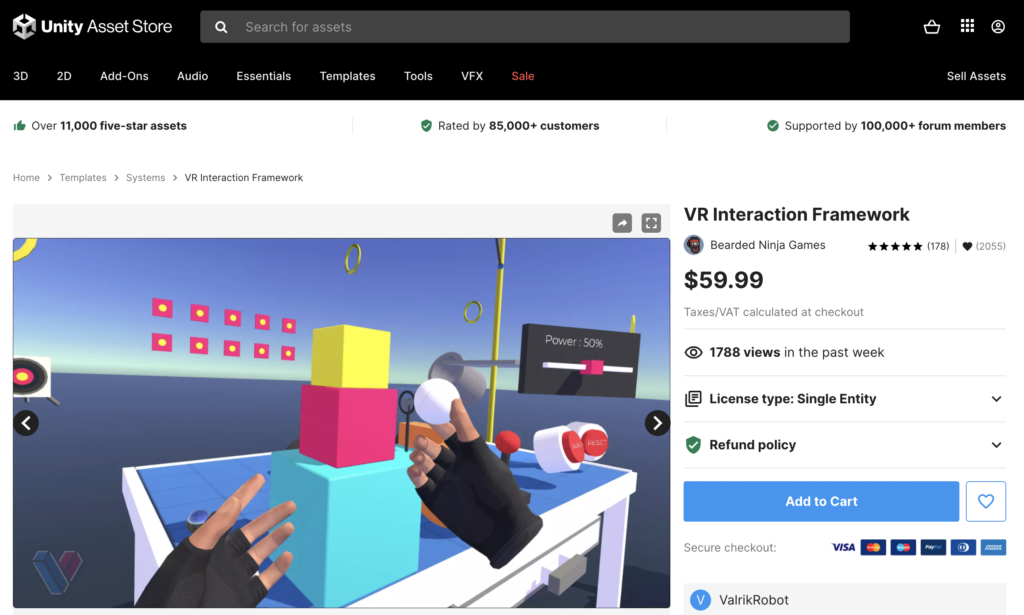
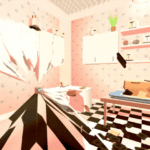
I have been using Unity 2020 (URP) along with this VR Interaction Framework by Bearded Ninja Games which makes it very quick to cobble some basic interactions together.
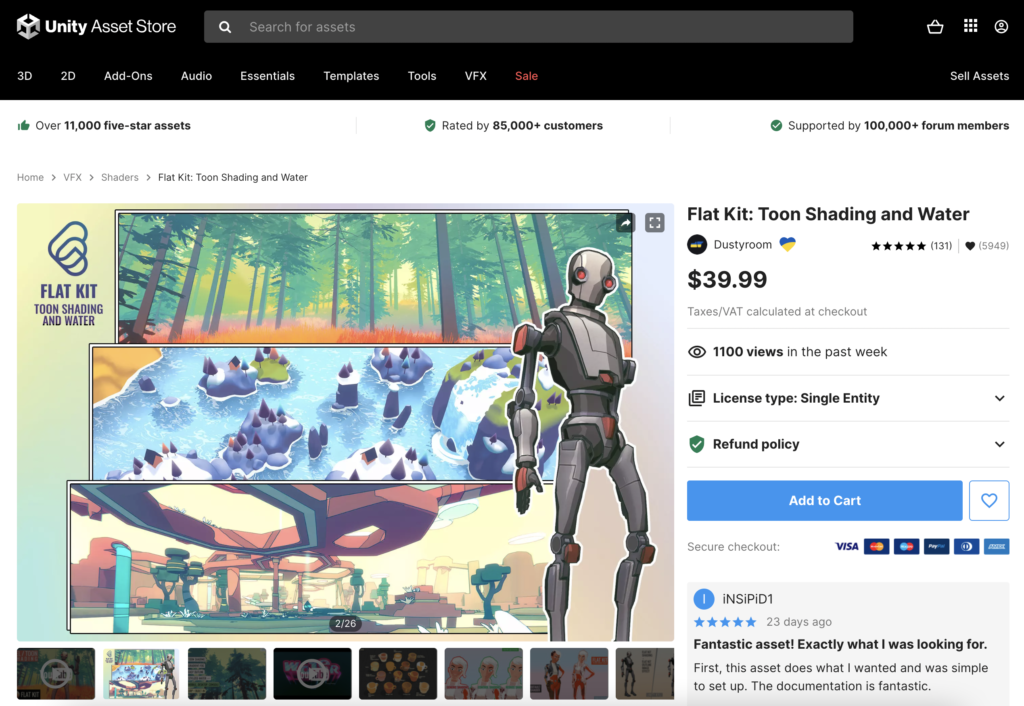
I initially really struggled to make the shaders look right and consistent for VR and so far I did find that Flat Kit solved most of the issues and allowed me to tweak colours properly on the go. The water shaders are also brilliant.
I’m not averse to using Unity Assets to get the look that I want for the game. Its like, I know I would take way longer to achieve the effect on my own as a one-woman team, but if someone can do that part for me in the form of a little pre-made asset, I can focus more on the 3D art and concept of the work!
The first time you are setting things up, you’ll need to turn on Developer mode.
Turn on the Quest and open the Oculus mobile app which was used to setup the Quest.
Menu > Devices > Developer Mode > (Turn it on)
Reboot the Quest and check that the Quest’s Settings menu has a Developer tab
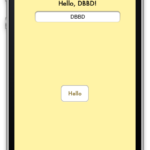
Before you open the project in Unity, connect the Oculus Quest 2 to your computer with the USB C cables (not just any random cable – it doesn’t need to be some fancy oculus-supplied cable but just needs to be a data cable). Then turn the Quest on, put it on, and you should get a message like this.
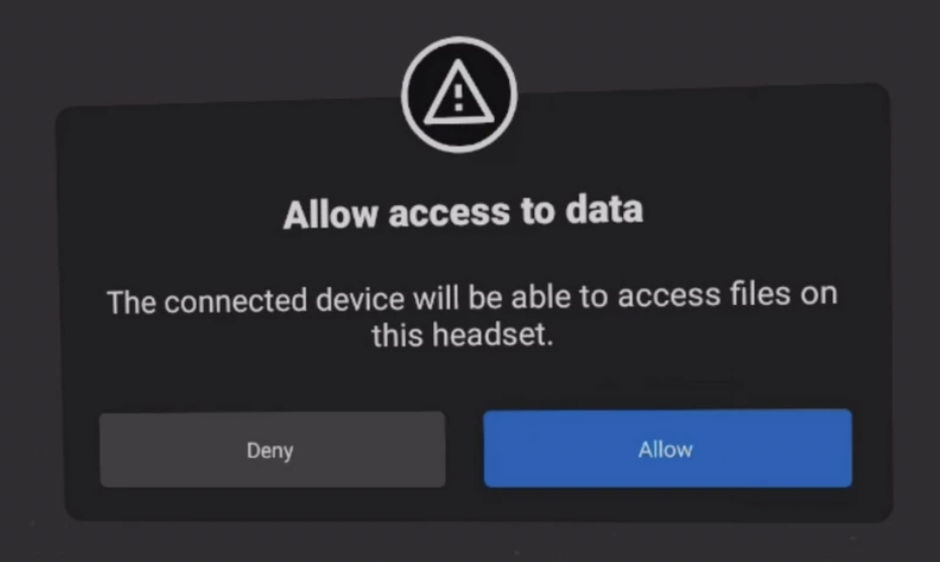
You MUST click Allow each time you reconnect the cable (this is an Android USB dialog unfortunately). Once allow is clicked, your pc or mac can see the files on the Quest – in my case, Android File Transfer on my mac will automatically open, and from this point, Unity will be able to see the Quest device when you go to Build Settings.
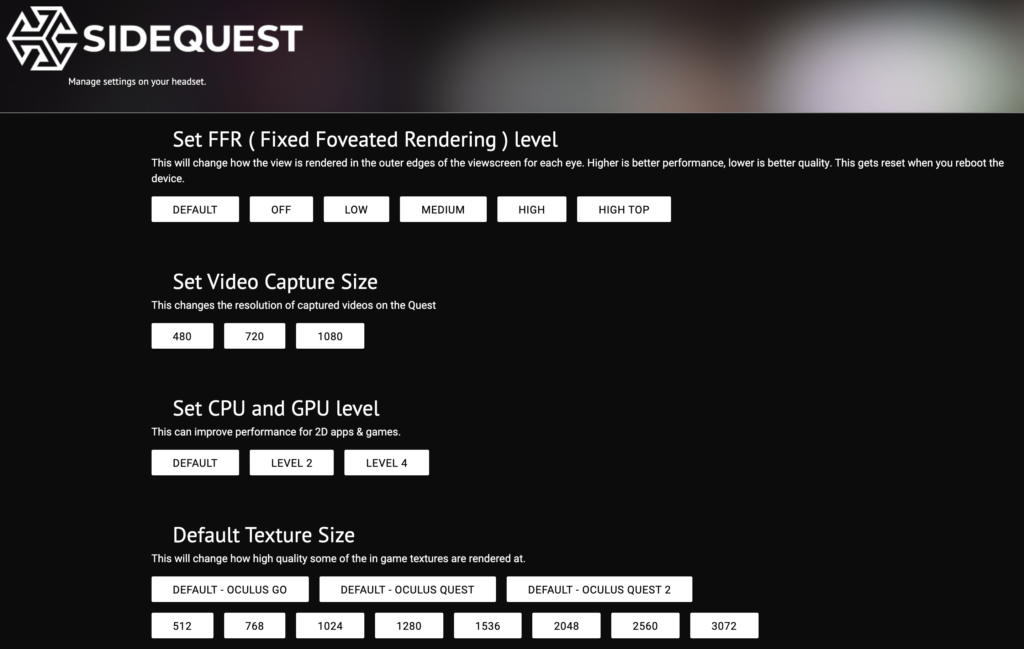
Finally if you have made your own app and want to show it to a public audience, how do you load the apk into Quest? There’s a handy app called Sidequest where you can sideload your app in without going through Oculus’s app store.
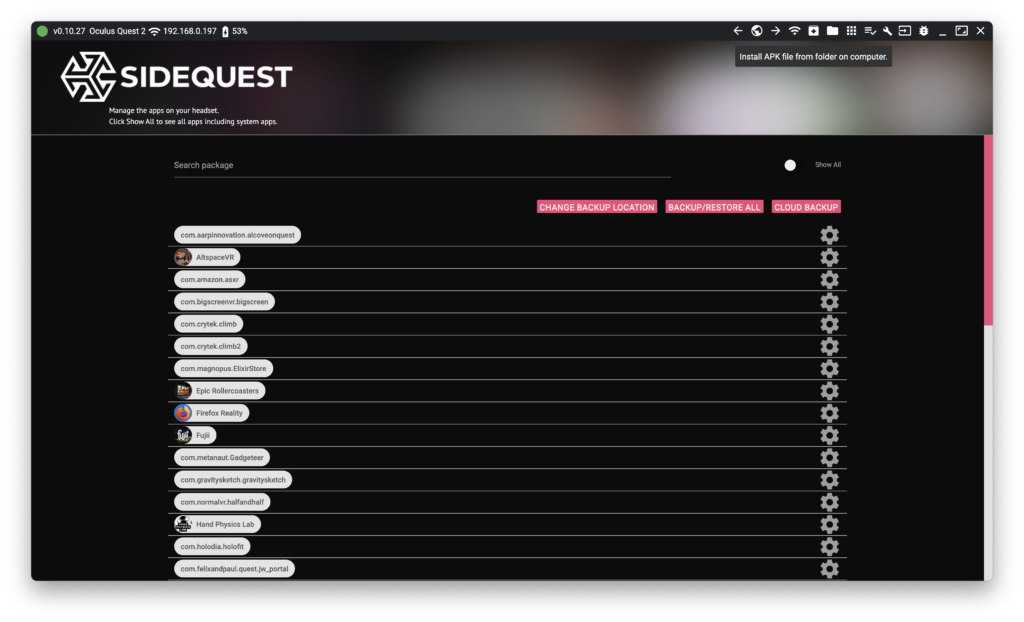
You can simply install the APK file and it will be found in the app store under “Unknown Sources”.
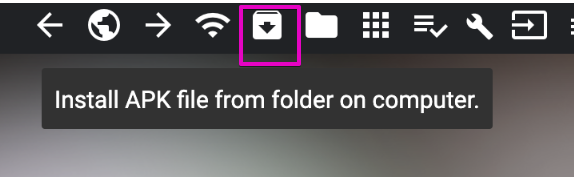
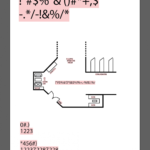
Inside Sidequest you can also do a lot of nifty things using adb (Android Debug Bridge) such as the extremely essential 1080p video capture for your in-game capture on the device. Personally I understand now why it is not the default, its a performance issue.
More about my projects in the next few posts.
Related posts:
 I self-studied for 6 and a half hours to pass the Unity Certification (Unity Certified Associate: Game Developer)
 The Near Impossibility of Compatibility between a Mac and the Samsung Galaxy Tab 10.1 and Samsung Pico Projector
 Blender & Unity: Manually Rigging Blender Humanoid Characters for use with Unity Mecanim
 OBS Live-streaming, Unity+Tensorflow Experiments, & “Y-Lab presents: Extended Reality”
 Sucked into the vacuum of a black hole: Unity Shader Graph
 A Shopfront in Blender and Unity: Lazy Speedrun using UV Project from View
 Dream Syntax: 10 years on
 Apple’s Beginner Guides to iOS Development